


Print ready means your file already carries the information a printer needs to reproduce the design accurately, with no major cleanup, redrawing, or guesswork. Before you upload, make sure the artwork is complete at the size it will actually print, not simply nice-looking on a monitor.
What Does Print Ready Mean in Plain Terms
Think of ordering a custom cake. A finished recipe gives the baker workable proportions, while a photo leaves too much open to interpretation. Artwork should behave like that recipe, with the production choices already baked in.
A print-ready file gives the printer usable artwork, not a puzzle to solve before production.
That difference matters when customer orders are stacking up. A logo can open perfectly on a phone and still turn soft once it is enlarged for a shirt back. Opening successfully is different from printing cleanly, because final size changes how much detail the file has to hold.
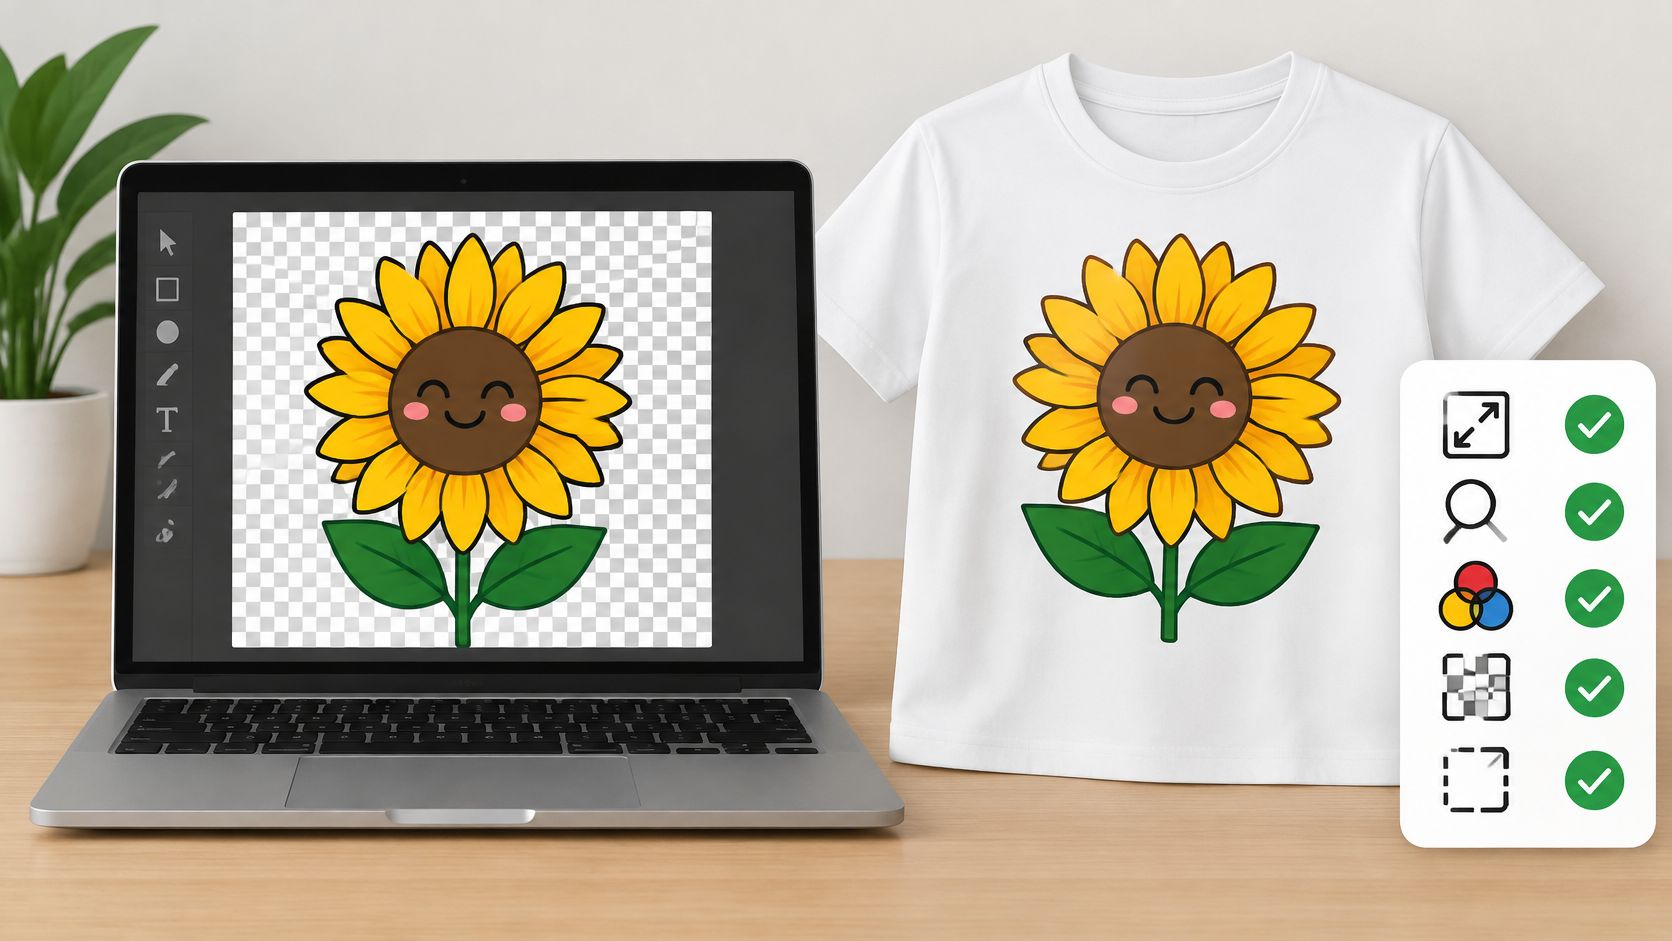
Before treating any upload as finished artwork, run through the basics:
- Final dimensions match the size you want on the garment.
- Sharp artwork keeps its detail when viewed at that size.
- Usable color follows your print provider’s preparation guidance.
- Clean backgrounds will not print as an unwanted box around the design.
- Fonts and edges stay complete, readable, and tidy.
Print Ready at a Glance
The quickest way to judge readiness is to separate a file that merely opens from artwork a DTF printer can reproduce without substantial correction.
| Check | Print Ready Looks Like | Not Ready Looks Like |
|---|---|---|
| Size | Set to the final print dimensions | Small artwork stretched to fit |
| Detail | Edges and lettering stay crisp | Fine lines blur or break apart |
| Color | Prepared to the provider’s guidance | Left to chance after upload |
| Background | Transparent where needed | A visible box around the design |
| Text and edges | Converted, embedded, or clean | Missing fonts and ragged outlines |
If those checks hold up at actual size, the file is usually in much better shape for production.
Check the Artwork Before Arranging Your Sheet
These checks apply beyond PDFs. For apparel, vector artwork or a transparent PNG can be appropriate; Lion DTF Transfers recommends vector artwork for printing and notes that transparent PNGs also work well. Its PNG file guide is useful background before you export.
A suitable format still does not guarantee ready contents. A transparent PNG can contain blurry lettering, just as a recipe can leave out an ingredient.
- Open your design at its intended output dimensions.
- Inspect the lettering, outlines, and background.
- Confirm the provider’s file requirements before ordering.
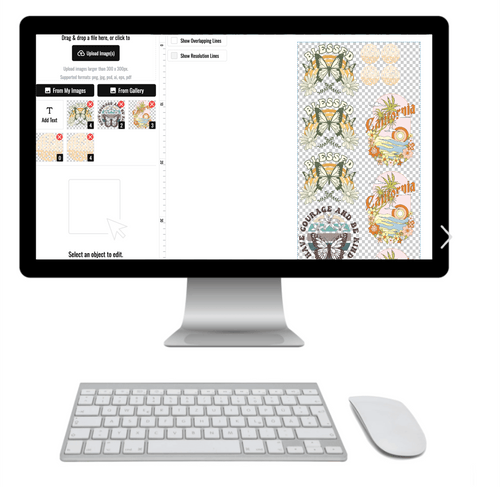
At Lion DTF Transfers, usable artwork helps keep DTF orders moving without avoidable corrections. Once the designs are ready, our Auto-build gang sheet builder gives you an easier, more cost-effective way to arrange them for ease of use and cost effectiveness instead of rebuilding layouts by hand.
Check your next design’s size, sharpness, and background now, then use the builder to arrange ready artwork for your order.
The story of print-ready artwork is really the story of avoiding surprises between a designer’s screen and a printer’s equipment.
How Print-Ready Standards Took Shape
Once digital prepress took over from film-based prep, printers needed handoffs that behaved the same way on different production systems. Editable artwork alone was risky if the next computer couldn’t find the fonts or images it depended on.
Picture a sealed shipping box with every part for the order inside, compared with a pile of loose pieces on the dock. A solid print file should show up like that box: complete and ready to go where it’s needed.
Print standards grew out of the need to remove guesswork from the handoff; nobody was grading whether the design looked good.
PDF arrived in 1993. PDF/X development followed in the late 1990s, the first PDF/X standard landed in 1999, and PDF/X-1a became ISO 15930-4:2003. Those steps helped artwork carry the technical details needed for accurate reproduction with less correction: fonts, image data, color expectations, and transparency behavior. See the Library of Congress account of PDF/X development.
Why Restrictions Made Files More Reliable
PDF/X narrowed the wider PDF format for graphic-arts exchange. Rather than allowing every trick a PDF might contain, it set limits around files headed for print.
Those limits answered questions a shop would otherwise have to chase down:
- Missing fonts could swap out lettering the customer chose with care.
- Incomplete images could leave key artwork unavailable.
- Incompatible color could shift the printed result.
- Unpredictable transparency could alter overlap effects during processing.
Say you send a flyer whose photo is merely linked to your desktop instead of packed inside the file. Your machine knows where that photo lives. The printer’s machine does not.
PDF/X preparation deals with that dependency by calling for self-contained content and defined production conditions. This explanation of PDF/X preparation requirements walks through the idea.
Apply the Same Principle to Apparel
So, what does print ready mean when the order is apparel transfers instead of flyers? The handoff still has to be complete, even if the accepted file is a transparent PNG rather than a PDF.
A paper-printing spec from years ago may not match your DTF upload rules. Work in this order:
- Confirm the provider’s accepted artwork format.
- Prepare the artwork for that production workflow.
- Arrange approved designs for ordering with our Auto-build gang sheet builder for ease of use and cost effectiveness.
Once the artwork is set, our Auto-build gang sheet builder can help with layout and material use. Keep the real test in mind: print ready describes production readiness, which is different from whether design software can open the file.
A design's real quality only shows up at garment size, never in a small preview window.
Resolution and File Quality That Hold Up
DPI, or dots per inch, tells you how much detail is packed into the final print. Picture stretching a small photo across a poster. At some point, the little squares stop blending together and start showing.
That's why Lion DTF Transfers recommends at least 300 DPI at the final print size. Anything lower risks a blurry or pixelated result. If you want more background on why output dimensions matter, this guide to print resolution requirements covers it well.
A sharp laptop preview isn't proof that your artwork will hold up on a shirt.
Here's a common scenario. A social media graphic looks perfectly crisp in your feed, then turns soft the moment it's enlarged into a back print. The screen was hiding weaknesses that only show up once the same detail has to cover real fabric.
- Check the intended dimensions instead of judging a thumbnail.
- Inspect small lettering and outlines, since that's where softness shows first.
- Track down the original artwork rather than trusting a downloaded preview.
Choose Artwork That Scales Cleanly
Vector artwork is built from defined paths instead of a fixed grid of pixels, so the edges stay clean no matter how far you scale it. That's what makes vectors the go-to choice for logos, lettering, and illustrations that need to work at multiple sizes.
A PNG behaves differently. It holds a fixed amount of pixel detail, so export it at the intended print dimensions with enough resolution baked in. Stretching a small export afterward won't give that detail back.
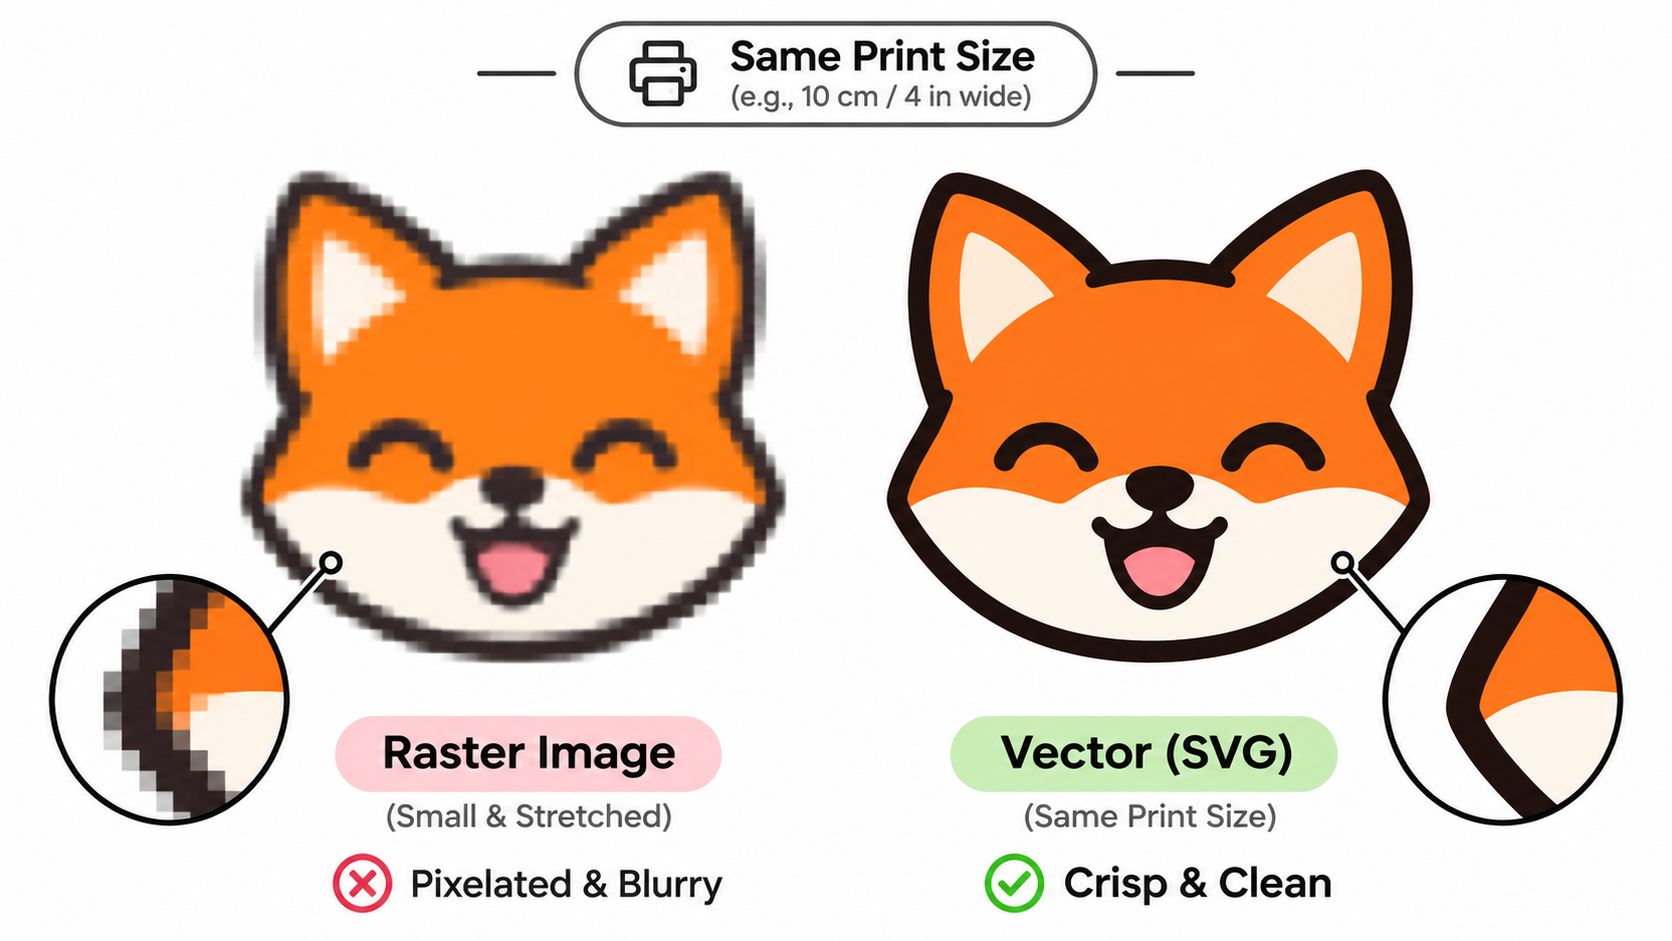
| Artwork | What Happens When Enlarged |
|---|---|
| Vector | Defined edges remain clean |
| Small PNG | Existing pixels become more visible |
Our raster versus vector guide breaks down that difference in more detail. Transparent PNGs also work well as long as the underlying artwork is solid. The next section gets into backgrounds.
So what does print-ready mean for sharpness? Simple: the detail survives at the size you're ordering, not just the size you're viewing.
- Set the artwork to its intended garment dimensions.
- Examine curves, fine lines, and text.
- Request artwork help if those details already look soft.
Fix Quality Before Production
One customer told us the team helped convert their design into a high-resolution format, then walked them through printing their first shirts. That's exactly the right stage to fix quality issues, before anything goes into production.
We'll cover reprints later in this guide, but here's the takeaway: weak source files are a preventable cause of soft results.
Check your source artwork now. Once your designs are ready, our Auto-Build Gang Sheet Builder makes layout easier and more cost-effective for ease of use and cost effectiveness.
A clean background is what separates a transfer that looks intentionally printed on fabric from one that looks like a sticker with a stray border.
Color, Transparency, and Clean Backgrounds
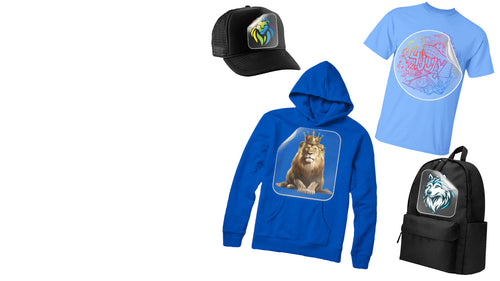
DTF transfers are full-color heat transfers. The design gets printed onto a special film with a printer that has white-ink capability, coated with powdered adhesive, cured, and then heat-pressed onto the garment.
Because of how that process works, the background is a production decision rather than an afterthought. An opaque rectangle sitting behind your artwork will press as a visible shape, while transparent areas let the fabric itself show through.
White ink and transparent space do different jobs. Keep white where you want the printer to lay down ink, and transparency where you want the garment to come through.
Take a red café logo headed for a navy shirt. If the white canvas behind it stays in the file, the finished shirt looks different even though the logo artwork never changed.
- Before cleanup: the logo sits inside a white rectangle, and that whole rectangle presses onto the shirt.
- After cleanup: the rectangle gets knocked out, so only the red logo lands on the navy fabric.
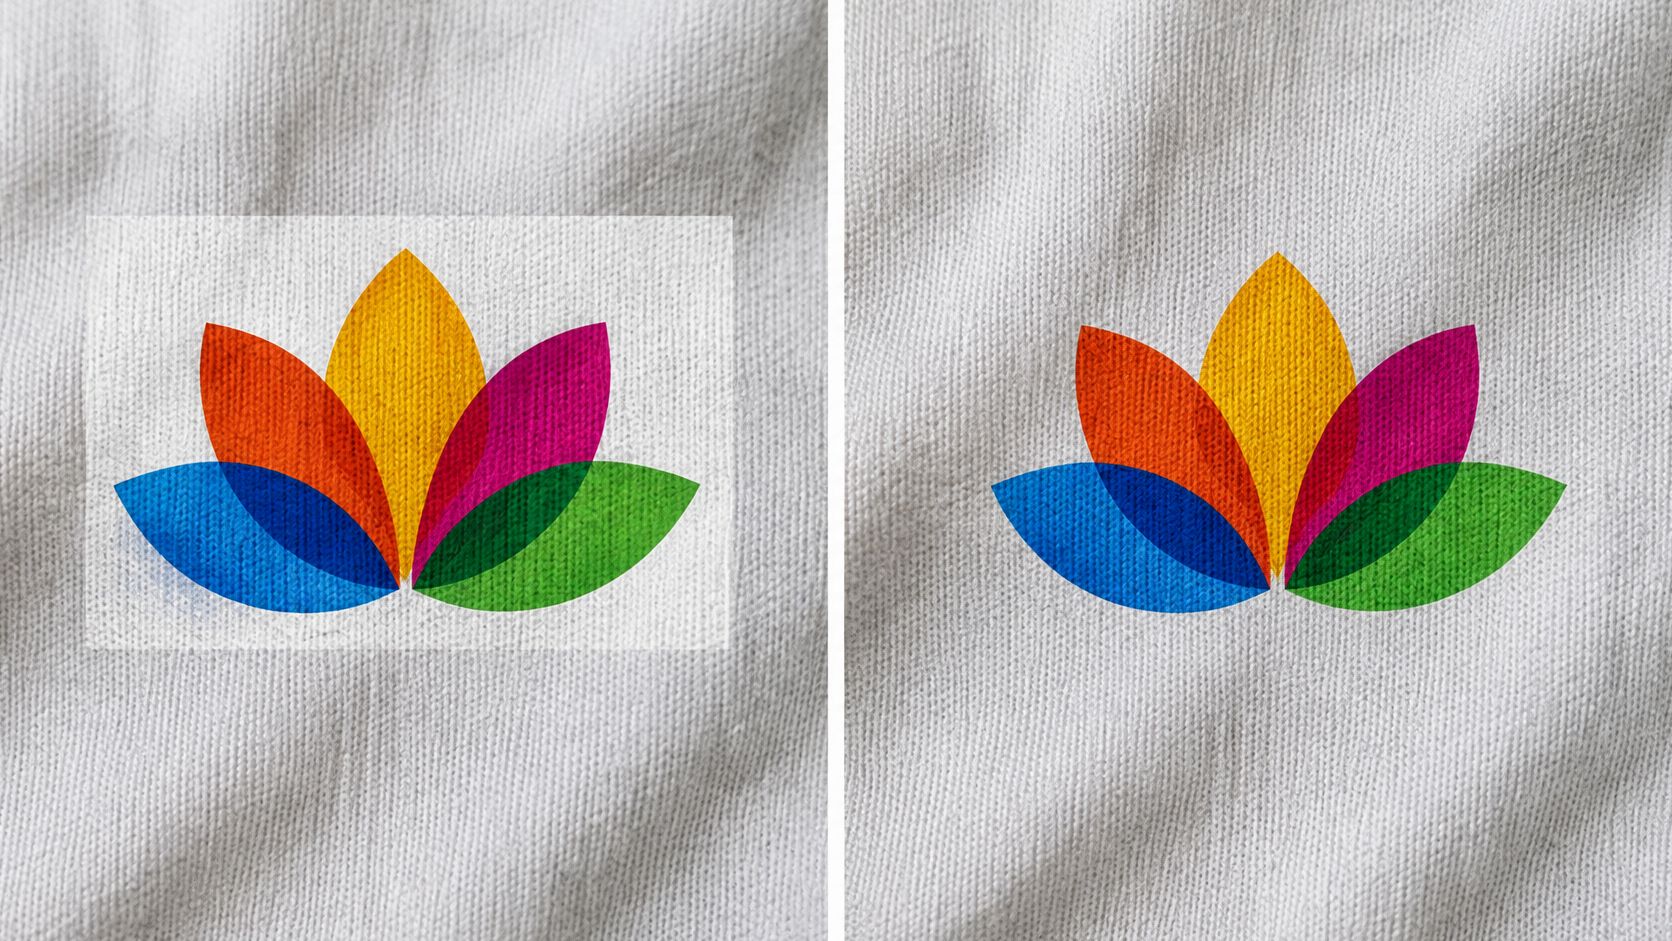
Keep Only the Background You Meant to Keep
For crisp logo edges, vector artwork is the strongest option for printing. For raster designs, PNGs with transparent backgrounds handle the job well, and our guide to PNG files covers how the format treats backgrounds.
One catch: exporting as a PNG doesn't guarantee the background is gone. Check the exported file itself rather than trusting what you see in the working file.
- Drop the exported artwork onto a contrasting background in your editor.
- Look closely around lettering and inside enclosed shapes for stray background pixels.
- Knock out only the unwanted surrounding areas, leaving intentional white details untouched.
That's really the heart of what "print ready" means here: a file that clearly separates printed color from unprinted space, so nothing is left for the printer to interpret.
Check Color Against Print Expectations
Color deserves the same deliberate pass. Run your shades through Lion DTF Transfers' color matching guide before approving them, rather than signing off on a brand color based on how it looks on your phone screen.
Lion DTF Transfers prints with quality inks and films chosen for color vibrancy, fine detail, and wash durability, and the prints are tested to hold up through 100+ washes. Good materials raise the ceiling on quality, but they can't rescue a poorly prepared file.
- Go with pre-shrunk fabrics so the pressed design isn't fighting shrinkage later.
- Double-check that intentional white elements survived the background cleanup.
Before your next order, compare the exported logo against the actual garment color, run it through the color matching guide, and arrange the approved designs with the Auto-build gang sheet builder for faster, more cost-effective sheet prep and ease of use and cost effectiveness.
Catching production mistakes gets a whole lot easier once you trace each bad result back to the file that caused it.
Examples of Files That Fail in Production
Picture a school organizer grabbing a mascot off social media and blowing it up for a shirt back. The thumbnail looks crisp enough, but the printed whiskers come out fuzzy because enlarging the graphic exposed missing detail.
Or take a maker who exports a cat illustration sitting on a blue canvas. To the printer, that blue rectangle isn't a suggestion to ignore the background. It becomes part of the transfer itself.
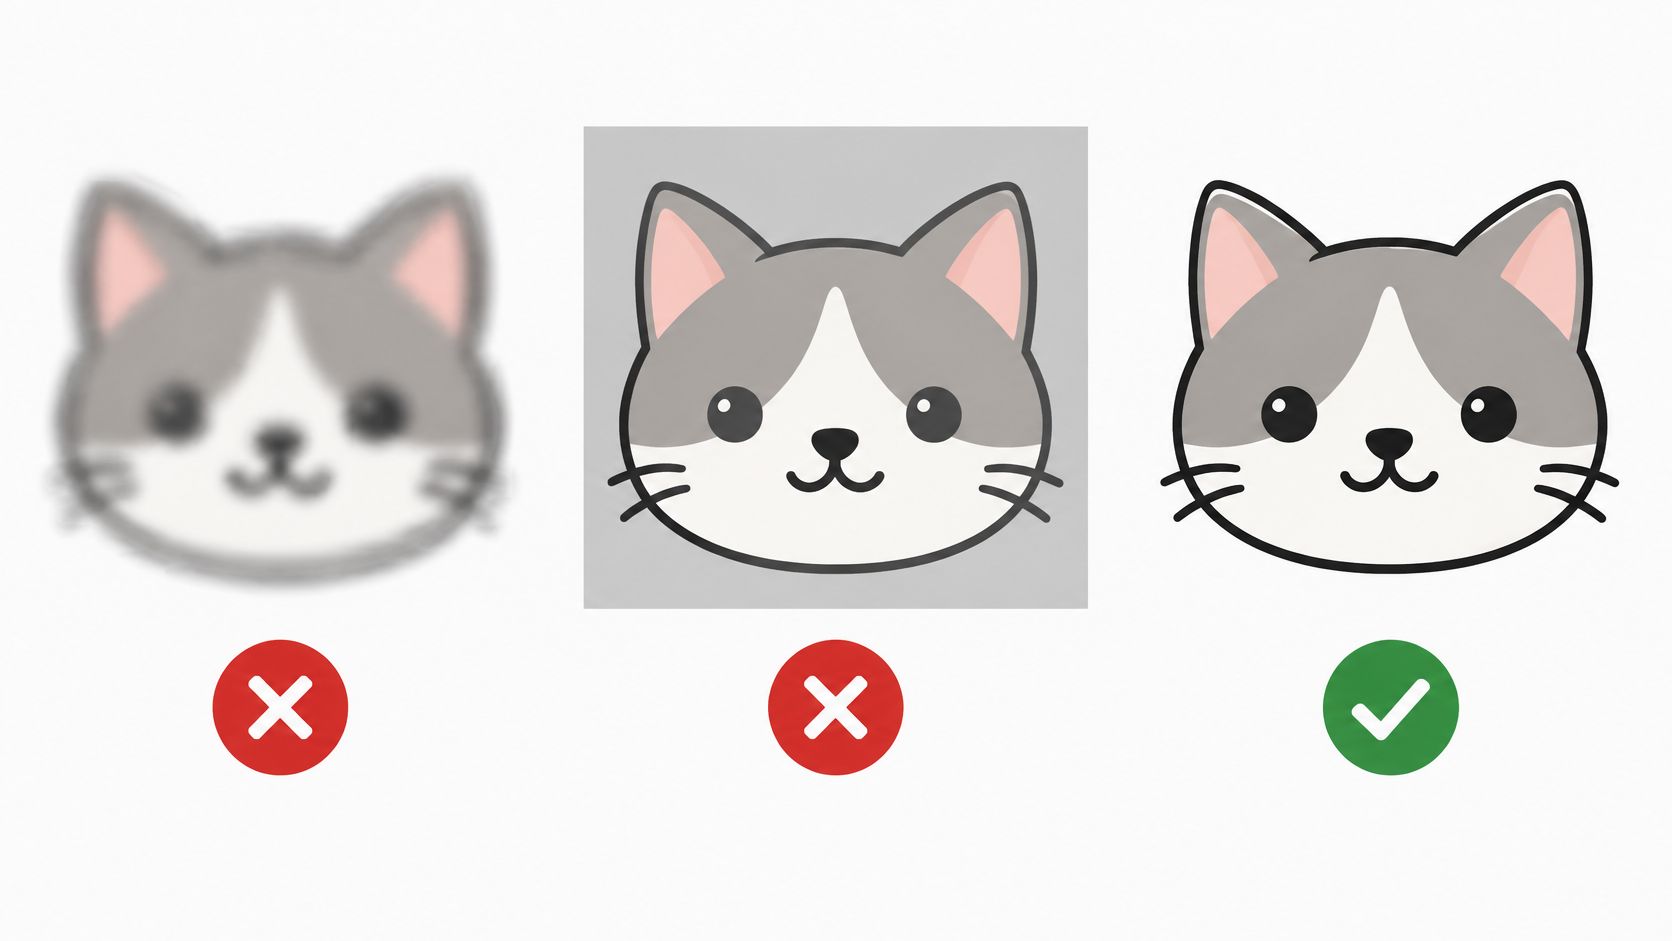
Then there's the customer who drops a screenshot into a bigger file and figures the new dimensions mean better quality. It passes a quick glance on screen. In production, the original ragged lettering is still right there.
A bigger file isn't necessarily better artwork. Fix the source before approving the print.
That's really what "print-ready" means in practice: the exported artwork already has to contain the detail and the background you actually want reproduced.
Separate Artwork Errors From Pressing Problems
File problems happen before upload. Think blurry edges, unwanted backgrounds, or damaged source artwork. Pressing problems are a different category. They belong to the application stage, like how the transfer gets applied and which garment it lands on.
That distinction matters for reprints. Low-resolution or poor-quality source files, artwork with backgrounds, and the item pressed onto are all outside reprint coverage.
Common File Problems and the Fix
Most file failures fall into a handful of predictable patterns. Here's how each one shows up on the finished transfer, and the first move that prevents it.
| Problem | What You See | What to Do First |
|---|---|---|
| Small social graphic | Soft back print | Rebuild or vectorize |
| Solid background | Colored box | Remove unwanted background |
| Poor source artwork | Ragged lettering | Replace or redraw source |
One thing worth remembering: once the order prints, editing your original file can't change those transfers. And fixing artwork after the fact won't repair a garment already damaged during pressing.
Verify Your File Before Paying
Run through this quick decision path before checkout:
- Soft at final size? Rebuild the artwork or request vectorization guidance.
- Background visible? Remove it, then inspect the exported file.
- Colors look off? Check the available color matching guide before ordering.
Wrap up with a fast approval checklist:
- Confirm final dimensions and inspect fine lettering.
- Check transparency without accidentally deleting intentional white details.
- Review the actual export, not just your editing canvas.
Still not confident in the file? Logo or shirt design, vectorization, and "We Build a Gang Sheet for You" services are available to get it print-ready.
Ask for artwork help before paying. Once your designs are approved, arrange them with our Auto-build gang sheet builder for easier, more cost-effective sheet prep for ease of use and cost effectiveness without manually positioning every design yourself.
Once your artwork is truly ready, everything after it gets simpler. You can place an order with real confidence, whether you're pressing shirts yourself or supplying a print shop.
Build Print-Ready Gang Sheets Faster
DTF Print Only is built for businesses and makers who want printed transfers rather than finished apparel. You create or upload a design, pick single-size prints or gang sheets, and your professionally printed transfers arrive at your door.
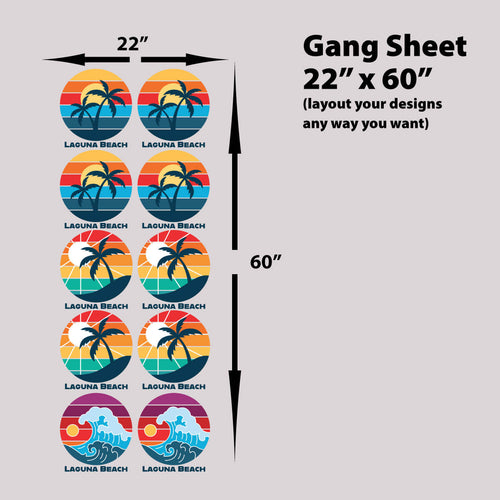
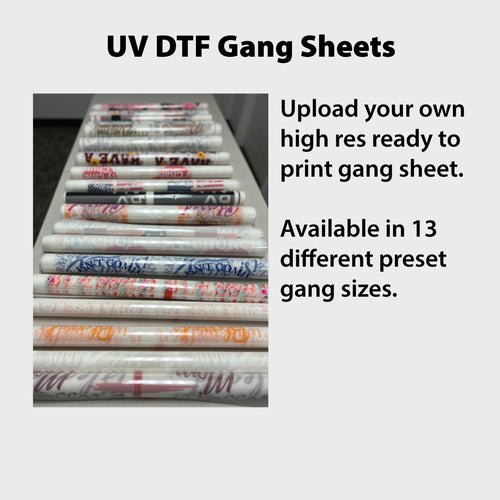
A gang sheet works a bit like a shared tray holding several designs at once. Rather than building a separate layout for every logo size, you group approved artwork together and order one sheet.
- Create or upload the designs you've already approved for production.
- Choose your format, whether that's individual sizes or a combined gang sheet.
- Receive your transfers, ready to drop into your own garment application workflow.
When the artwork checks out, orders print and ship within 1 business day. Keep in mind that dispatch and delivery aren't the same thing, and transit time depends on the shipping service you select. You can compare the options when ordering through Lion DTF Transfers.
Solid prep keeps production moving. Your shipping choice controls how fast it travels after that.
Choose the Right Production Route
The route you pick decides who handles the garment once the artwork is done. With Print and Press, you create or upload your design, bring your garment, and the team prints and presses it professionally.
Full Service apparel takes the garment off your hands entirely. Your design is created online, printed, pressed, and blind shipped straight to your customers. The listed Custom Printed Unisex T Shirt costs $12.77, which makes it a practical path for sellers who'd rather skip pressing altogether.
- Print Only sends you transfers to apply yourself.
- Print and Press decorates the garment you bring in.
- Full Service produces finished apparel and ships it to your customers.
Whichever route fits, ask one question before you approve anything: what does print-ready mean for this order? Paying for more production help won't rescue a file that was never finished.
Arrange Approved Designs With Auto-Build
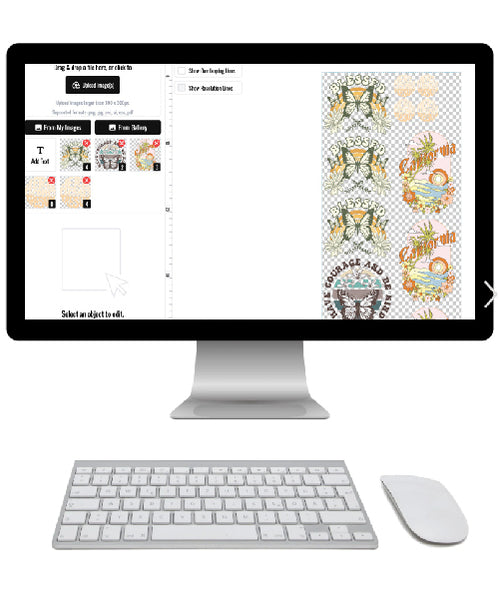
The Auto-Build gang sheet builder does the arranging for you. It places approved designs on the sheet, cuts out manual layout time, and fills space you'd otherwise waste rebuilding files one size at a time. Chosen for ease of use and cost effectiveness, it is the fastest way to turn print-ready designs into an order-ready sheet.
With transfer pricing as low as $0.017 per square inch, empty space on a sheet is money left behind. Work through our guide to building DTF gang sheets, then run a final check on your artwork before you start:
- Size matches the dimensions you intend to print.
- 300 DPI holds up at final size.
- Transparency clears out unwanted backgrounds.
- Color check confirms the shades you actually want.
Open the Auto-Build gang sheet builder and put your verified sheet together today.
A few upload questions come up again and again, so let's clear them up before you approve your transfers.
FAQ
What Does Print Ready Mean if I Only Have a PNG?
Your PNG can absolutely be print ready. It just needs to be built at the final print dimensions, hold at least 300 DPI at that size, and have a transparent background anywhere the fabric should show through.
Think of it this way: prep a back print for the actual back-print size. Don't stretch a small chest logo to fit a large shirt during ordering. Our PNG preparation guide breaks down how the format works.
- Keep the PNG when the detail still looks clean at the size you need.
- Choose vector artwork for logos or lettering that have to stay sharp across different sizes.
Our raster versus vector comparison will help you pick the right one.
Can I Upload Artwork That Looks Sharp on My Phone?
Only after you've checked the real file at production size. A phone screen compresses everything, a bit like judging a mural from across the street.
Low-resolution or poor-quality source files aren't covered by reprints. Look closely at small text and fine lines before you order, and ask for help if it's already looking soft.
Approve the artwork you'll print, not the thumbnail you can see.
Do I Need a PDF/X File for DTF?
Not automatically. PDF/X was built for commercial prepress problems like missing fonts, missing links, color handling, and transparency, as this guide to PDF/X requirements explains.
For apparel, a transparent PNG or vector works just fine as long as it meets the printer's specs. Just changing the extension won't fix artwork that isn't ready.
Before you export, go in this order:
- Confirm the accepted format.
- Finish the artwork at its intended size.
- Inspect the exported file, including its background.
How Does the Auto-Build Gang Sheet Builder Help?
Our Auto-build gang sheet builder takes finished artwork and arranges it for you. It cuts down manual layout work and helps you get more out of your sheet space for ease of use and cost effectiveness. The gang sheet builder guide walks through the workflow.
But layout isn't artwork repair. If your file itself needs work, vectorization, logo or shirt design, and a done-for-you gang sheet service are available before production.
Get your next order ready with Lion DTF Transfers. Double-check your exported file, then visit Lion DTF Transfers to arrange your approved designs with our Auto-build gang sheet builder for ease of use and cost effectiveness or ask for artwork help before ordering.