










You've got a clean stainless steel tumbler, a sharp design, and a customer waiting for a finished product. Then the decal wrinkles around the curve, traps a bubble, or starts lifting after the first few washes. That failure usually isn't caused by the artwork. It comes from choosing the wrong substrate, rushing the application, or promising more durability than the customer's care habits can support.
UV DTF decals for tumblers solve many of the problems associated with heat-based decoration, but they aren't magic stickers. The surface, curvature, placement, adhesive contact, and washing routine all affect the result. Treat the process like hard-goods production rather than a quick peel-and-stick job, and you'll get cleaner edges, fewer returns, and more realistic customer expectations.
Why UV DTF Works Best for Drinkware
Start with the tumbler, not the transfer. A smooth, non-porous surface gives the adhesive a consistent area to contact, while textured, chalky, rubberized, or heavily uneven finishes create weak points. Stainless steel, smooth glass, acrylic, glossy plastic, and compatible coated aluminum are generally better candidates than rough or soft-touch finishes, as noted in this guide to UV DTF decals for hard surfaces.
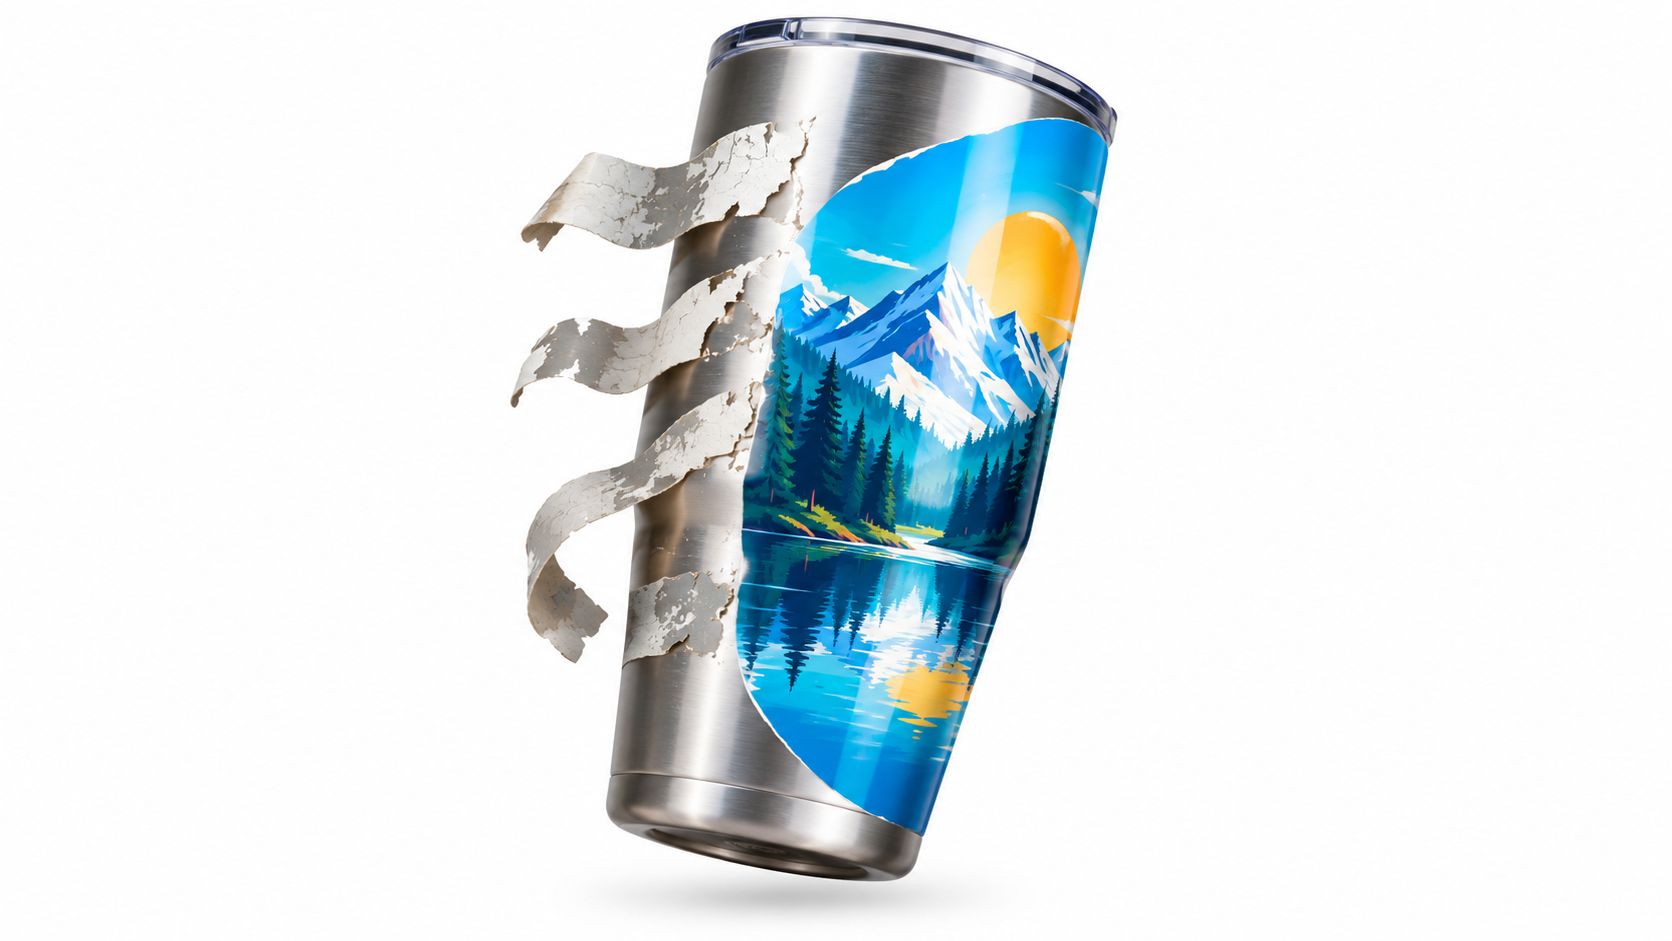
UV DTF is a relatively new hard-goods decoration method that uses UV-curable inks and pressure-sensitive adhesive to create peel-and-stick decals for smooth surfaces like tumblers. The UV curing process hardens the ink during printing and eliminates the need for a heat press, which matters because stainless steel and many plastic tumblers can't safely tolerate heat-press temperatures. The comparison of UV DTF and traditional DTF printing explains why this distinction matters for drinkware.
Heat is not the whole answer
Traditional apparel DTF is designed to bond with heat and pressure. Sublimation requires a compatible coating and controlled heat. Those methods have their place, but they aren't interchangeable with a pressure-sensitive decal designed for a finished hard surface.
That difference makes UV DTF practical for insulated drinkware, finished bottles, and plastic cups where high heat can damage the blank, affect the coating, or create an unsafe application setup. You still need pressure during application, but the pressure activates contact between the adhesive and the substrate rather than replacing a heat-transfer process. More detail on the material distinction is available in this UV DTF overview for hard goods.
The surface decides the outcome
A tumbler can look smooth and still carry manufacturing residue, hand oils, dust, or cleaning-product film. Those contaminants interrupt adhesive contact. That's why surface preparation belongs at the beginning of the workflow, not as a rushed wipe immediately before the decal goes down.
The practical order is simple:
- Choose a compatible blank. Favor a smooth, non-porous finish and inspect the intended design area for texture, seams, deep curves, or coating defects.
- Clean before positioning. Use a high-concentration isopropyl alcohol wipe and let the surface dry completely.
- Keep the adhesive clean. Once the tumbler is prepared, don't touch the application zone with bare fingers.
- Plan the design placement. Avoid assuming that a wrap made for one cup format will fit another just because both are called tumblers.
UV DTF earns its place in drinkware decoration because it works with the realities of hard surfaces. It doesn't remove the need for careful production. It makes careful production possible without putting the tumbler through a heat-press cycle.
Preparing the Tumbler Surface for Adhesion
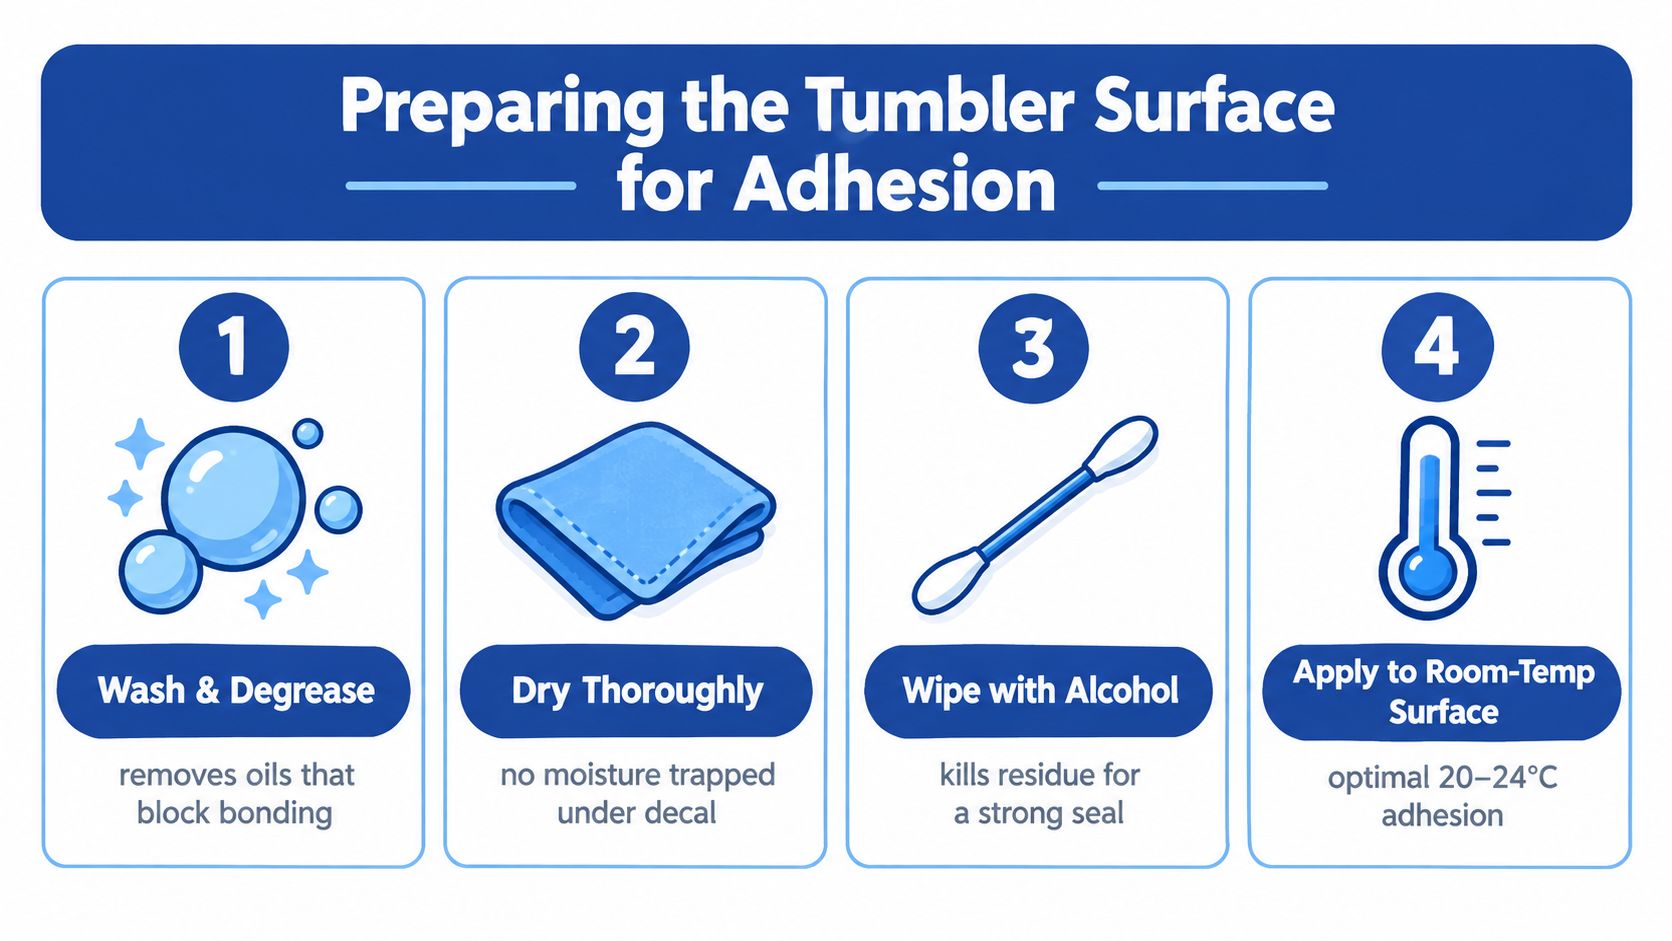
A decal can leave the shop looking perfect and still fail after the first wash. On smooth stainless steel, acrylic, glass, and glossy plastic, the problem is often invisible contamination rather than the transfer itself. Skin oils, packing dust, polishing residue, and cleaner film interrupt adhesive contact, especially along edges that flex slightly over a curved wall. Surface preparation determines whether the adhesive can wet out across the non-porous substrate.
Clean, dry, and stop touching it
Remove visible grime first, particularly from tumblers handled during packing or storage. Follow with 91% or higher isopropyl alcohol, then let the surface flash off completely. The recommended UV DTF tumbler workflow also calls for firm center-to-edge pressure during application and a 24-hour rest before the first wash.
A damp cloth is not a substitute for alcohol cleaning. Water can remain in microscopic surface irregularities, while household cleaners may leave a coating that feels clean but weakens adhesion. Use a lint-free cloth and rotate it to a clean section as residue transfers away. Hold the tumbler by areas that will not receive the decal.
Practical rule: Once the surface is clean, treat it like a freshly prepared screen. Touching the application area can put the failure point back before the transfer reaches the tumbler.
The blank should be dry and close to a stable room temperature. Cold metal and humid shop conditions can make the adhesive less cooperative, and condensation creates a direct adhesion problem. Brief heat assistance around 180–200°F may accelerate bonding in those conditions, but it is optional. Heat cannot compensate for oil, dust, or cleaner residue.
Check the surface before applying
Run a clean fingertip only over an area that will remain undecorated, then inspect the design zone under strong light. Look for seams, coating defects, deep texture, or a sharp change in curvature. A tumbler may feel smooth while a powder-coated patch, weld line, or tapered section creates uneven contact. Those areas are more likely to show edge lift during washing and repeated handling.
Cut the design with enough surrounding carrier film to hold it without touching the adhesive. Position the transfer before removing the backing completely. For a narrow decal, expose a small edge and establish an anchor point first. Use a squeegee, hard roller, or firm card to press from the center toward the edges, then work downward along the curve. Rotate the cylindrical blank gradually rather than forcing the entire transfer around it in one movement.
Small bubbles are easier to prevent than repair. If one remains after the transfer is seated, avoid repeatedly lifting and repositioning the decal, since that exposes the adhesive to dust and oils. A tiny pin prick followed by firm smoothing can release a stubborn bubble. Large wrinkles usually mean the transfer moved too quickly or began out of alignment. Care habits still decide longevity: gentle washing and limited abrasion protect the bond, while frequent scrubbing and rough handling expose weak edges sooner.
Applying UV DTF to Curved Surfaces
Curved, non-porous tumbler walls expose weaknesses that stay hidden on flat blanks. The decal must bend while the adhesive establishes contact, so tension can collect along the top, bottom, or outside edge. Full wraps add alignment risk because the first and last edges must meet without a visible step, gap, or overlap. A slow rolling application gives you control over both problems.
For a single graphic, mark the intended height with removable tape or a visual reference. Hold the tumbler securely, expose only a small section of adhesive, and set that section first. Roll the tumbler beneath the transfer while pressing from the center toward the edges. This lets the decal follow the wall progressively instead of forcing a flat sheet around the entire curve at once.
Full wraps need dimensional discipline
A full wrap requires more planning than a front-facing logo. Check the circumference, taper, handle position, lid clearance, and the areas the user will grip repeatedly. A design can reach around the blank and still fail visually if it crowds the rim, crosses a handle opening, or places a seam where fingers and clothing will rub it.
A masking-tape hinge keeps the starting edge fixed. Position the wrap, secure one edge with tape, and use the hinge to expose the backing gradually. Roll the tumbler slowly onto the transfer, smoothing from the center outward. The tumbler wrap application guide recommends this process and explains slow carrier removal at a very low angle. Its alignment advice is also expanded in this UV DTF wraps guide.
The mistake I see most often is treating a curved blank like a flat sign. A decal has to travel around the tumbler under controlled pressure. If it is slapped down, a small error at the anchor point grows across the curve, leaving wrinkles or a mismatched wrap seam.
Work in short sections on tapered tumblers and around fine lettering. Smaller contact areas let you adjust pressure before a wrinkle crosses the graphic. A handle can serve as a visual break, but only when the artwork was built around its position. A generic wrap may leave an awkward gap or force important details into a high-contact zone.
Bubbles, edges, and carrier removal
After the design is seated, burnish it again, concentrating on the perimeter, narrow letter counters, and small decorative details. Peel the clear carrier slowly and close to the surface. Pulling upward can lift details that have not fully bonded to the coating.
If a small element rises with the carrier, stop. Press it down, smooth it firmly, and continue at a lower angle. A raised or textured ink effect is not automatically a failure. Incomplete edge contact is the warning sign because it gives washing and handling a place to start lifting the decal.
Practice the rolling motion on spare blanks before using a customer's tumbler. The method is inexpensive to learn and costly to skip. Clean results depend on the first anchor point, pressure direction, wrap alignment, and controlled carrier removal, not on speed.
Curing, Sealing, and Durability Expectations
A decal can feel firmly attached minutes after application and still fail during its first wash. Curved, non-porous tumbler surfaces leave little room for a weak edge bond to recover. Give the adhesive a 24-hour rest before the first wash, and keep the finished piece dry during that period.
Early moisture can work under an edge before the bond has settled. Abrasion creates the same problem. Do not stack finished tumblers so their graphics rub together, and protect the printed area during packing. A transfer that survives application can still be damaged before the customer receives it.
Durability is conditional, not guaranteed
Consumer-facing guidance commonly places UV DTF tumbler durability at 1–3 years with regular hand washing, while normal-use estimates can reach 2–5 years depending on the surface, environmental exposure, ink, and care routine. Those ranges appear in this UV DTF decal application and durability guide, but they are conditional expectations, not a promise for every blank.
Dishwasher use creates the largest expectation gap. Heat, detergent chemistry, spray pressure, and repeated exposure can shorten the useful life of the adhesive and finish. Recommend hand washing when the customer wants the design to remain intact. Prolonged soaking is also a poor choice, even when the decal is described as waterproof.
Waterproof doesn't mean maintenance-free. A design may resist ordinary splashes while wearing faster under heat, harsh chemicals, repeated scrubbing, and constant friction.
The tumbler's shape changes how wear develops. A graphic near the bottom edge can rub against tables and counters. One beneath the main grip receives repeated skin contact. Areas beside a lid, handle, or accessory may experience constant rubbing, especially on a curved surface where pressure is uneven. Keep important details away from those zones when the format allows it.
Build durability into the design
Separate visual impact from contact risk. Place fine lettering, small linework, and delicate edges in a protected central area. Use larger, simpler elements where a hand, sleeve, or carrying accessory will repeatedly pass over the surface. On a tapered tumbler, a design that looks balanced in a flat proof may place its most fragile details directly on a high-contact curve.
Sealing over the decal may suit some product designs, but it changes the finish, labor, and maintenance profile. A clear coat will not correct poor surface preparation, incomplete edge contact, or an unsuitable blank. Start with a compatible surface, apply the transfer correctly, and explain hand-wash care clearly.
Clear product guidance also protects the business. Customers are less likely to view ordinary wear as a defect when they understand that longevity depends on application and use. Describe what the tumbler can reasonably handle, rather than implying that a decorative surface is immune to friction, chemicals, heat, or soaking.
Designing and Ordering with Lion DTF
A transfer can fail before it reaches the tumbler. Build the artwork at the actual finished size and 300 DPI, then add 3–5 mm of bleed for full wraps. That extra area helps prevent a narrow blank strip at the seam when alignment shifts slightly during application. The technical tumbler wrap guidance on sizing and compatibility also recommends vector logos where possible. Vector files keep lettering and sharp branding cleaner than raster artwork when edges need to stay precise.
Fit the format, not just the artwork
Measure the actual blank instead of trusting the product name. A skinny tumbler, open-top cup, handled vessel, or miniature accessory may need different dimensions and placement. Check the usable area near the rim, base, handle, lid, and grip zone before finalizing the file.
Use a production checklist:
- Confirm the blank. Record usable height, circumference, taper, finish, and any handle or seam that interrupts the application area.
- Set the safe design zone. Keep important text away from edges and sections that receive frequent contact.
- Prepare the file. Work at actual size, use 300 DPI raster artwork where applicable, and add bleed to full-wrap layouts.
- Choose the application format. A front graphic is often easier to align than a continuous wrap, particularly on a tapered or handled tumbler.
- Proof the fit. A paper mockup or measured template can expose a bad seam before you order printed transfers.
A “tumbler wrap” is not a universal format. Artwork made for one circumference can distort, leave a gap, or crowd a handle on another blank. Surface compatibility matters as well. Smooth coated metal may accept a decal cleanly, while textured powder coating or a rubberized finish can reduce contact and make trapped bubbles harder to remove.
Use gang sheets to reduce production waste
One decal at a time is reasonable for testing. Repeated small orders become inefficient when a production run includes several sizes, colorways, or customer names. Lion DTF Transfers offers an Auto-build gang sheet builder that arranges multiple UV DTF designs on one sheet, helping use the available film more efficiently and reduce unused space.
That workflow suits a tumbler line with a front logo, full wrap, small accessory mark, and personalized versions. Prepare those formats together instead of treating every graphic as a separate order. The value comes from disciplined layout, not from shrinking artwork below a usable size.
Keep the required bleed, preserve readable details, and group designs that share similar production needs. A crowded sheet is not efficient if it creates pieces that are difficult to cut, weed, position, or apply.
Challenge the dishwasher assumption
A decal described as waterproof still needs a clear care policy. Tell customers to hand wash, avoid harsh scrubbing over the design, and understand that dishwasher cycles can shorten the finish's life. Heat, detergent, and friction all affect a decorative surface, so permanent-looking artwork should not be presented as immune to wear.
High-contact placement deserves the same honesty. A tumbler used every day will wear differently from a display piece or lightly handled gift. Design placement, blank selection, surface preparation, application, and aftercare work together. A gang sheet cannot compensate for a textured substrate or repeated scrubbing by the customer.
Lion DTF Transfers offers UV DTF stickers, cup wraps, and an Auto-build gang sheet builder for producing properly sized tumbler graphics with less layout waste. Visit Lion DTF Transfers to order UV DTF transfers for a drinkware workflow built around compatible blanks, careful application, and realistic care expectations.