



The popular advice is to order the fastest shipping you can afford and press at one temperature for everything. That's how rush jobs fail. Rush DTF transfers don't get late at the carrier. They get late when a proof sits unapproved, a file needs resizing, or a polyester hoodie gets pressed like cotton. Count backward from the event date, budget a test press and a wash test, and you'll land earlier with a cheaper option than the shop that just paid for air freight.
Rush DTF Turnaround Options at a Glance
Rush time is production plus transit, and the clock starts at approval, not checkout.
| Option | Production window | Delivery | Best fit |
|---|---|---|---|
| 24-hour production | 24 hours | Ship or pick up after production | Event or game-day merch with a fixed date |
| Same-day pickup | Same business day when the cut-off is met | In-person pickup | Local teams and shops that need transfers today |
| Next-day air | 24 hours | Next-day air | Late-stage orders where the garment is already on hand |
| Standard shipping | 24 hours | Ground delivery | Restocking and non-urgent batches |
Where the clock actually starts
Production can't begin until your file is checked and you've approved the proof. An order paid for at 9 a.m. with a proof approved at 4 p.m. hasn't lost shipping time. It's lost most of a production day. The two delays that break timelines are an unapproved proof and a file that needs resizing. Both are in your control.
Say a school needs spirit shirts for a Thursday game and orders Tuesday morning. Production has to finish Wednesday so the sheets ship that day and arrive Thursday morning at the latest. That leaves no room to press, so it isn't really a Thursday plan. Move the target to Wednesday arrival and you've got a day to press and fix a mistake.
How to choose
- Fixed-date merch: Pick 24-hour production and a delivery route that lands a day early.
- Local and desperate: Same-day pickup removes transit entirely, if you can collect in person.
- Garments already in hand: Next-day air helps only when production is already accounted for.
- Any slack in the deadline: Standard shipping is the sensible fallback, not a compromise.
Count back from the event, subtract transit, subtract a test day, then pick the cheapest option that still lands a day early.
That test day matters. A press test on a spare garment and a wash cycle on the first sheet both count against the deadline. If you don't budget them, you'll skip them, and skipping them is where peeling starts.
Prepare Files for a Fast Gang Sheet
A logo pulled from a social post will not survive a rush gang sheet. It looks fine on a phone and soft on film, and soft edges do not sharpen on a shirt. Fix the file before you upload. A hold for a missing font or a resize spends the production day you were counting on, so the deadline starts from a later approval, not from checkout.
Build print-ready files
- Export at final size at 300 dpi with a transparent background. Stretching a small logo later is the usual slip, and it shows up as a fuzzy edge once the sheet is pressed.
- Convert text to outlines or embed your fonts. A missing font is the hold I would rather never see on a rush job. If you cannot outline it, name the font in the order notes so nobody has to guess.
- Leave a clear margin around every design. Cutting needs room, and tight spacing clips edges. Crowded sheets also slow trimming after the sheets land, which is the wrong moment to lose time.
Check orientation, then the preview
- Confirm whether the artwork needs mirroring, and read every word in the preview. Text is where a mirror error hides. It is obvious on a finished shirt and easy to miss if you only skim the thumbnail.
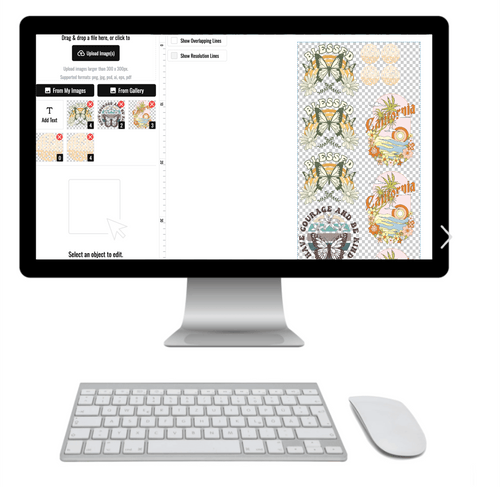
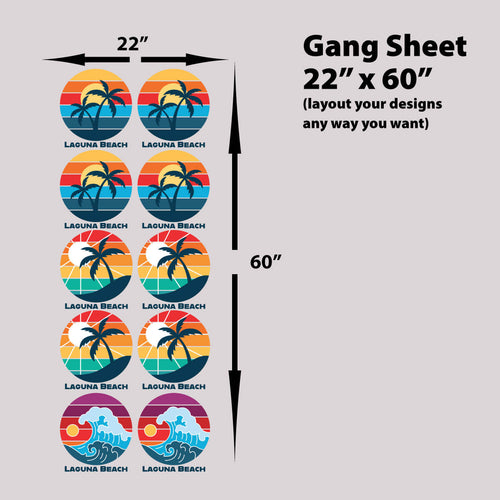
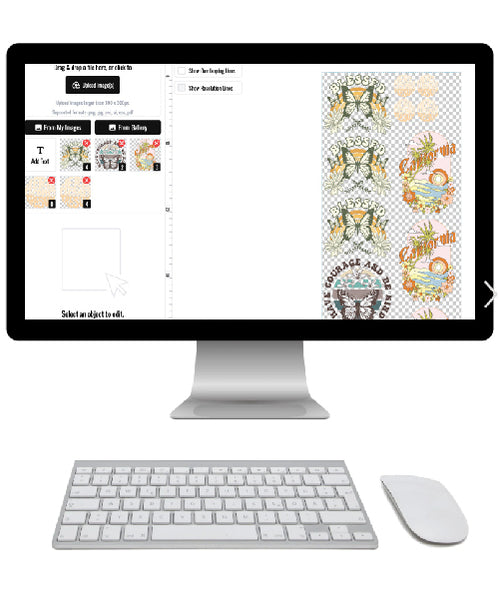
- Upload every design to the online gang sheet builder and check spacing and sizes in the preview before you approve. Placement is still yours to confirm. If two names sit too close, or a number is an inch short, catch it here. The gang sheet builder guide walks through sizing and layout.
FESPA reporting on smart DTF software notes businesses using advanced solutions have reported waste reductions of 30% to 40% compared with traditional approaches. That range depends on software, artwork arrangement, printer settings, and operator practice, so treat it as a benchmark, not a promise for your sheet. On a rush job the payoff is simpler: less wasted film and a lower cost per piece when designs sit cleanly, without specialist layout software at 11 p.m.
Last check before approval: Count the designs, confirm the quantity per design, and view the preview at 100 percent.
That 100 percent view is where fuzzy edges, stray background boxes, and a design an inch smaller than you intended show up. Two minutes there beats a reprint you do not have time for.
Place the Rush Order and Confirm Before Paying
Payment is the last step, not the first. Run this sequence in order and your production window means what it says.
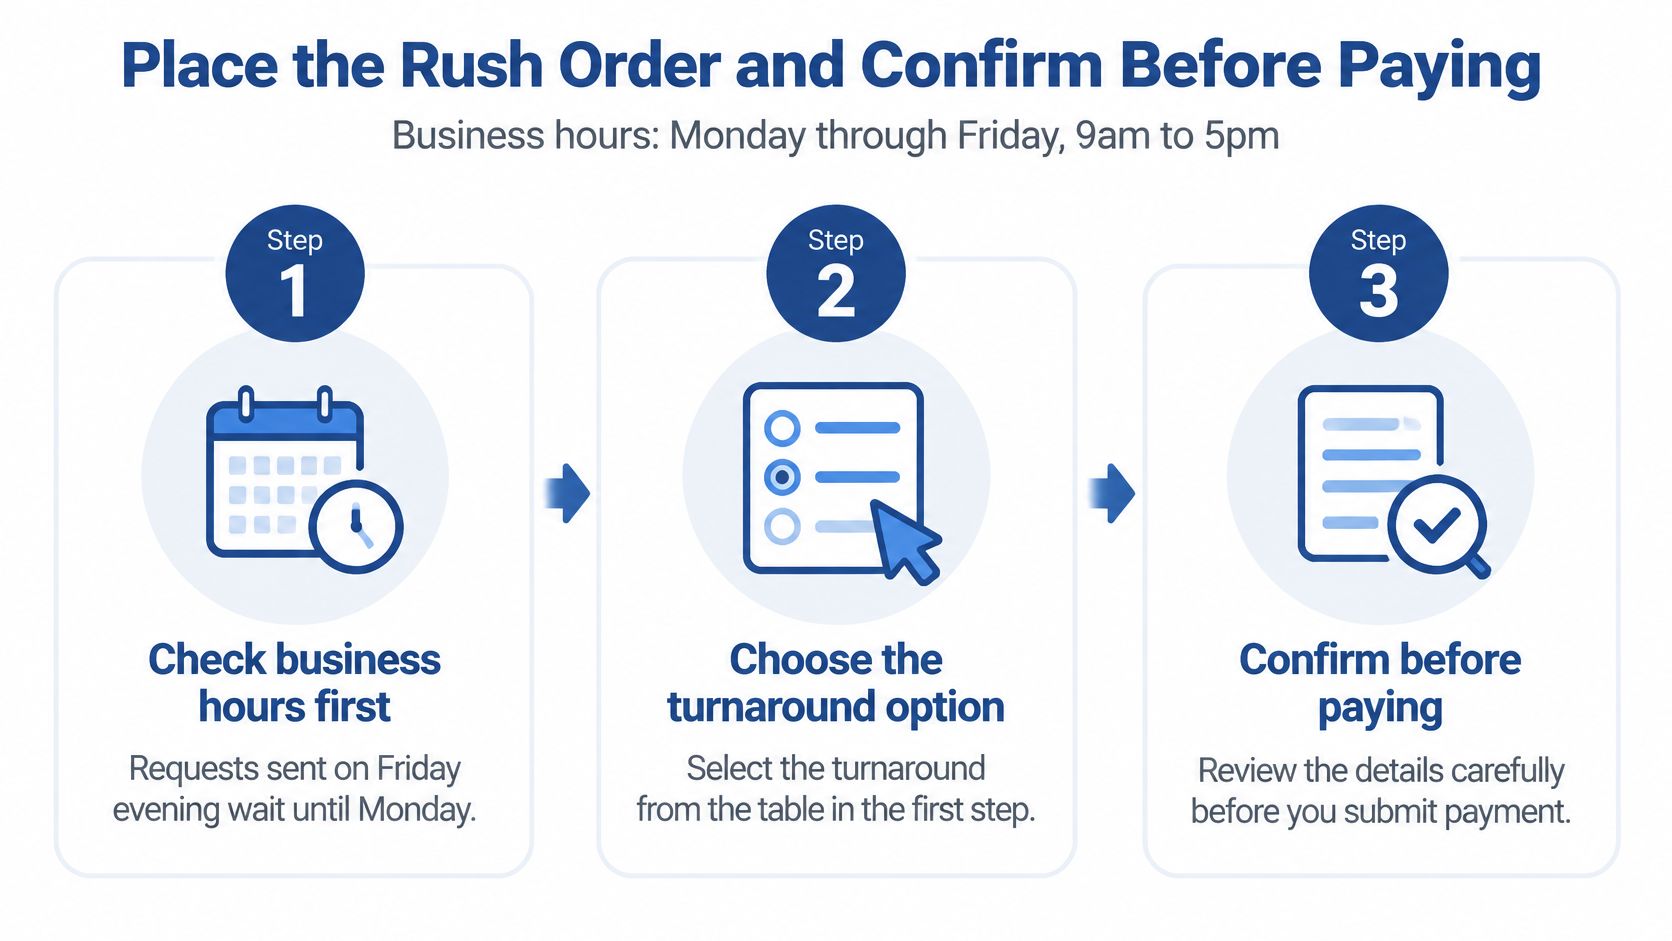
The ordering sequence
- Check business hours first. We're open Monday through Friday, 9am to 5pm, so a request sent Friday evening waits until Monday. A Friday night order with a Monday deadline isn't a rush order. It's a problem you haven't noticed yet.
- Choose the turnaround by counting back from the event date minus transit. We run a 24-hour production speed, but that window only helps if transit still fits after it. Work the dates on paper before you touch the checkout.
- Upload print-ready files to our Auto-build gang sheet builder and check the preview. Look specifically for cut-off edges, resolution problems, and sizing. It's built for ease of use and cost effectiveness, since nesting designs tightly means less wasted film and a lower cost per piece.
- Confirm sizes and quantities before paying. We may limit or cancel quantities purchased per person, per household, or per order, and a split order changes your timeline. If you're ordering for a team, settle the size run with the coach before you pay, not after.
- Approve the proof promptly. Production starts at approval. A proof that waits overnight eats your 24-hour window whole, and no shipping upgrade buys that day back.
- Track delivery and calendar the arrival date with a one-day buffer. Put the pressing session on the calendar too, with a named operator. Unscheduled pressing is how sheets sit in a box while the event approaches.
Three checks before you pay
- Date check: The option matches the event date minus transit, with a day to spare.
- File check: Every file passed the preview at full size.
- Test check: The first sheet is scheduled for a press test and wash test before the full batch.
One more thing for team orders. Add two or three extra pieces in the most common size. A single missing transfer discovered at the event is the costliest rush problem there is, and spares are cheap insurance. Count back from the event date, not forward from checkout.
Inspect and Store Rush Transfers on Arrival
Receiving is a production step, not an afterthought. The box shouldn't leave your receiving area until you've checked it against the order confirmation for sheet count, design count, quantities, and sizes. A shortfall found now can still be fixed inside your deadline. A shortfall found at the press can't.
Inspect every sheet under good light
Open each sheet on a clean, flat surface and look closely at the film. You're checking for powder that isn't fused, pinholes, uneven adhesive coverage, and edges that lifted in transit. Run a fingertip lightly near an edge if something looks suspect. Rough, sandy patches where the rest of the sheet looks smooth are a warning sign.
Confirm the artwork is mirrored correctly and the orientation matches the preview you approved. Check text-heavy designs first, since a flipped word is the error your customers will spot instantly. Then verify sizes against a ruler on at least one design per sheet. Previews can deceive you about scale, and discovering a chest logo is sleeve-sized mid-batch wastes garments.
Log problems the same day
If something's short or damaged, photograph it and contact us the same day. Photos of the sheet, the packaging, and the shipping label give us what we need to arrange a replacement before your event date. Waiting until pressing day to mention a damaged sheet leaves nobody any options.
A defect reported on arrival day is a reship. The same defect reported on pressing day is a missed event.
Store sheets flat, out of direct sunlight, away from heat sources and dust until you're ready to press. Don't lean them against a wall near the press, and don't leave them in a hot vehicle between the shop and the venue. When you're set up, press the first sheet onto a spare garment and run the wash test before the full batch. Receiving is your last checkpoint, so treat the inspection like it matters, because the run starts here.
How to Press Rush Transfers Right the First Time
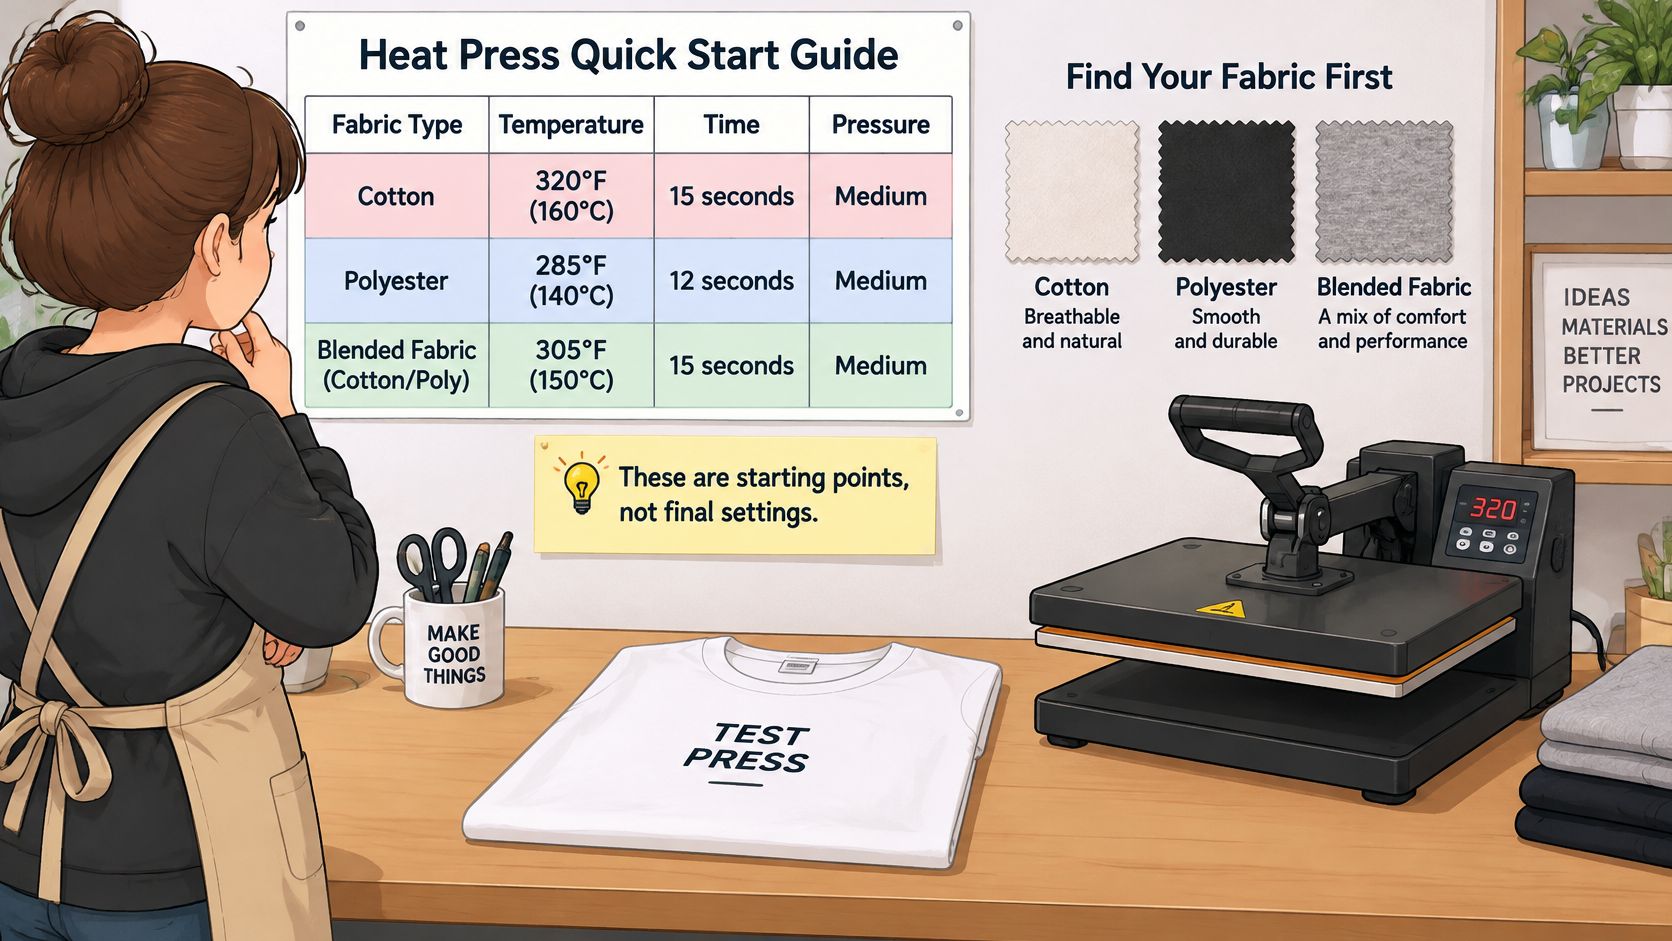
Start with your fabric, then press. These are starting points, not final settings, and every row needs verifying on a spare garment.
| Fabric | Temperature | Time | Note |
|---|---|---|---|
| Standard reference | 300°F (150°C) | 7 seconds | Documented starting point, adjust by fabric |
| Cotton | 300-325°F (150-163°C) | 10-15 seconds | Firm, even pressure across the full design |
| Polyester and performance fabrics | 270-285°F | 10 seconds starting point | Lower temperature reduces dye migration and scorching |
| Cotton-polyester blends | Between the polyester and cotton ranges | Start short, extend only after a test | Test a spare garment, settings often fall between the rows above |
| Heat-sensitive synthetics | Lowest setting that bonds on a test piece | Shortest dwell that bonds fully | Qualify settings for each fabric before a rush batch |
The ranges differ for a reason. The heat press temperature and time settings guide lists cotton around 300-325°F for 10-15 seconds and polyester and performance fabrics around 270-285°F, and notes that even a 10°F or five-second error can contribute to early failure. One universal recipe is the fastest way to ruin a mixed-fabric order.
Here's a quick visual reference for matching settings to fabric before you start.
The pressing steps
- Pre-press the garment briefly to remove moisture and wrinkles. Damp fabric is a quiet cause of weak bonds.
- Position the transfer on a flat, seam-free area. Seams and zippers break platen contact and leave unpressed patches.
- Press at the table temperature with firm, even pressure for the full dwell time. Don't lift early to peek.
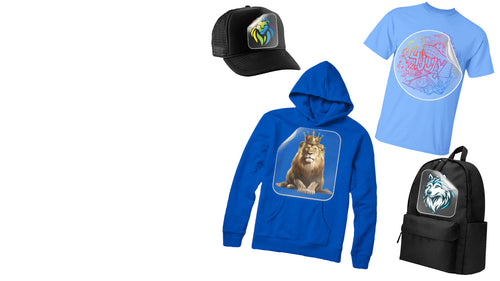
- Hot-peel promptly in one smooth motion while the garment stays flat. Our transfers are hot peel, so the carrier comes off right after pressing and you can move to the next piece without a cooling queue.
- Use a short covered second press if the finish needs it. It improves surface feel and helps the bond, but it's a finishing step, not a rescue for a bad first press.
Watch the full sequence once before your first rush batch, then keep your own settings sheet at the press.
The pitfalls are consistent: uneven platen contact, pressing across seams or zippers, insufficient pressure, and moisture in the garment. Batch by fabric so you're not changing temperature between every shirt, and record substrate, temperature, dwell, pressure, and peel timing for each new garment style. For step-by-step detail, see how to press DTF transfers before you scale up.
Shop rule: Test one garment per fabric and per setting, verify adhesion after it cools, then batch.
I wouldn't press a single customer garment until that test piece passes. On a rush job, the test feels slow. A failed batch is slower.
Verify Wash Durability Before You Commit the Run
A "100+ washes" claim tells you almost nothing by itself. Lion DTF transfers use premium hot peel film and are specified to last 100+ washes, but that number only means something when the test conditions are disclosed. Ask for garment type, laundering temperature, detergent, drying method, number of samples, and pass or fail criteria. Without those, you're comparing a number to a rumor.
A wash result only helps when you know the conditions it was measured under, so compare any claim against the laundering method you use. A result with those details hidden gives you nothing you can plan a returns policy around.
Count the pilot backward from the event, not forward from checkout. If the jerseys have to survive a Saturday tournament, the wash cycles have to finish before you press the rest of the gang sheet. A Friday delivery with no time to launder a sample is a guess, not a qualification. I would not commit the rest of the run until that sample has been through the wash the wearer will use.
Run your own pilot
- Press a sample with your intended production settings, not gentler test settings.
- Let it stabilize before washing so you're testing the bond, not the cooldown.
- Wash inside out with mild detergent, avoiding chlorine bleach and high heat.
- Inspect after repeated cycles for edge lift, cracking, peeling, gloss change, and color loss.
- Test each substrate separately. Dark cotton, cotton-polyester blends, and heat-sensitive polyester behave differently, so run at least one sample per fabric per press setting.
Comparative textile-transfer data on DTF cracking after washing shows strong early wash resistance, with visible discoloration and mechanical damage appearing after 100 cycles, and worse results where uneven iron pressure was used. Don't qualify a rush order with a hand iron. You'll qualify your ironing, not your transfers. How long DTF transfers last sets out what changes lifespan once those conditions are known.
Put small text in the pilot design. Fine lettering cracks before large solid fills. Discard any batch showing incomplete powder fusion, pinholes, edge lifting, or adhesion differences across the platen. Rejecting film on a rush deadline feels painful. Shipping a batch that peels after two washes costs more.
Fix Peeling, Scorching and Cracking Fast
Peeling and edge lift are the defects you'll see most, and they usually trace to pressure or peel timing rather than bad film. Start there before you change anything else.
| Symptom | Likely cause | Fix |
|---|---|---|
| Peeling or edge lift | Insufficient pressure, uneven platen contact or peeling at the wrong time | Check platen contact and pressure, then peel promptly in one smooth motion |
| Scorch marks or shine | Temperature too high for the fabric | Drop to the polyester range and shorten dwell time |
| Dye migration or color bleed | Heat too high for polyester or performance fabric | Lower temperature into the 270-285°F range and retest |
| Incomplete adhesion | Moisture in the garment or insufficient dwell | Pre-press to remove moisture and check dwell time |
| Cracking after washing | Weak bond, uneven pressure or harsh laundering | Requalify settings and wash inside out in mild detergent |
| Pinholes or powder not fused | Coverage or curing problem | Reject the batch and run a new test sheet before pressing more garments |
Tell similar symptoms apart
Scorching and dye migration get confused constantly, and the fixes differ. Scorching shows as browning or shine on the garment itself. The fabric is damaged, and no setting change repairs that piece. Dye migration shows as garment color bleeding into the transfer, or a faded, tinted look that appears after pressing polyester. The transfer looks wrong but the fabric is fine, and lowering temperature on the next piece solves it.
The stop rule
When a test garment fails, pause the batch. Change one variable at a time, temperature first, then time, then pressure, and retest before pressing more. Changing three things at once tells you nothing, and you'll chase the same defect all afternoon. Write down what you changed, even on tape stuck to the press.
Deadline pressure is also when safety slips, so keep it explicit.
- Ventilation running: A closed room and a hot press make for miserable, sloppy work.
- Fire-ready area: Keep the space around the press clear of film scraps and packaging.
- Press attended: Never leave a powered press unattended while you answer the door or chase a delivery.
If defects keep appearing after two retests, check your platen temperature and pressure before blaming the film or the design. Presses drift, corners run cooler than centers, and the display isn't a measurement. Verify the machine, then judge the transfer.
When your deadline is fixed and the garments are already on the table, we can help you work backward from that date with rush DTF transfers, gang sheets built through our Auto-build gang sheet builder, and hot-peel film that keeps pressing moving. Upload print-ready artwork, approve the proof fast, and we'll handle the production window so you can focus on the press test. Visit Lion DTF Transfers to build your sheet and get your rush order started today.