



You've got a stack of youth jerseys beside the press, a roster full of names, and a deadline that doesn't leave room for ruined blanks. The first name looks sharp when the carrier comes off. Then a parent sends a photo after the first wash, and the corners are lifting.
Heat transfer lettering lasts when you control the application, not when you turn up the heat and hope. Before pressing the rest of the roster, match the film to the garment, verify the platen temperature, and prove the bond on a sample you can wash and wear.
Press Settings for Every Lettering Film
A jersey that looks right straight off the press hasn't passed an adhesion test. The adhesive may have grabbed enough to release from the carrier without bonding evenly across the fabric. Keep a setting card beside the press so the next adjustment is deliberate.
For our hot-peel DTF application, 260°F, medium pressure, and 10–12 seconds is the working range. Peel immediately while the carrier is warm, except for small fonts and fine lines, which need a full cool before peeling. Those are product-specific instructions, not a recipe for every transfer sold as DTF.
Heat transfer lettering press settings
Use the construction to choose the row, then confirm the material's application sheet. The Technical University of Liberec textile-transfer paper describes general HTV guidance of 250–300°F (120–150°C), 10–15 seconds, and medium-firm pressure, alongside a published textile-transfer study band of 338–374°F (170–190°C), 10–15 seconds, and 35–40 pressure units.
| Lettering | Temperature | Time | Pressure | Peel |
|---|---|---|---|---|
| DTF hot peel | 260°F | 10–12 seconds | Medium | Peel immediately while warm |
| DTF small type or fine lines | 260°F | 10–12 seconds | Medium | Cold peel after a full cool |
| Standard HTV | 250–300°F (120–150°C) | 10–15 seconds | Medium to firm | Warm or cold, per the film sheet |
| Cast film | 300–320°F (149–160°C) | 10–15 seconds | Medium to firm | Per the film sheet |
| Glitter, flock, or metallic | Film's listed temperature, not hotter | 20–30 seconds | Medium to firm | Often warm or cold |
| Published textile-transfer study band | 338–374°F (170–190°C) | 10–15 seconds | 35–40 units | Only if the film sheet matches |
| Home iron on DTF | Cotton setting, no steam | Press in overlapping sections | Firm hand pressure | Cool completely, then peel |
The cast and specialty-film rows are construction-specific starting bands, not permission to override their labels. The study's pressure units also aren't interchangeable with the dial on a home press. A press without a pressure readout needs a documented mechanical setting and a sample check.
Build a useful setting card
Record verified platen temperature, pressure setting, dwell, fabric composition, and peel condition. Include the film name and garment style so nobody accidentally applies yesterday's cotton-shirt recipe to today's polyester jersey.
Verify the platen with a suitable contact temperature probe or heat-press test strips. Don't trust the display alone, and don't assume a reading from the center proves the edges are equally hot.
Practical rule: A hotter platen isn't a substitute for missing dwell time or uneven pressure.
Briefly prepress the garment, position the lettering with its carrier intact, and keep the application area flat. After the sample cools, gently flex the cloth and work at a letter edge with a fingertip. If a corner lifts, stop before committing the remaining blanks.
Choose Film and Stage a Gang Sheet
Cotton practice shirts, polyester jerseys, and stretch training tops can all carry team lettering, but their surfaces and heat tolerance differ. Choose the blank first, then match the transfer method and film to it.
Cotton, polyester, and cotton-poly blends can accept suitable DTF or HTV when the adhesive activates properly. For coated performance knits, thin synthetics, and elastic garments, test on matching scrap or a spare blank. A film approved for lower application temperatures is a better choice than underheating standard adhesive.
Match the method to the artwork
For single-color block lettering, cut HTV gives you control over individual pieces. The trade-off is weeding: every letter counter and small detail takes handling time. This guide to choosing heat transfer vinyl can help match the film to a lettering job.
Printed DTF suits rosters that combine names, numbers, small logos, and multiple colors. You cut the transfers apart instead of weeding each letter. Fine type still needs careful handling, and avoid placing stretch lettering across a seam that pulls against the design.
Use this preparation sequence before submitting artwork.
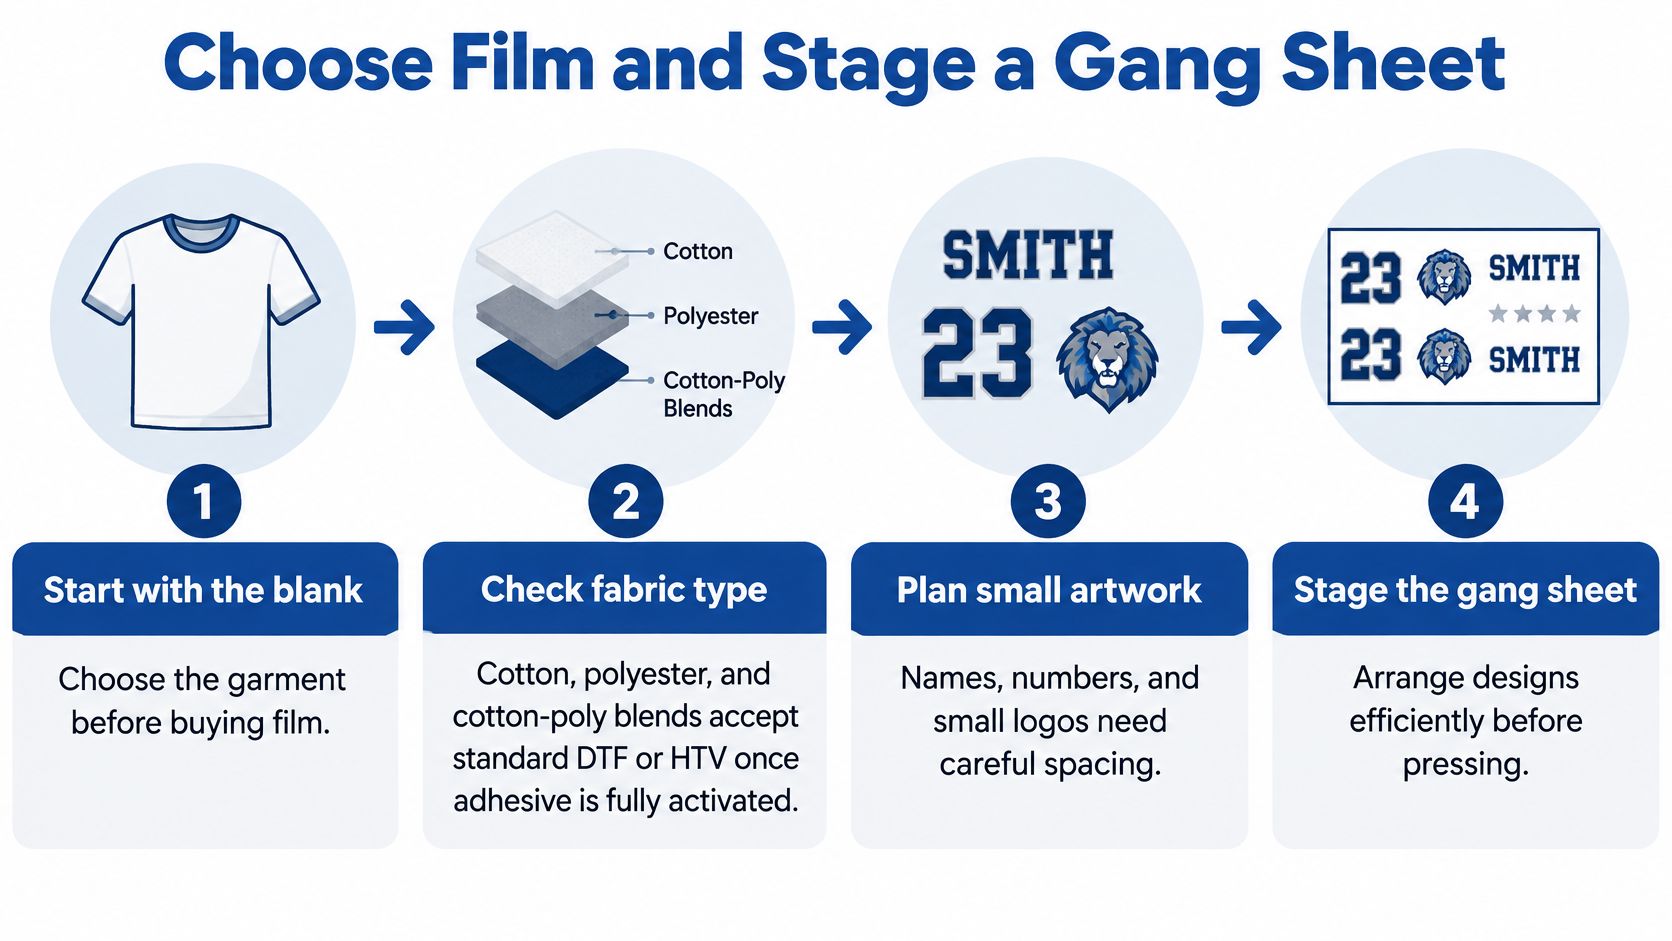
Keep each name, number, and logo identifiable in the layout. Leave enough cutting clearance to separate transfers without clipping a neighboring design. Check spelling at final print size, particularly similar-looking characters and player numbers.
Gang sheet versus separate prints
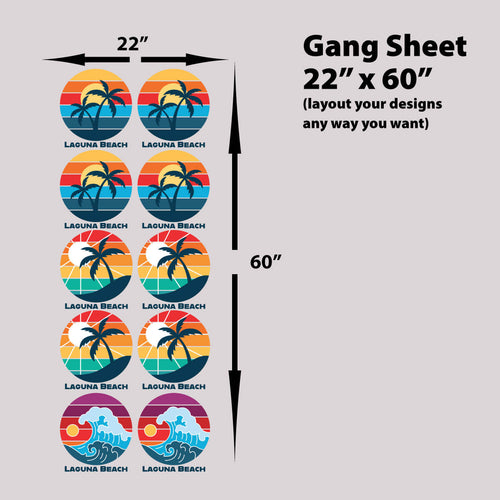
A gang sheet consolidates multiple designs on one sheet. The POD Methods gang-sheet guide describes 70–90% film utilization with competent nesting, and one loading and powder-application cycle per sheet. Separate prints can leave more unused borders.
Impressions' gang-sheet workflow coverage reports utilization above 85% for experienced decorators and transfer-cost reductions of roughly 40–60% compared with individual orders.
| Layout | Film utilization | Load and powder cycles | Cost effect |
|---|---|---|---|
| Separate prints | Wide empty borders | One cycle per design | Baseline cost |
| Competent gang sheet | 70–90%, above 85% for experienced decorators | One cycle per sheet | Reported 40–60% lower transfer cost |
These reported production savings apply to preparing the sheet, not pressing garments. Every placement still needs its own controlled application.
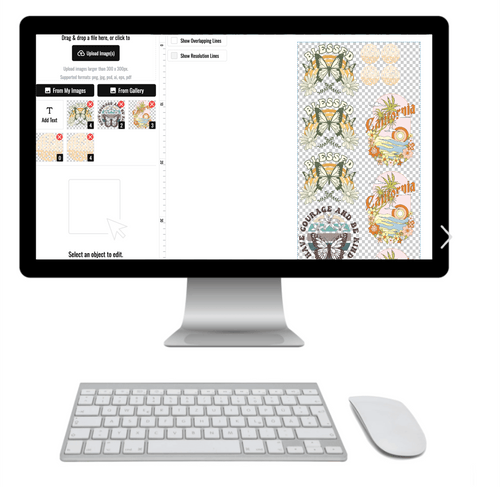
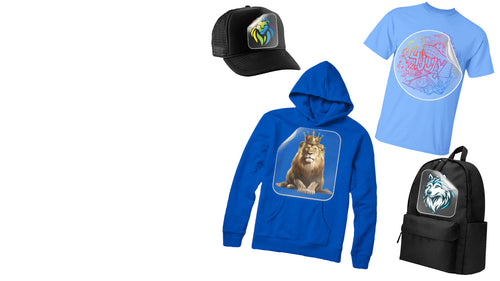
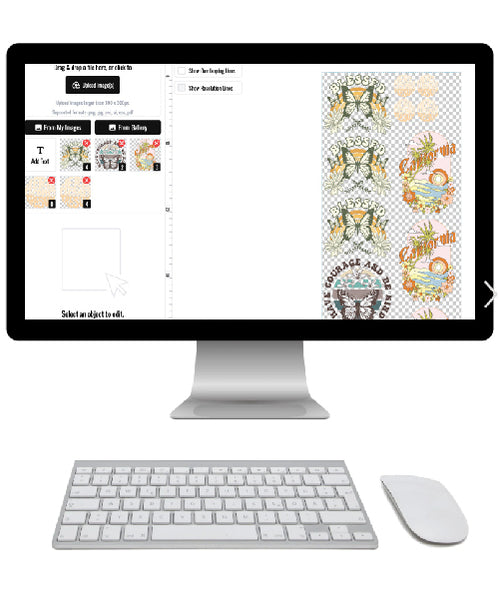
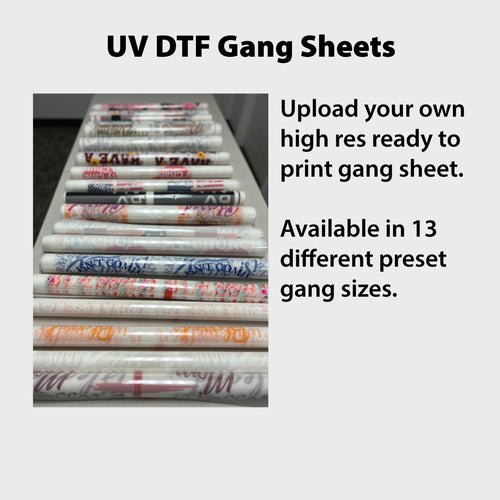
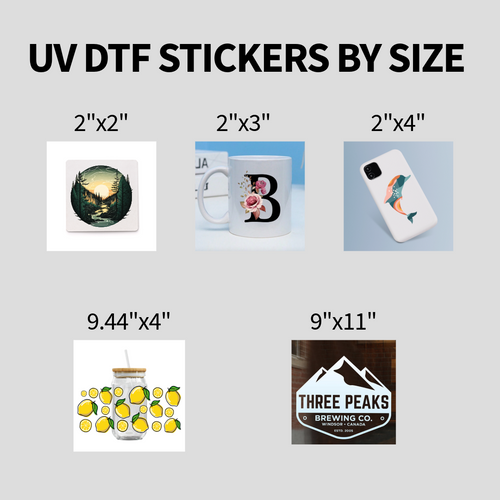
Our online gang sheet builder lets you create custom gang sheets, or you can use our We Build a Gang Sheet for You service and have the layout prepared for you. Lion DTF Transfers offers color matching and hot-peel DTF transfers. With DTF Print Only, you can create or upload artwork, choose single-size prints or gang sheets, and receive professionally printed transfers shipped directly to you. Services and supplies also include Apparel Pressing, Logo or Shirt Design, Vectorization, a Color Matching Guide, Supplies, and Blanks.
Stage cut pieces by player and garment size. Keep carriers flat and dry. Group fine lettering separately so it is not peeled with larger hot-peel elements.
Safety and Substrate Limits for Home Presses
A home press needs a stable work surface, clear working space, and a garment that tolerates the application. A cover sheet doesn't make an incompatible fabric heat-safe. If the garment label prohibits the heat your transfer requires, choose a different blank or a compatible lower-temperature transfer system.
The Brandum fabric-compatibility guide emphasizes substrate-specific validation because insufficient heat can leave adhesive underactivated while excessive heat can damage sensitive fabrics. That distinction matters most with coated performance garments and thin synthetics.
Protect the operator and the blank
Use parchment or a suitable Teflon cover sheet over the transfer. It separates the application from direct platen contact and helps limit marking, but it won't guarantee protection from scorching, dye migration, or compression shine. Check a hidden area before decorating a valuable garment.
- Ventilate the workspace: Press where air can move out of the room. Open a window or use exhaust ventilation; a fan should move air away from the operator, not blow loose transfers across the table.
- Keep hands clear: Use heat-resistant gloves when handling hot accessories or carriers. Keep fingers away from the closing mechanism and exposed platen.
- Shut down safely: Never leave a hot press unattended. Let it cool before cleaning or servicing it.
- Support the garment: Lay stretch and performance fabrics flat without pulling them taut. Keep zippers, pockets, and heavy seams outside the pressure area.
For heat-sensitive jerseys, use the polyester heat-press temperature guide to plan the test rather than borrowing a cotton setting. Watch for a shiny rectangle, puckering, discoloration, or a change in hand around the pressed area.
A successful application must leave both the lettering and the garment fit for use.
Know the limits of an iron
For the home-iron method, use the cotton setting without steam, work in overlapping sections, and let the backing cool completely before removal. Only use that method when the blank tolerates the iron setting. Don't force it onto a heat-sensitive synthetic.
An iron has a smaller working area and less repeatable pressure than a heat press. Support the garment on a firm, heat-safe board rather than a soft surface that absorbs pressure. A long surname is particularly difficult because overlapping passes can heat some letters more than others.
If you're producing a roster rather than a personal test piece, a calibrated heat press gives you a more controllable process. It still needs validation, but you can repeat its pressure and dwell without relying on hand force.
How to Press Heat Transfer Lettering
Run a complete sample before turning the job into a production line. Use the same garment style, lettering construction, cover sheet, and placement that the finished order will receive.
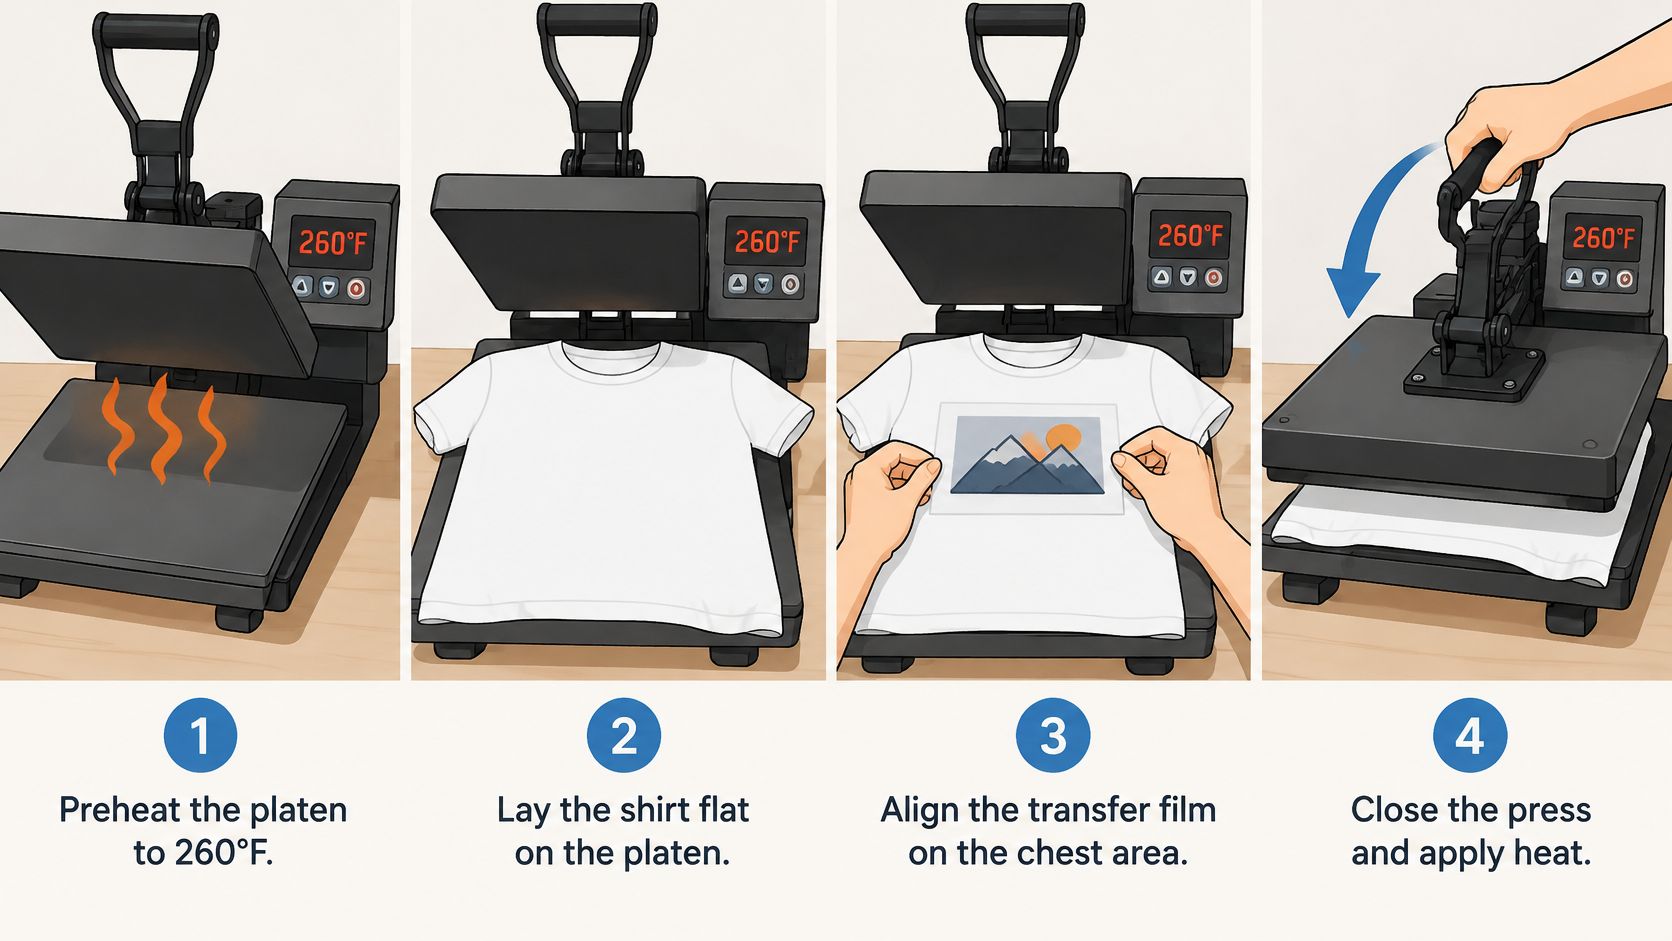
The illustration shows the basic arrangement of garment, carrier, and press.
Run the sample without shortcuts
- Preheat and verify the platen. For this hot-peel DTF workflow, bring the press to 260°F and verify the actual pressing surface. Let the press stabilize rather than loading the shirt as soon as the display reaches its target.
- Prepress the print side for 5 seconds. Smooth the blank onto the lower platen without stretching it. This pass removes moisture and flattens the surface so the lettering doesn't bridge wrinkles or trap damp areas.
- Position the lettering carrier-up. Square it to the garment's intended wearing position, not a crooked fold. On a jersey, check the relationship between the surname, shoulder line, and number; keep thick construction details outside the pressing area.
- Cover the transfer. Place Teflon or parchment over the carrier without shifting it. Check that the entire name sits beneath the effective platen area, including the end letters.
- Apply medium, even pressure. Use 10 seconds for the working application pass, or 12 seconds when the supplied transfer instructions call for that dwell. Close the press smoothly and don't rock the handle or move the shirt during application.
- Use the correct peel motion. For standard hot-peel lettering, remove the backing immediately while it's warm, keeping the garment supported. For small fonts or fine lines, wait until the transfer cools fully, then remove the carrier without pulling the cloth out of shape.
A wrong peel window can undo an otherwise sound application. Barnard's heat-press guidance distinguishes hot- and cold-peel products because the carrier must release under the conditions intended for that transfer.
Watch the application motion before handling the next sample.
Finish and release the job
- Use an optional finishing press only when appropriate. Cover the exposed design again with Teflon or parchment and press for 7–10 seconds. This is an optional finishing operation, not a way to rescue an application made with the wrong temperature or pressure.
- Let the sample cool before checking adhesion. Flex the fabric gently and inspect the ends of thin strokes, inside corners, and outer edges. With a home iron, wait for complete cooling before removing the backing rather than attempting the heat-press hot-peel method.
- Hold the remaining blanks until the sample passes. Record the actual settings and inspect for both adhesion and garment damage. Complete the wash-and-wear acceptance check before treating the process as ready for the full roster.
Don't stack freshly pressed shirts into a compressed pile while you're still evaluating the application. Keep the sample identifiable, and retain its setting card with the order. That way, a later defect can be traced to a specific material and process rather than guessed at from memory.
Fix Peeling Cracking and Poor Adhesion
Application errors are the first place to investigate early peeling. PrintablePress attributes about 70% of premature peeling failures to application-stage problems, a source-specific estimate rather than a universal benchmark; its guidance also places cast films around 300–320°F (149–160°C) for 10–15 seconds and some glitter, flock, and metallic constructions at 20–30 seconds.
Start with the shape of the failure. An outer corner lifting while the middle holds points to a different problem than an entire name releasing cleanly.
Lettering defects and the one change to make
| What you see | Likely cause | Change one thing |
|---|---|---|
| Corners lifting | Seam, hem, or uneven pressure | Move off the seam and repress evenly |
| Whole design peeling | Low heat, short dwell, or a dirty damp shirt | Verify platen temperature first, then test prepress and full dwell separately |
| Cracks after stretch or wash | Too hot, stiff film, or washed too soon | Test lower approved heat, a flexible film, or a longer prewash wait separately |
| Patchy or missing areas | Light pressure or dwell cut short | Restore even pressure; test added time, not temperature, on specialty films |
| Scorch, shine, or dye bleed | Excess heat, incompatible fabric, or no cover sheet | Test lower approved heat with parchment or Teflon |
| Wavy or stretched letters | Shirt shifted or peeled at the wrong heat | Hold the garment still and match hot or cold peel |
These are diagnostic starting points, not certain verdicts. A shiny area may be compression damage, while dye bleeding through a transfer may require a different transfer construction rather than another adjustment to the same film.
Separate repair from diagnosis
For lifting corners, inspect the lower platen before changing temperature. A hem, collar, or side seam can hold the platen away from the lettering. Thread the garment onto the platen or use a suitable pressing pad to isolate the decoration area.
If the whole name releases, check actual surface temperature and contamination. Lint, moisture, or a fabric finish can interfere with bonding. Test a clean, dry sample rather than repeatedly reheating a shirt whose adhesive has already been disturbed.
Troubleshooting discipline: Change a single variable, label the sample, and judge it after cooling and washing.
Set up a small validation matrix around the film's nominal setting. Test a cooler and a hotter condition within both the film's and garment's permitted range, holding pressure and dwell constant. Don't perform a hotter trial on fabric already showing heat damage.
For specialty films, give the construction its specified dwell instead of substituting a temperature increase. For cracked lettering, compare how the film and garment stretch together; a rigid decoration on a highly elastic placement may remain unsuitable even after a perfect press.
Log the film lot, garment composition, verified platen temperature, pressure, dwell, peel condition, and result. Keep immediate appearance and post-wash results separate. A repair that looks acceptable on the table hasn't proved that the underlying process is fixed.
Wash Rules That Protect the Letters
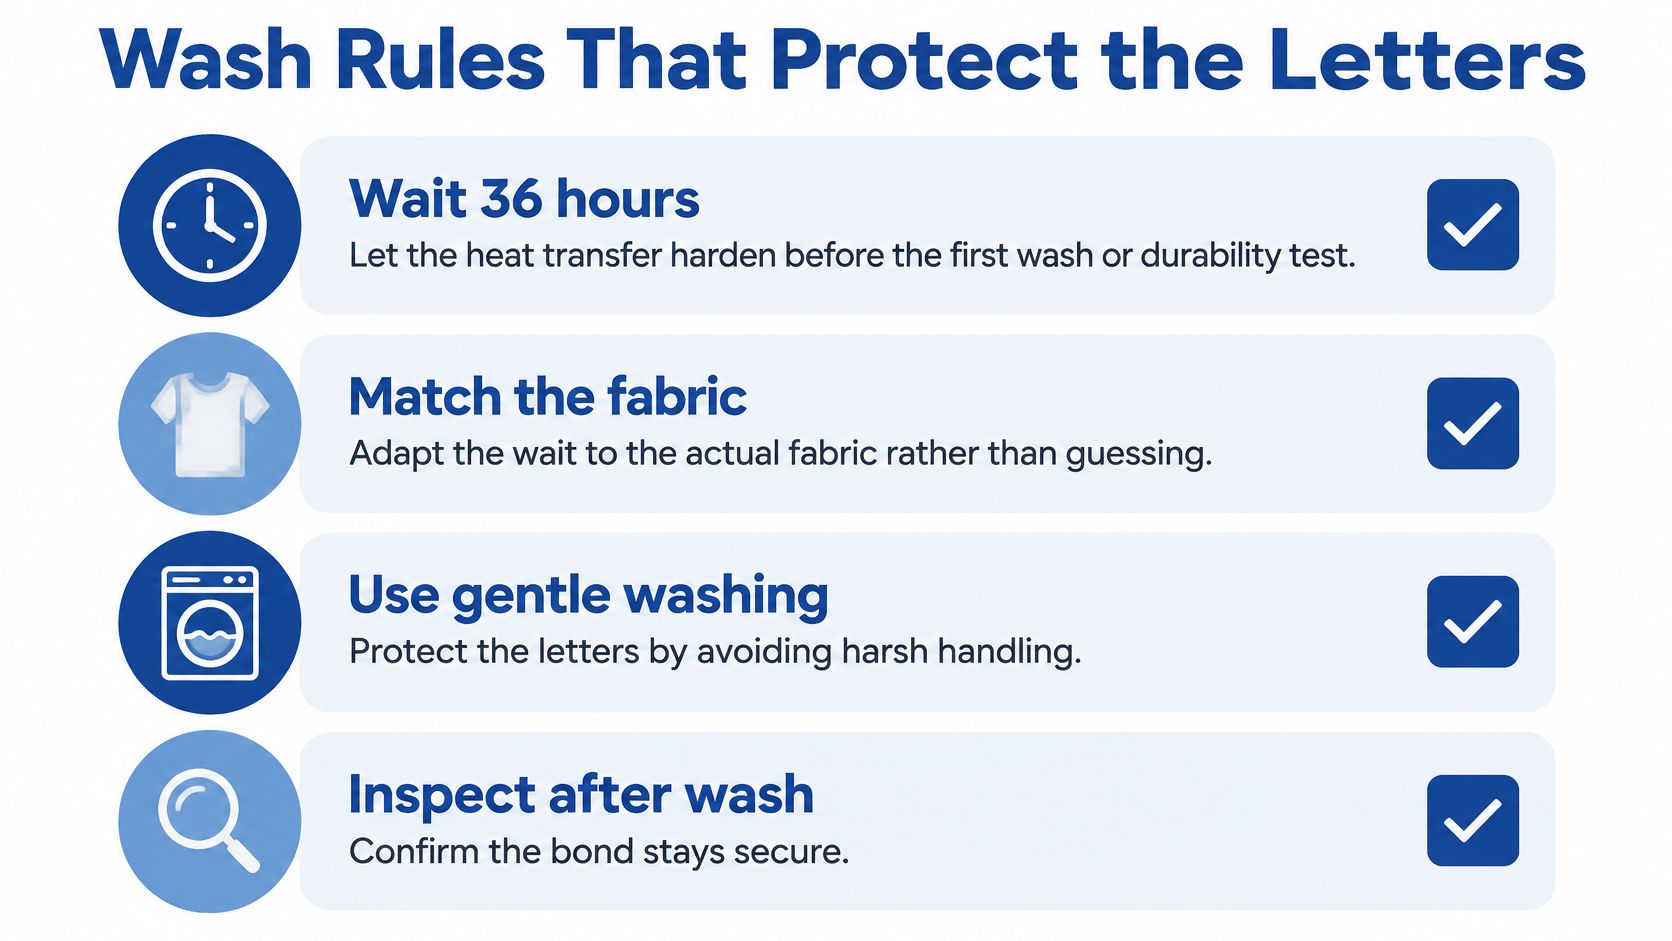
The carrier coming off isn't the end of the bonding process. Avery Dennison's textile application guidance recommends letting a heat transfer harden for at least 36 hours before washing or durability testing, with application conditions adapted to the specific fabric quality.
Treat that as a minimum for the relevant transfer system, not a reason to ignore a longer product-specific curing requirement. Don't rush a newly decorated sample into the washer just because it feels cool.
Keep these care priorities with the finished garments.
Give customers usable care instructions
Wash garments inside out on a gentle cycle, using cold water unless the garment and transfer instructions permit a warmer wash. Avoid bleach and fabric softener unless explicitly approved. Hang dry or tumble low, and never place an iron directly on the lettering.
High dryer heat can damage the decoration even when the initial application was sound. Abrasive laundry loads can also wear exposed edges, so keep decorated garments away from rough hardware where practical. Our graphic T-shirt washing guide provides a care routine you can share with customers.
- Name the materials: Record the transfer construction and exact blank, not just “DTF on polyester.”
- Describe the laundry cycle: Include detergent, water setting, drying method, and whether the garment was inside out.
- Define failure before testing: Decide what counts as unacceptable lifting, cracking, color change, or edge damage.
- Photograph consistently: Use the same lighting and garment position so gradual changes are visible.
Prove durability beyond the washer
Advertised wash counts aren't useful without test conditions. The Lion DTF durability comparison discusses DTF labels remaining scannable after five wash cycles, alongside separate testing extending through 20 laundering cycles, with visible color changes emerging around 15 washes under the stated method. Those findings describe particular samples and tests, not every lettering job.
Use those intervals as practical inspection checkpoints, not promised service life. Press matching samples on every blank you intend to sell, follow a written household laundry protocol, and photograph the same edges at each check. Compare the washed samples with an unwashed control.
Then assess abrasion separately. Rub a matching sample against the contact surfaces the garment will encounter, such as a seatbelt, bag strap, or tool belt. Keep the contact material, rubbing method, and inspection criteria consistent between samples.
A modest durability claim with disclosed conditions is more useful than a large wash number nobody can reproduce.
For schoolwear, inspect backpack contact areas. For workwear, inspect where belts and equipment rub; for sportswear, include the garment's normal stretch in the check. Release the order only when the sample meets the wear conditions you've chosen, and keep the record so a repeat order starts from a proven process.
Lion DTF Transfers offers custom lettering transfers, color matching, and gang-sheet preparation for names, numbers, and logos. Visit Lion DTF Transfers to upload your artwork or arrange a gang sheet, then validate a sample on your actual blank before pressing the full order.