










You've got a school order due soon, three shirt colors to decorate, and artwork that looks sharp on your screen but suspiciously soft when enlarged. A traditional screen-print setup would add preparation and cleanup, while cut vinyl would leave you weeding small details for hours. Custom DTF transfers solve that production problem by letting you print detailed, full-color artwork onto transfer film and apply it with a heat press when each garment is ready.
The quality, however, doesn't come from the transfer alone. Sharp files, sensible sizing, efficient sheet layout, accurate press settings, and proper garment care determine whether a design looks professional or starts peeling after the first few washes. This guide focuses on those operational details, including how to use an Auto-build gang sheet builder to reduce wasted film and make ordering more cost-effective.
What Custom DTF Transfers Are and When to Use Them
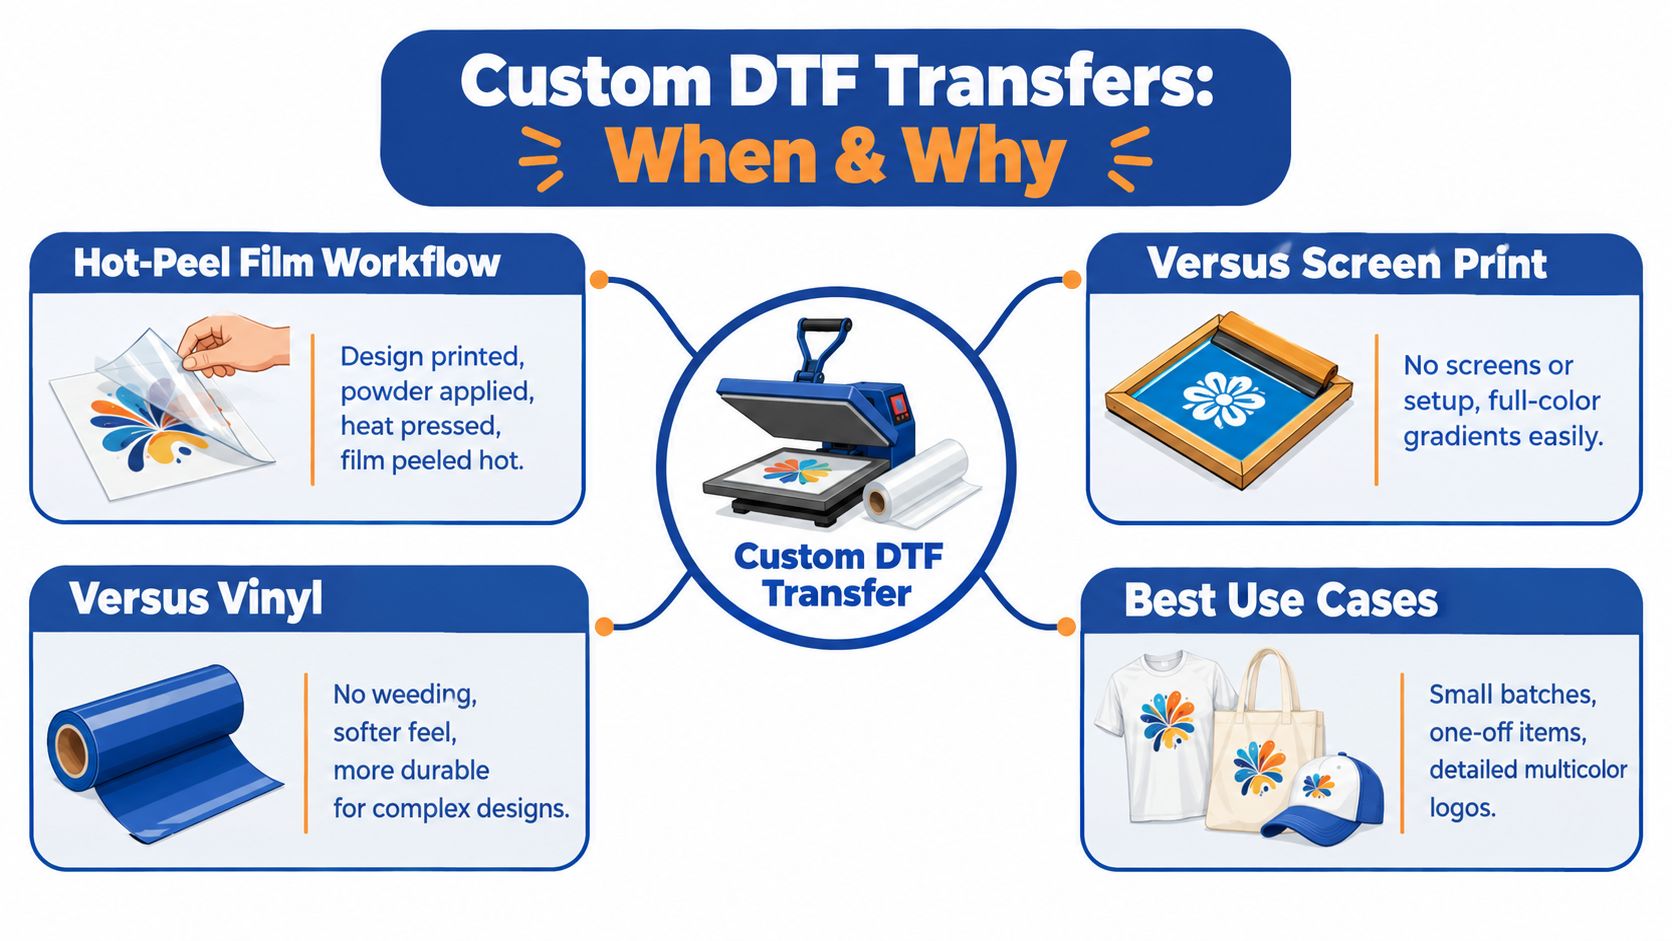
A small apparel seller may need one embroidered-looking logo on a tote, a multicolor illustration for an Etsy drop, and a run of team shirts in different sizes. Those jobs have little in common except the deadline. Custom DTF transfers handle them through the same basic production path: artwork is printed onto coated film, adhesive powder is applied, the transfer is cured, and the finished design is heat pressed onto the garment.
With a hot-peel transfer, the film is removed while it's still warm, according to the film manufacturer's instructions. Some films require a warm or cool peel instead, so the peel instruction supplied with the transfer matters. Peeling at the wrong point can pull at partially bonded edges even when the artwork and heat settings are correct.
Where DTF earns its place
DTF works across cotton, polyester, and blends, which makes it useful for shops serving varied garment catalogs. It also handles gradients, fine color transitions, illustrations, and detailed logos without the manual weeding required by vinyl. That combination makes it a practical choice for small businesses, event organizers, teams, brand owners, and makers who need short runs or one-off pieces.
Screen printing still makes sense when a large order uses a simple design and the setup can be spread across many identical garments. Vinyl remains useful for basic lettering, names, and numbers when the design is uncomplicated. DTF becomes the more flexible option when you need full-color detail, multiple garment types, quick design changes, or small quantities without building a screen setup for every artwork variation.
What to expect from the finished print
A properly applied transfer should show strong color, clean edges, and enough flexibility for normal garment movement. The hand feel depends on the artwork coverage, ink and adhesive system, film, and application process. A large solid design will naturally feel different from a small logo with open areas.
The entire result is a chain. A low-resolution file can't be rescued by a better press. A perfect file can still fail if the garment contains moisture, the pressure is uneven, or the operator peels at the wrong time. Treat custom DTF transfers as a controlled workflow rather than a single product purchase, and you'll prevent most avoidable failures before they reach the customer.
How to Prepare Print Ready Artwork That Presses Clean
File preparation is where many transfer problems begin. Start with the artwork, not the heat press, and use a checklist before uploading anything.
Build the file at usable quality
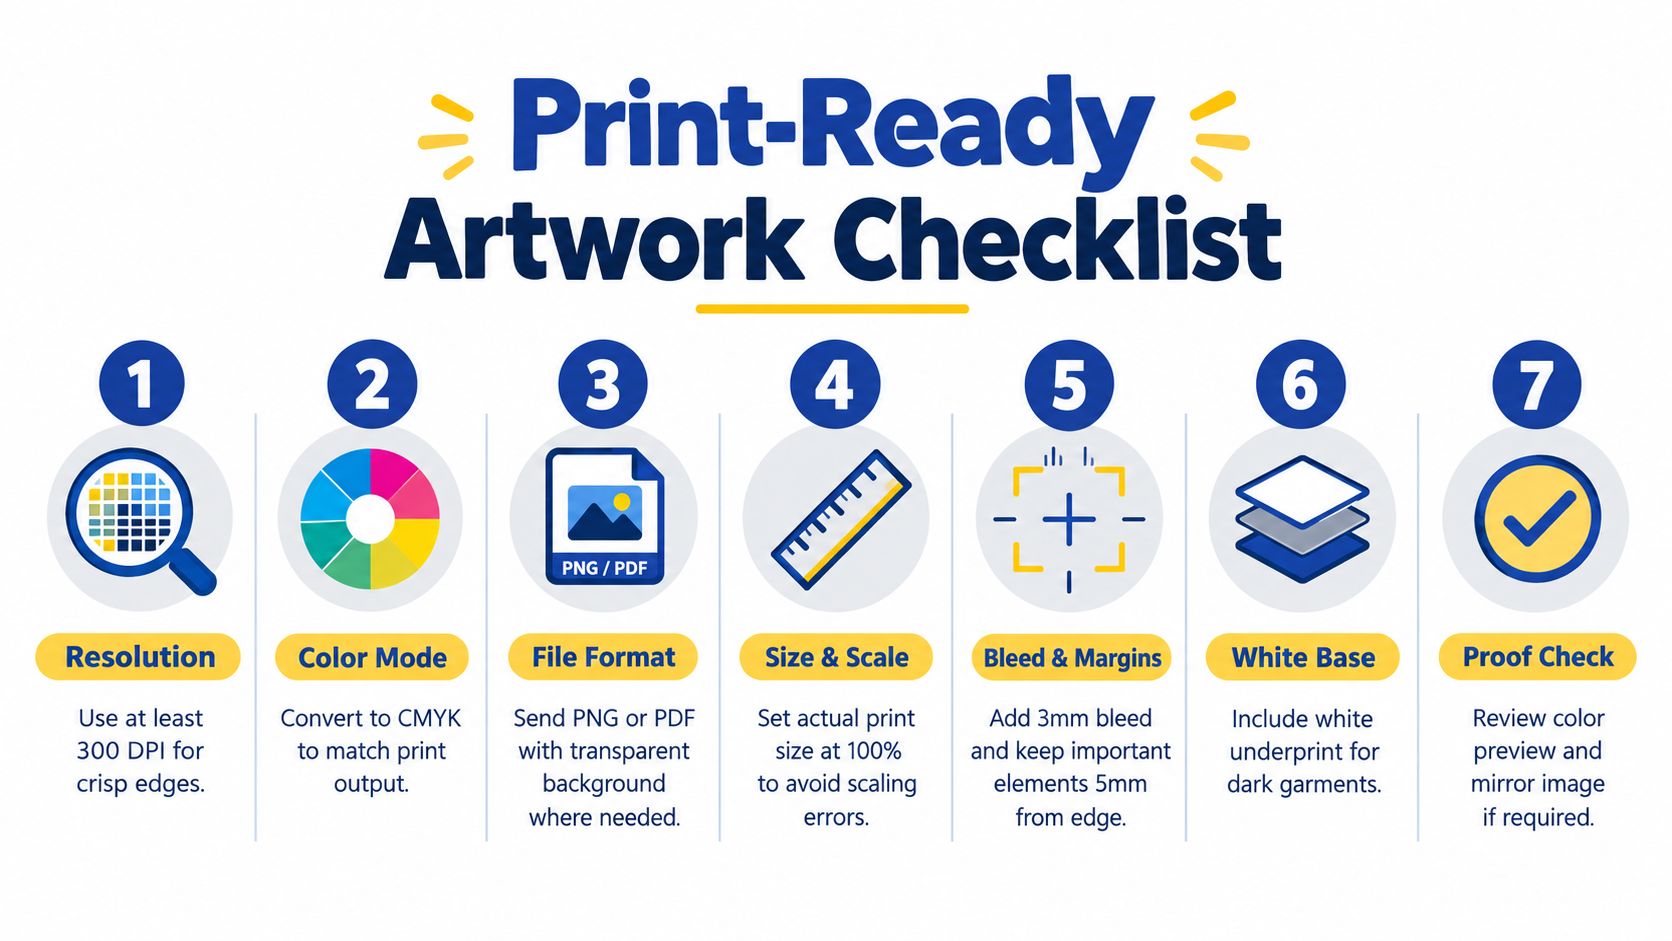
Set artwork to at least 300 dpi, and use a file type accepted by your supplier. PNG, SVG, and JPEG are commonly accepted formats, while custom sizes can be specified for the intended garment placement, as outlined in the Jiffy custom transfer FAQ. A vector SVG is particularly useful for logos and lettering because it can scale without the soft edges caused by enlarging a small raster image.
Use a transparent background whenever the design shouldn't print as a rectangle. A white background accidentally left behind in a PNG becomes a visible box on the shirt. Open the file against a contrasting background before upload, because white artwork and transparent pixels can be difficult to spot on a white artboard.
Size the design for the actual garment
Don't judge size only by the canvas. Set the artwork to its intended print dimensions and check how it will sit on the garment.
- Chest logos: Keep the design compact enough to leave comfortable space around the neckline and seams.
- Full fronts: Check the width against the smallest garment in the order, especially when one design will serve adults and children.
- Kids apparel: Create a separate smaller version when necessary rather than shrinking a large composition until details disappear.
- Sleeves and totes: Measure the usable decoration area first, then size the artwork to that surface instead of relying on a standard shirt template.
Very thin lines, tiny gaps, and delicate distressed textures can lose definition during printing or pressing. Strengthen fragile details, simplify crowded outlines, and inspect the design at its final size. Don't upscale a blurry JPEG and expect it to become crisp. Rebuild the logo as vector artwork or obtain a larger original file.
Run a final upload check
Before ordering, confirm that the background is transparent where required, the dimensions are correct, and the important elements aren't touching the cut edge. Check the preview for missing artwork, unexpected white shapes, and colors that changed during export. If your design includes text, proofread it at full size, not just in the design program's thumbnail view.
For more help with sizing and layout decisions, use these custom heat transfer design guidelines. The short review takes less time than replacing a sheet printed from the wrong file.
Building Custom Gang Sheets With the Auto Build Gang Sheet Builder
A gang sheet places multiple transfer designs on one larger sheet of film. Instead of ordering each logo separately, you can combine a team mark, sponsor logo, sleeve graphic, and several shirt sizes into one layout. The advantage is practical: you use more of the printable area and reduce the empty film surrounding individual designs.
Manual layout is where many people lose time. They drag artwork around, rotate pieces, overlook unused gaps, and then adjust everything again after adding one more design. An Auto-build gang sheet builder handles the initial nesting so you can spend your time checking artwork, sizes, and spacing instead of playing transfer-film Tetris.
A cleaner sheet-building routine
Start by collecting the final versions of every design. Don't upload multiple drafts with similar filenames, because the wrong version can make it onto the sheet. Name files by purpose and size, such as team-front, sponsor-left-chest, or sleeve-mark, so the layout remains easy to audit.
Upload the artwork, enter the required print dimensions, and let the builder arrange the pieces. Then inspect the result manually. Smart placement improves space usage, but you still need to verify that designs have enough separation for cutting and handling.
Practical rule: Optimize the sheet after the artwork is correct, never before. A tightly packed sheet built from the wrong dimensions only creates a larger, more expensive mistake.
Use the sheet for mixed orders
A micro-drop might include a large back graphic, a small chest mark, labels, and several color variations. Grouping similar designs can make cutting and sorting easier, while mixing different sizes can improve available space. Leave clear gaps between pieces, avoid placing critical artwork too close to an edge, and keep designs oriented so they're easy to identify after printing.
The DTF gang sheet builder guide explains the layout process in more detail. For shops that regularly produce varied orders, the Auto-build option is useful because it combines ease of use with cost effectiveness. You still control the artwork and dimensions, but the tool reduces repetitive arrangement work and helps stretch each sheet.
Before checkout, review the sheet as if you were cutting it. Can you identify every design? Are the dimensions correct? Will a cut line pass through any artwork? A final visual inspection protects the savings you were trying to create.
Ordering Options Pricing and Turnaround That Fit Your Deadline
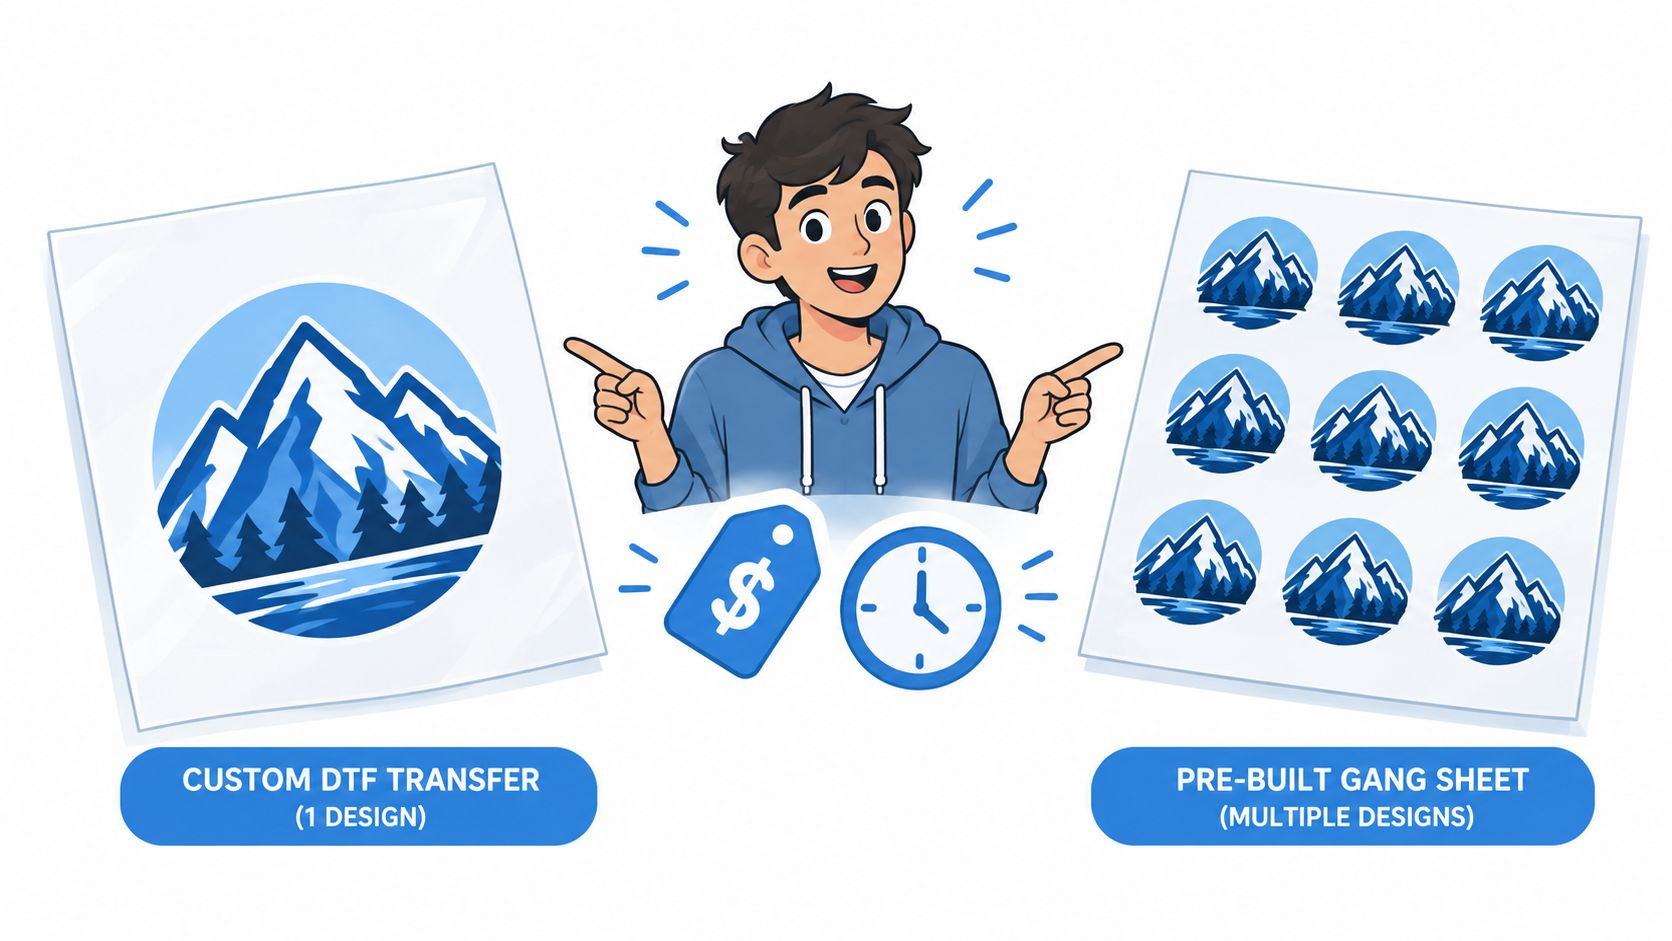
The right ordering format depends on how many designs you need, how consistent the sizes are, and how much layout work you want to handle yourself. A single custom transfer is straightforward for one shirt or a sample. A gang sheet is usually more practical when the order contains several logos, garment placements, or design variations.
Match the format to the job
For one personalized sweatshirt, order by size and avoid building a sheet you won't fill. For a school or sports order, combine the front logo, player numbers, names, and sponsor artwork on a gang sheet. For an online brand testing several graphics, a mixed sheet lets you produce a small selection without committing to a large inventory of finished shirts.
Ready-to-press collections are useful when the artwork already fits a seasonal or themed product. They remove file preparation from the immediate task, although they offer less control than a fully custom upload. If you know what needs to be printed but don't want to arrange the sheet, a We Build a Gang Sheet for You service can be the sensible middle option.
Understand the cost logic
Transfer pricing often follows the amount of printable area used. A gang sheet can improve value because multiple designs share the same sheet rather than carrying separate margins and handling steps. That doesn't mean you should fill every gap recklessly. Designs that are too close together can slow cutting and create sorting errors.
The category itself is expanding. The global direct-to-film printing market was estimated at USD 2.72 billion in 2024 and is projected to reach USD 3.92 billion by 2030, implying about 44% growth over six years at a 6.0% CAGR, according to Grand View Research's direct-to-film market report. For buyers, that growth means more suppliers and ordering models, but it also makes process consistency more important as competition increases.
Plan around fulfillment
Ask whether the supplier offers 24-hour printing, 1–2 business day shipping, same-day pickup, or next-day air when the deadline is tight. A team order can usually be planned around standard fulfillment, while an event order may justify a faster delivery method. Confirm artwork approval, garment arrival, and pressing time separately, because transfer shipping is only one part of the schedule.
Pressing and Application Instructions for a Flawless Bond
A heat press needs more than a hot platen. It needs a dry garment, even pressure, correct timing, and a peel method that matches the film. The cotton workflow below is a practical starting point, but supplier instructions still come first when they differ.
Prepare the garment
Set the garment square on the platen and pre-press it for 3–5 seconds to drive out moisture and smooth the fabric. Follow the DTF pressing guide for the transfer you are using. Moisture weakens the adhesive bond, and wrinkles leave parts of the design with less contact.
Use a lint roller if you see fibers or debris. Inspect the decoration area for seams, zippers, pockets, and thick hems that can change pressure. A pressing pillow or platen accessory can help level uneven spots, but the transfer still needs full contact with the garment.
Apply the transfer
Place the design with the printed side facing the garment and the film carrier on top. Check orientation before you press, especially with text and directional artwork. Set the press to about 300–320°F, or 149–160°C, then apply medium-firm pressure for 10–15 seconds, based on the cotton workflow documented above.
Temperature, time, and pressure work together. A press can read the right temperature and still have cold spots, and light pressure can leave weak edges. If the transfer lifts with the film, do not change every setting at once. First confirm that the garment was flat, the pressure was even, and the peel timing matched the film.
Peel and post-press
Peel according to the transfer film specification. Some products use a hot peel, while others require a warm or cool peel. Pull the film smoothly and close to the garment instead of jerking it upward. If an edge lifts, lay the film back down and repress that area rather than forcing the peel.
Finish with a 5–10 second post-press through parchment or kraft paper. This step helps the design settle into the fabric and gives a cleaner finish. Let the garment cool flat before folding, and do not stack freshly pressed pieces while the adhesive is still warm.
For polyester and blends, use the supplier's recommended settings and watch for dye migration. A lower-temperature compatible transfer or protective sheet may be the better choice, but changing settings without a test garment can create a different failure. Record the settings that work for each blank style so repeat orders do not depend on memory.
Durability Testing Care and Troubleshooting for Long Lasting Results
A transfer that looks perfect immediately after pressing still needs to survive handling, washing, and stretching. Properly applied DTF transfers commonly survive 50+ wash cycles, with technical summaries reporting 50–80+ washes and one published wash test claiming 100 wash cycles as roughly two years of weekly wear, as documented in this DTF transfer wash test. Those results depend on the garment, transfer materials, press accuracy, and care routine.
Wait 24 hours before the first wash, then wash the garment inside out in cold water. Avoid bleach and fabric softeners, and use a drying method that doesn't expose the print to unnecessary heat. Give customers the same instructions you use during quality control so they aren't surprised by preventable wear.
Diagnose the failure before changing the process
- Peeling edges: Check pressure, moisture, and post-pressing first. An uneven platen or skipped finishing press often leaves the perimeter under-bonded.
- Dye migration: Polyester can transfer garment dye into lighter artwork. Test the blank and use a transfer system intended for that fabric when needed.
- Cracking or dull appearance: Inspect the artwork coverage, press temperature, and wash care. Excessive heat or poor curing can affect the finished surface.
- Patchy adhesion: Look for seams, pockets, lint, or pressure differences beneath the garment.
Keep one test shirt from each new blank and transfer combination. Press it using the recorded production settings, wash it according to the customer care instructions, and inspect the edges and color. That small quality-control routine connects file accuracy, efficient sheet building, correct ordering, and reliable application into one repeatable process.
Lion DTF Transfers offers custom DTF transfers by size, online gang sheet building, ready-to-press collections, and a “We Build a Gang Sheet for You” service for shops that want help with layout. Visit Lion DTF Transfers to upload your artwork, prepare an Auto-build gang sheet, and order transfers suited to your next team order, merch drop, or deadline-driven project.