


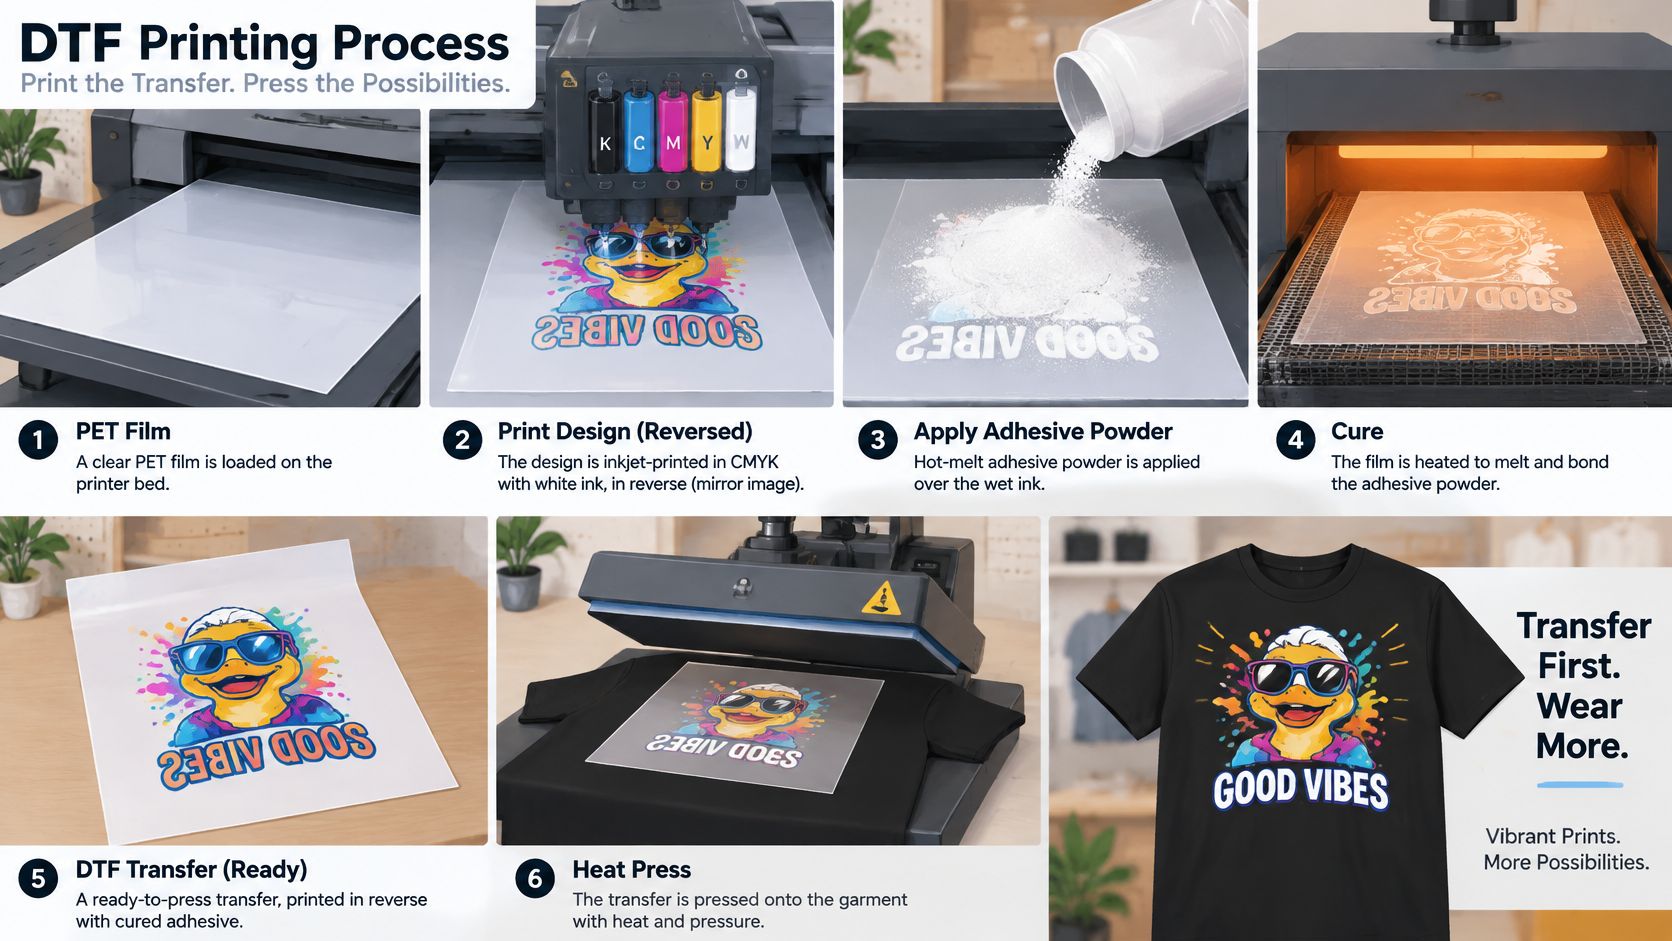
DTF printing inkjet-prints a design onto PET film with CMYK and white ink, coats the wet ink with hot-melt adhesive powder, cures it, and heat-presses the transfer onto fabric.
You might have artwork ready but no shirts yet, or a customer asking for the same logo on hoodies, team shirts, and tote bags. DTF lets you prepare the decoration separately, then apply it when the right garments arrive. That flexibility is useful, but a successful print still depends on matching the transfer, fabric, and heat-press settings.
What DTF Printing Is and Why the Transfer Comes First
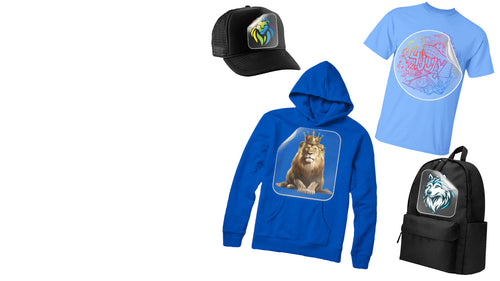
DTF means direct-to-film, not direct-to-fabric. Think of a peel-off label or waterslide decal: someone makes the image on a temporary carrier, then moves it onto the finished item. DTF follows that general idea, although its adhesive needs heat and pressure rather than simple contact or water.
Say you're preparing merchandise for a school fundraiser. The artwork is approved, but the hoodie delivery hasn't arrived. You can make the transfers first without loading a garment into the printer.
Understanding the layers
The finished decoration contains more than colored ink. FESPA's explanation of DTF textile printing describes a reversed image printed onto polyethylene terephthalate, or PET, film, with pigment inks, a white foundation, and hot-melt adhesive.
These layers do different jobs:
- CMYK colors form the visible artwork.
- White ink provides an opaque foundation behind those colors, helping them stay vivid on dark garments.
- Hot-melt adhesive bonds the ink stack to the textile during pressing.
- PET film carries the design through production and peels away afterward.
The white foundation sits beneath the colors on the finished garment, even though it's printed after the colors during transfer production. That reversal is a common source of confusion.
The visual below shows how the temporary carrier moves through the workflow.
Planning around transfers instead of finished stock
You could print and cure transfers on Monday, then press them onto garments on Thursday. Printing capacity and garment-finishing capacity no longer have to be available together.
Planning advantage: Prepare the approved artwork first, but leave the garment choice open until you know what customers need.
That doesn't mean every stored transfer will suit every garment. Cotton, silk, polyester, blends, and rayon are compatible fabric categories, but finishes, stretch, and heat sensitivity still require testing. Broad compatibility gives you options, not permission to skip validation.
For someone asking “what is DTF printing?”, the most useful distinction is this: you're making a transferable decoration before you're making a finished shirt.
How the DTF Process Works from Film to Garment
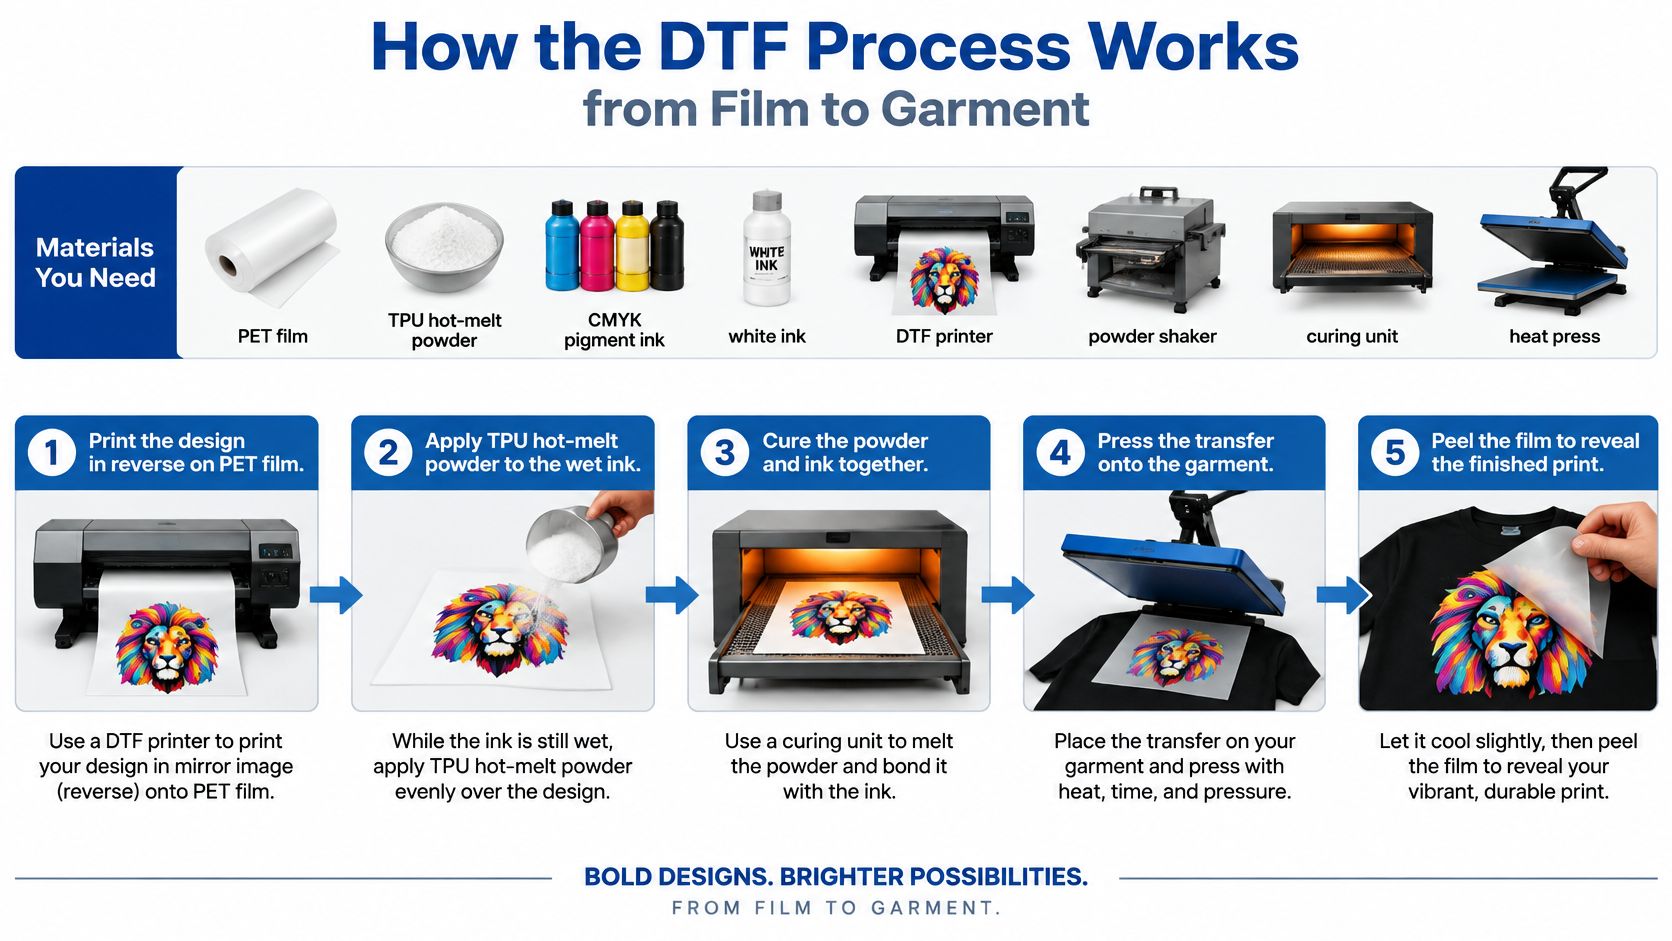
A complete production setup uses PET film, TPU hot-melt powder, CMYK pigment ink, white ink, a DTF printer, a powder shaker, a curing unit, and a heat press. TPU stands for thermoplastic polyurethane, the adhesive material that melts during curing and reactivates during pressing. Each stage hands the transfer to the next, so a defect introduced early stays locked into the finished stack.
The process diagram gives you the overall sequence before the working details.
Build the transfer in a controlled sequence
- Print the mirrored artwork. The printer lays CMYK onto coated PET film, followed by white ink. Mirroring makes lettering and artwork read correctly once the transfer is turned onto the garment.
- Apply TPU powder while the ink is wet. The wet printed areas hold the adhesive, so complete coverage matters at fine edges and isolated details.
- Remove loose powder before curing. Shake off the excess without disturbing the printed image. Stray adhesive can leave unwanted texture around an otherwise clean design.
- Cure the coated print until the powder becomes a continuous adhesive layer. A dry-looking surface and a properly melted adhesive are two different things.
- Press onto a flat garment area. Position the transfer and apply even pressure. Seams, pockets, and uneven loading can stop the press from contacting the entire design.
- Peel according to the film's specification. A hot-peel film and a cold-peel film follow different timing instructions, so the film label decides the move.
Use settings as a process window
A temperature range is a window to test within, not a fixed recipe. DTF Printer USA's process guide describes pressing around 150–170°C for 10–15 seconds, a workable starting band for most setups.
DTF process stages and typical settings
| Stage | Typical setting | Why it matters |
|---|---|---|
| Print mirrored design on PET film | CMYK, then white ink underbase | Mirror image reads correctly after transfer |
| Apply hot-melt powder | TPU powder sticks to wet ink only | Powder must cover the ink evenly |
| Remove excess powder | Shake off loose powder before curing | Stray powder shows as texture |
| Cure adhesive | Roughly 160°C until powder melts into a continuous layer | Under-cure leaves tacky powder; over-cure can embrittle or crack it |
| Press onto garment | About 150–170°C for 10–15 seconds, even pressure | Heat and pressure reactivate adhesive so it bonds to fibers |
| Peel film | Timing set by the film specification | Wrong timing can lift or distort the design |
Treat the cure temperature in the table as a general starting point rather than a standard. Adhesive chemistry, curing equipment, and film specifications control the usable window, so the same number can under-cure one powder and over-cure another.
For our application workflow, pre-press the garment for 5 seconds, cover the transfer with Teflon or parchment paper, and press with medium pressure for 10 seconds. Our transfers are hot peel, so remove the film while it's still warm right after pressing. Confirm the application temperature for the transfer and garment combination before a full run.
Watch the physical sequence to see how positioning, pressing, and peeling fit together.
Because the transfer exists independently of the garment, you can validate the film, powder, and cure before any shirt enters the workflow. The trade-off is that every stored transfer carries its own film specification. Mixing batches with different peel timings at the press creates rework, so label and group transfers the day they come off the curing unit.
A test swatch on your own film, powder, garment, and press confirms the working settings. Don't move straight from a generic temperature chart to a customer's full order.
Fabrics and Buyers Who Choose DTF
Cotton, polyester, blends, and rayon give decorators a practical starting range. Dark garments are also an option because the transfer includes an opaque white foundation rather than relying on the shirt to supply a light background.
We recommend pre-shrunk fabrics. If the garment shrinks substantially after decoration, the fabric can pull against a transfer that was applied to a larger, flatter surface. Check composition and construction with our guide to fabrics that can be used with DTF transfers.
Match the method to the order
For example, suppose a club orders 24 hoodies across six sizes, each with a different name and number. That's a hypothetical order, but it illustrates the planning benefit: the shop can group the artwork for printing, organize the finished transfers by wearer, and press them as the correct sizes arrive.
The artwork needs careful identification. A correctly printed name on the wrong hoodie is still a failed order.
Other buyers have different reasons to choose the same workflow:
- Small apparel businesses can offer mixed designs in low quantities without making screens for each graphic.
- Sports teams can coordinate jerseys, warm-up gear, practice shirts, bags, and fan merchandise.
- Schools and event organizers can prepare approved branding while final garment quantities are still being settled.
- Home crafters can apply professionally prepared transfers with a heat press rather than operating a printer and powder-curing setup.
A home heat press lets you apply transfers, not manufacture them from artwork. Printing and curing still need to happen somewhere.
Know when to compare another method
DTF is especially useful when designs change frequently, quantities are short or mixed, and several garment types need decoration. It's less automatically compelling when an order consists of a very large quantity of the same simple design on the same garment.
Choose the method around the actual order, not around the equipment you happen to own.
Before committing, inspect the intended print area. A compatible fabric won't solve a placement blocked by a zipper, thick seam, or pocket.
Durability, Wash Results and What Causes Failure
A peer-reviewed evaluation of DTF-printed QR labels found that codes on cotton and polyester remained fully scannable after five wash cycles, with color fastness generally rated Grade 4–5, good to excellent.
A separate textile durability study reported DTF samples retaining color without significant loss after 15 wash cycles, with the strongest DTF and screen-printed samples reaching 20 cycles under its testing framework.
Those are useful benchmarks under defined conditions, not lifetime guarantees. Detergent, abrasion, fabric stretch, garment construction, and laundering procedures can change the outcome.
Treat durability as a complete system
A sharp image isn't proof of a durable bond. Pigment formulation, white coverage, powder distribution, cure completeness, fabric surface, press temperature, pressure, and dwell time all contribute to the result.
The adhesive must melt properly and contact the textile evenly. Increasing temperature won't necessarily fix poor pressure, and increasing pressure won't rescue an incorrectly cured adhesive.
Use the following checks to narrow the cause before changing several settings at once.
Failure symptoms, causes and checks
| Symptom | Likely cause | Check before a large run |
|---|---|---|
| Tacky or powdery adhesive that bonds poorly | Under-cure | Confirm the powder fully melts in a test swatch |
| Cracked or brittle adhesive layer | Over-cure | Shorten cure time or lower curing temperature within the approved window |
| Edges lifting after pressing | Insufficient pressure or dwell time | Test firmer pressure and the full specified dwell |
| Visible texture or weak patches | Uneven powder distribution | Check powder spread and shake-off before curing |
| Fading or dye migration on dark polyester | Excess press heat may contribute | Lower temperature within the approved window and run a wash test |
| Peeling within the first few washes | Adhesive not fully activated | Raise dwell within the film's application window and repeat the wash test |
For the edge-lift check, a 10–15-second dwell is a documented test range, not a replacement for the transfer's instructions; Golden DTF's wash-test discussion also illustrates why application conditions must match the substrate.
Dark polyester deserves particular attention. Heat can encourage garment dyes to migrate into the decoration, so inspect both adhesion and color rather than judging only whether the transfer sticks.
Validate before promising performance
Test each garment family separately. A result on a cotton tee doesn't establish performance on a stretchy performance shirt.
- Wash the sample using a consistent routine appropriate to the garment.
- Stretch and release it to inspect recovery, cracking, and edge lift.
- Record the recipe including film, powder, cure, garment, press temperature, pressure, and dwell.
- Compare before and after using photographs and close inspection of fine details.
Our guide to how long DTF transfers last provides additional care context. For production approval, your own repeatable garment test is more useful than an unexplained wash-count claim.
DTF Compared With Screen Printing and DTG
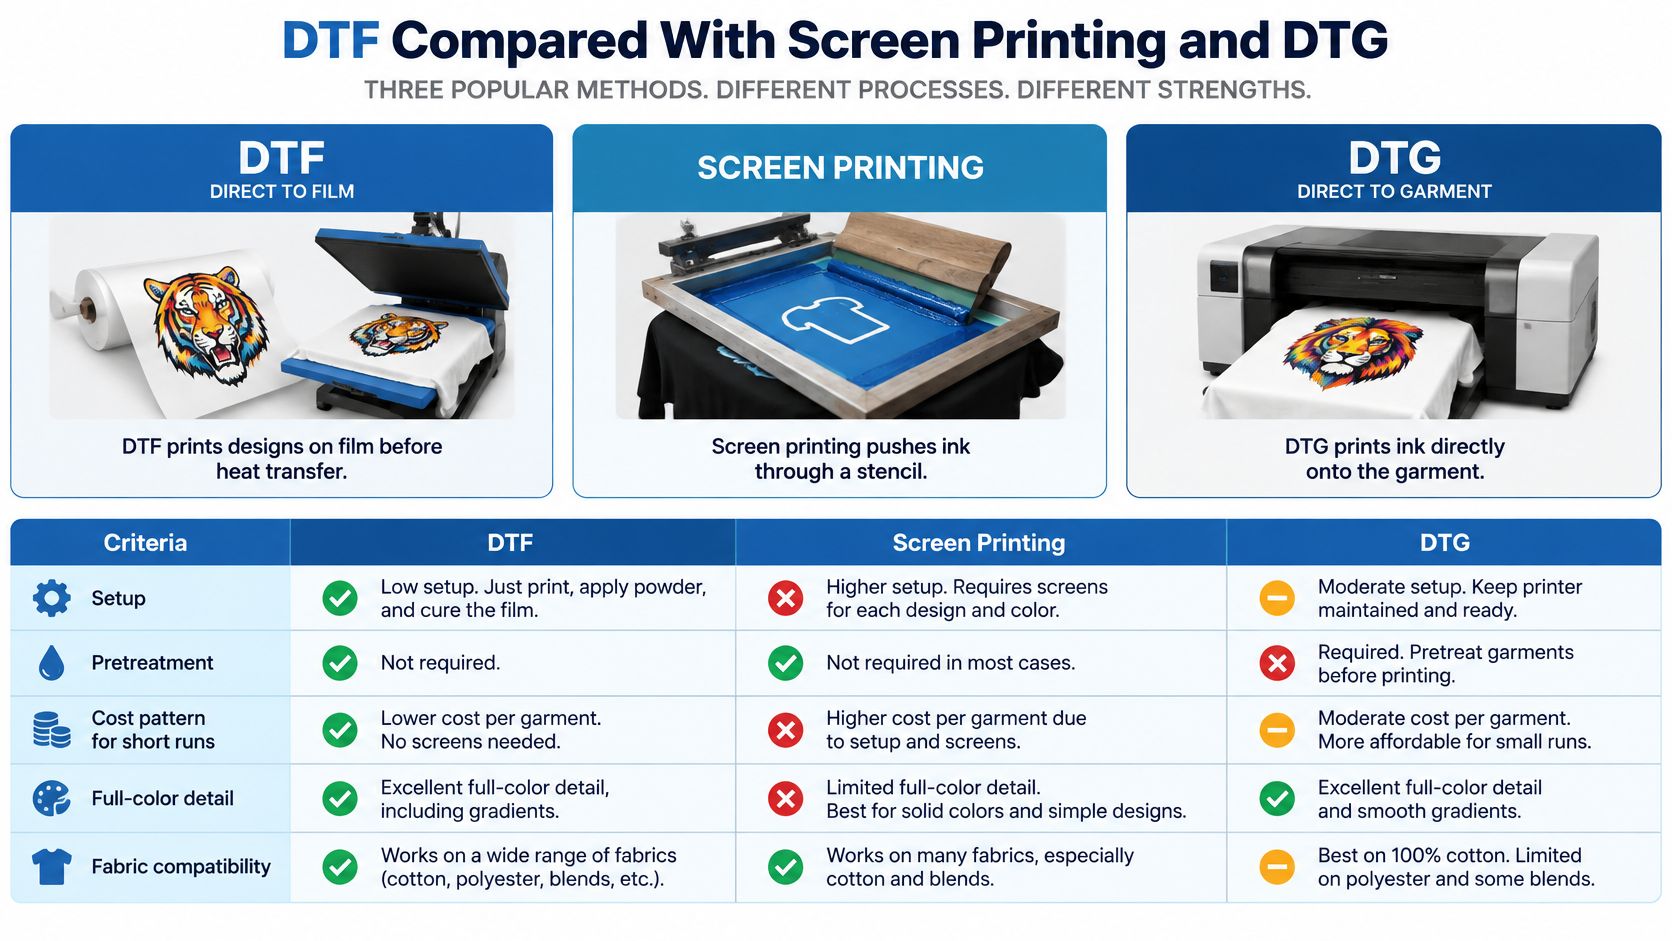
DTF prints onto film before transferring the design with heat. Screen printing pushes ink through a stencil onto the garment. DTG, or direct-to-garment printing, applies ink directly to the textile.
The key purchasing question isn't which method is universally best. It's which method handles your artwork, garment, quantity, and finish at a sensible total cost.
This comparison highlights the practical differences.
Compare setup before comparing unit prices
Screen printing requires screens for the design's colors. The shop pays that setup cost before producing the first usable shirt, then spreads it across the order.
DTF and DTG avoid screen-making. DTG often needs garment pretreatment on cotton, particularly when white ink is involved, while DTF uses adhesive on the transfer instead of a garment-pretreatment stage.
DTF, screen printing and DTG compared
| Criteria | DTF | Screen printing | DTG |
|---|---|---|---|
| Setup needed | Film, powder, curing unit, and heat press | Screens made for each color | Direct-to-garment printer and pretreatment setup |
| Garment pretreatment | Not required | Not required for conventional workflows | Often required on cotton |
| Cost pattern for short runs | Efficient without screen-making | Setup can be expensive per design | Efficient for single garments |
| Full-color detail | Strong, digitally composed artwork | More colors require more complex screen preparation | Strong full-color detail |
| Fabric range | Cotton, polyester, blends, rayon, and silk | Wide range with suitable inks | Best suited to cotton-rich garments |
| Hand feel | Test actual coverage and garment | Can be soft on light garments with simple designs | Test the chosen ink system and garment |
| Best fit | Short runs, mixed designs, several fabric types | Large identical runs with few colors | Single full-color prints on cotton garments |
Hand feel can't be reduced to a reliable ranking from these process descriptions. Ink coverage, garment texture, and the actual production system matter, so compare samples at the intended print size.
Choose by situation
DTF reproduces detailed full-color artwork because the printer builds the image digitally rather than requiring a separate physical screen for each spot color. That makes frequent artwork changes more manageable.
Screen printing still makes sense for large identical runs with a limited palette. Its setup becomes easier to justify when the same screens produce the whole order.
DTG is a sensible option for an individual full-color cotton print, especially when the garment and printer system are already matched. DTF is a strong candidate when the order combines different designs or textile types.
Use our broader T-shirt printing guide to frame the choice, then request a quote for the actual job. Include artwork changes, placement, finishing labor, and rejected garments, not just the apparent print price.
Advantages, Trade-Offs and Sustainability
Digital printing isn't automatically greener. A process can use less water while still consuming film, adhesive, energy, packaging, and garments that never find a buyer.
A digital textile printing industry report available through Research and Markets cites potential water reductions of up to 97% compared with conventional textile printing. That's a process-level estimate for digital textile printing, not proof that every DTF-decorated shirt has a lower whole-product environmental impact.
Separate the operating advantages from the environmental claim
DTF's useful advantages are concrete. You don't need screens for each artwork, and you can prepare small batches without committing to a pile of finished garments.
Producing against confirmed demand can help avoid unsold decorated inventory. It doesn't eliminate waste if you print excess transfers instead.
The trade-offs deserve equal attention:
- Consumables remain necessary. PET film, polyurethane powder, and white ink are part of the production system.
- Energy use extends beyond printing. Curing and pressing both require heat.
- Shipping choices matter. Blank garments, transfers, packaging, and finished orders may travel separately.
- Rejected work still counts. Misprints, failed applications, and damaged blanks belong in any honest assessment.
A lower-water process is an advantage. It isn't a complete environmental assessment.
Operationally, you're also accepting dependence on powder consistency, film behavior, and calibrated pressing. The convenience of a ready-made transfer doesn't remove the need to control garment finishing.
Be honest about feel and disposal
Don't promise a universally soft finish. Test the actual graphic at its intended size, especially when it contains a large solid area, and let the buyer handle the sample.
Disposal is another limitation. Transfer film and bonded adhesive can complicate recycling, particularly when the garment already contains blended fibers. A single-material blank is a simpler starting point for recycling than a blend, but decoration can still affect what a recycler accepts.
Keep the film waste and decorated garment separate in your thinking. A recycling route for one doesn't establish a recycling route for the other, and local acceptance needs checking.
Make better purchasing decisions
Choose habits you can document instead of broad environmental labels:
- Request material specifications. Keep film and powder information with the job record.
- Order against confirmed sales. Avoid replacing unsold shirt inventory with unsold transfer inventory.
- Record garment composition. Retain material and decoration details so you can answer disposal and traceability questions.
When comparing a local supplier with shipped transfers, consider the complete route rather than assuming distance alone decides the answer. When comparing small-batch DTF with screen printing, include setup waste and the likelihood that the entire order will sell.
The strongest claim is often the narrowest: you made a specific quantity for actual buyers, documented the materials, and tested the finished product.
Confirm Your Transfer Specs Before You Order
A useful order starts with dimensions and garment details, not just an image file. Use this checklist before committing to production.
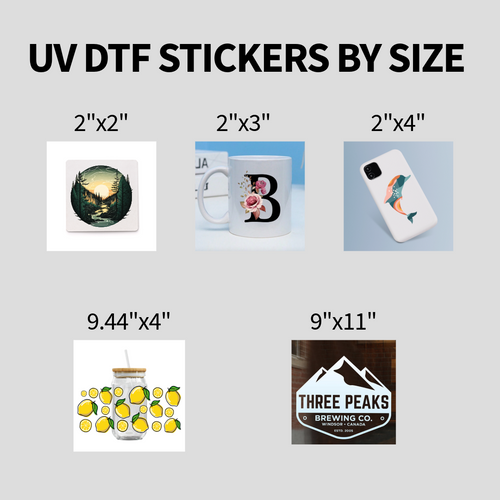
- Measure the artwork area. Our DTF transfers start at $0.017 per square inch, so physical size affects the cost. Confirm the current price for your order before checkout.
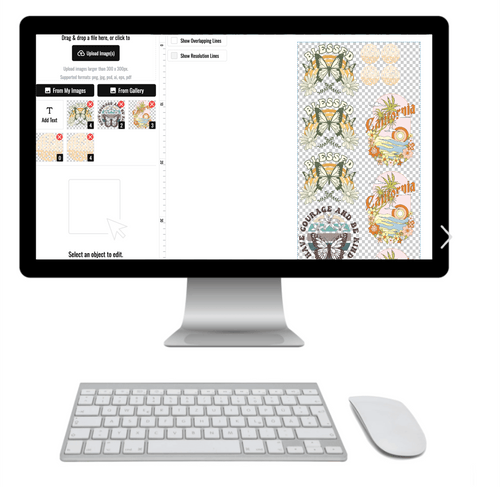
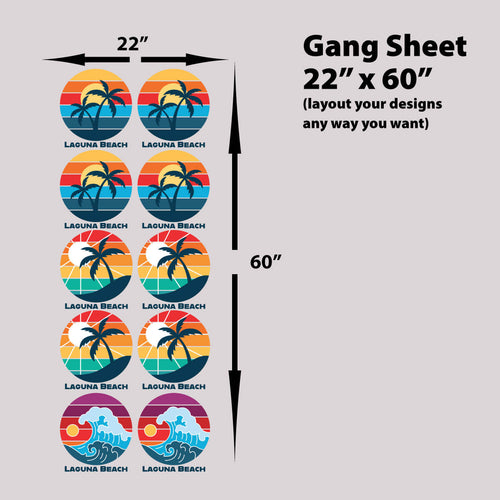
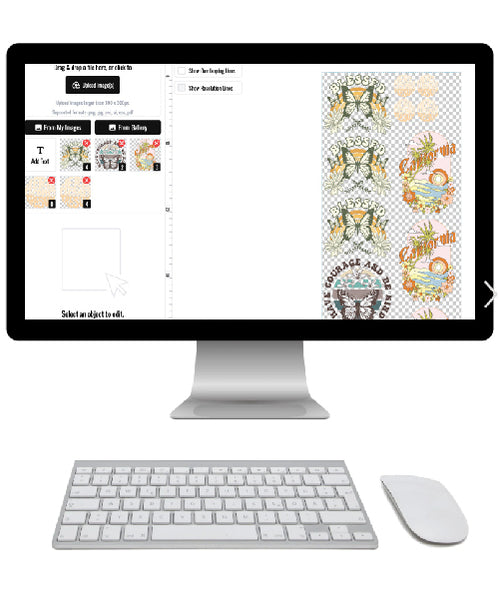
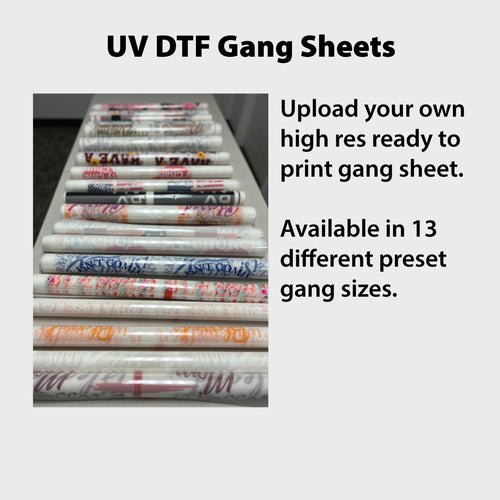
- Choose the ordering format. Our DTF Print Only service lets you create or upload a design, select single-size prints or gang sheets, and receive professionally printed transfers shipped directly to you. Use our Auto-build gang sheet builder to arrange several designs on a sheet for easier ordering and cost-effective use of film.
- Confirm the garment and placement. Apply the pre-shrunk-fabric guidance and measure the flat pressing area, clear of seams and hardware.
- Run a test swatch. Use the process settings as a starting point, then approve the result on your own press before the full run.
- Keep the transfer specifications. Ask our team to confirm application requirements and the film, powder, and cure details needed for your production record.
- Get file-setup help. Our specialists and design experts are available 7 days a week by call or text at 833-350-5466, or by email at orders@liondtf.com. Confirm availability when arranging time-sensitive assistance.
Order a test sheet with your actual artwork and garment combination. That physical sample answers most practical questions faster than more reading.
Lion DTF Transfers offers professionally printed, ready-to-press transfers for businesses and makers who want to separate printing from garment finishing. Visit Lion DTF Transfers to upload your artwork or build a gang sheet, then test the design on your chosen garment before starting the full order.