


You've got a design customers love, a pile of blank hoodies, and a deadline that doesn't leave room for burned screens or a second attempt. You're also hearing that DTF printing can handle full colour on almost anything, but you're not sure what you're buying, how hot to press it, or whether it'll survive the wash. That's the right set of questions, because in DTF the print is only half the story. The film and the adhesive layer underneath it decide cost, feel, and durability.
What DTF Printing Is and Why Shops Use It
Think of DTF as a decal you print first and apply later. Say a customer wants a six-colour logo on a black tee today and the same logo on a tote next week. You don't print either garment directly. You print the artwork in reverse onto clear PET film, then press that finished transfer onto each item when the order arrives.
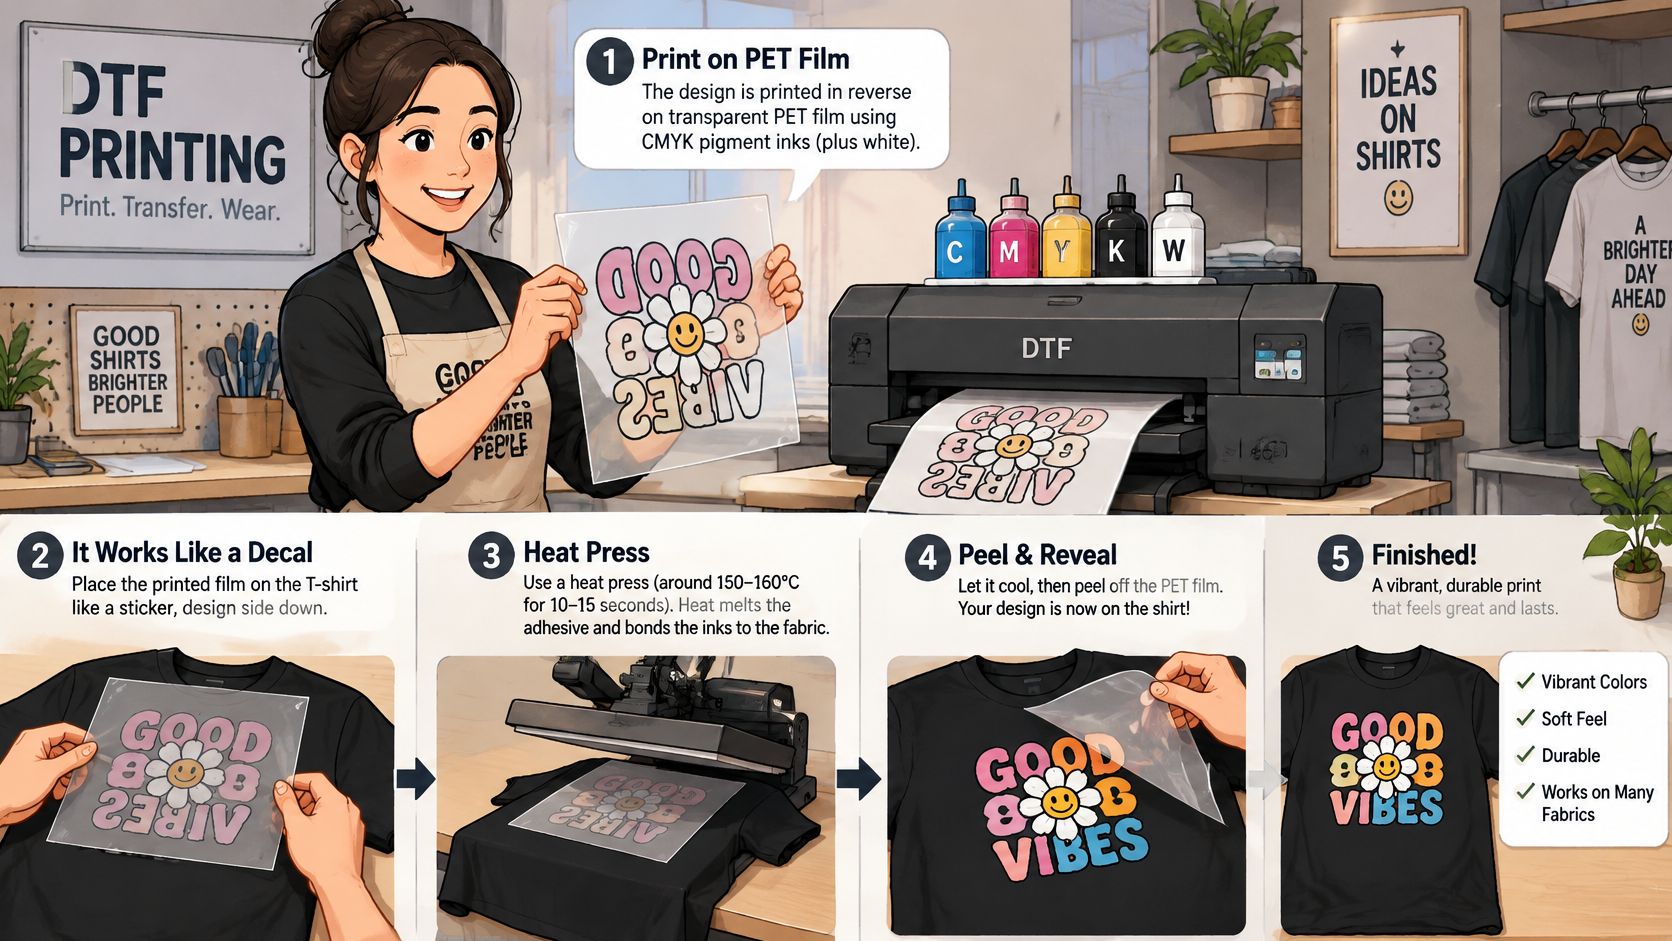
The printer lays down CMYK pigment inks first, then an opaque white underlayer on top, which becomes the backing once the film flips onto fabric. While the ink's still wet, you coat it with hot-melt TPU adhesive powder, cure it, and you've got a stored transfer ready for heat and pressure.
What you get for that extra step is flexibility. There's no separate screen for each colour, no weeding like vinyl, and fine lines and gradients reproduce cleanly in a single pass. Because the film stores well, one-off designs, name-and-number personalisation, and short runs stop being awkward jobs you turn away.
This isn't a hobby trick, either. A 2025 MarketIntelo market analysis estimated the global DTF printing market at approximately $4.2 billion and projected growth to $9.1 billion by 2034, equivalent to a compound annual growth rate of 9.8%. That signals a full ecosystem of printers, inks, films, software, and services behind the transfers you're buying.
The typical sweet spot is simple. If you've got a full-colour design on cotton or polyester, in small to medium quantities, DTF is usually the fastest route from file to finished shirt.
How DTF Compares With Screen, DTG and Sublimation
Start with the scan, then I'll walk through what it means on the shop floor.
Decoration methods compared for fabric, colour and run size
| Method | Best Fabrics | Colour and Detail | Best Run Size |
|---|---|---|---|
| DTF transfer | Cotton, polyester, blends, many dark and light garments | Full colour, fine lines, white underlayer for dark fabric | One-off to medium runs |
| Screen printing | Cotton and most flat textiles | Strong solid colours, cost rises with each colour | Large single-colour or few-colour runs |
| Direct-to-garment (DTG) | Light cotton garments mainly | Full colour, sensitive to fabric and pretreatment on dark items | Small runs and single pieces |
| Sublimation | Polyester and polymer-coated surfaces | Vivid colour, no white ink, weak on dark or cotton | Small to medium runs on polyester |
What the Table Means in Practice
Screen printing is still hard to beat on a large run of one or two colours. Your cost per piece drops fast once the screens are burned, but every extra colour adds a screen, setup time, and another chance for misregistration. It's a volume method, and it punishes small, colourful jobs.
DTG prints straight onto the shirt, so there's no film and no transfer step. It does lovely work on light cotton, but dark garments need pretreatment for the white ink to sit properly, and results swing with fabric type. If you want the fuller head-to-head, our guide to DTF versus DTG printing breaks down hand feel, fabric limits, and cost per print.
Sublimation dyes the fibres rather than sitting on top, which gives it a soft, permanent result on polyester. The catch is in the chemistry. It won't bond to cotton, it has no white ink, and dark fabrics swallow the colour.
DTF sits between these because the image forms on film, away from the garment. The QYResearch DTF printer report describes water-based pigment ink, including white ink and four-colour ink, as a defining technical feature, which is what separates DTF from both sublimation and DTG.
Practical rule: Choose by fabric, colour count, and run size, not by which machine you already own.
Say you need a six-colour logo on 50 black cotton hoodies. Screen printing means six screens for a modest run. Sublimation can't touch cotton or black. DTG needs pretreatment on every hoodie. DTF handles it as one print and one press per garment, and colour count doesn't change your setup cost. Flip the job to 2,000 white tees with a one-colour chest print, though, and screen printing wins on cost per piece every time.
How DTF Transfers Are Made, Step by Step
Every step here exists for a physical reason, and skipping the reason is usually what causes the failure you'll see later in the wash.
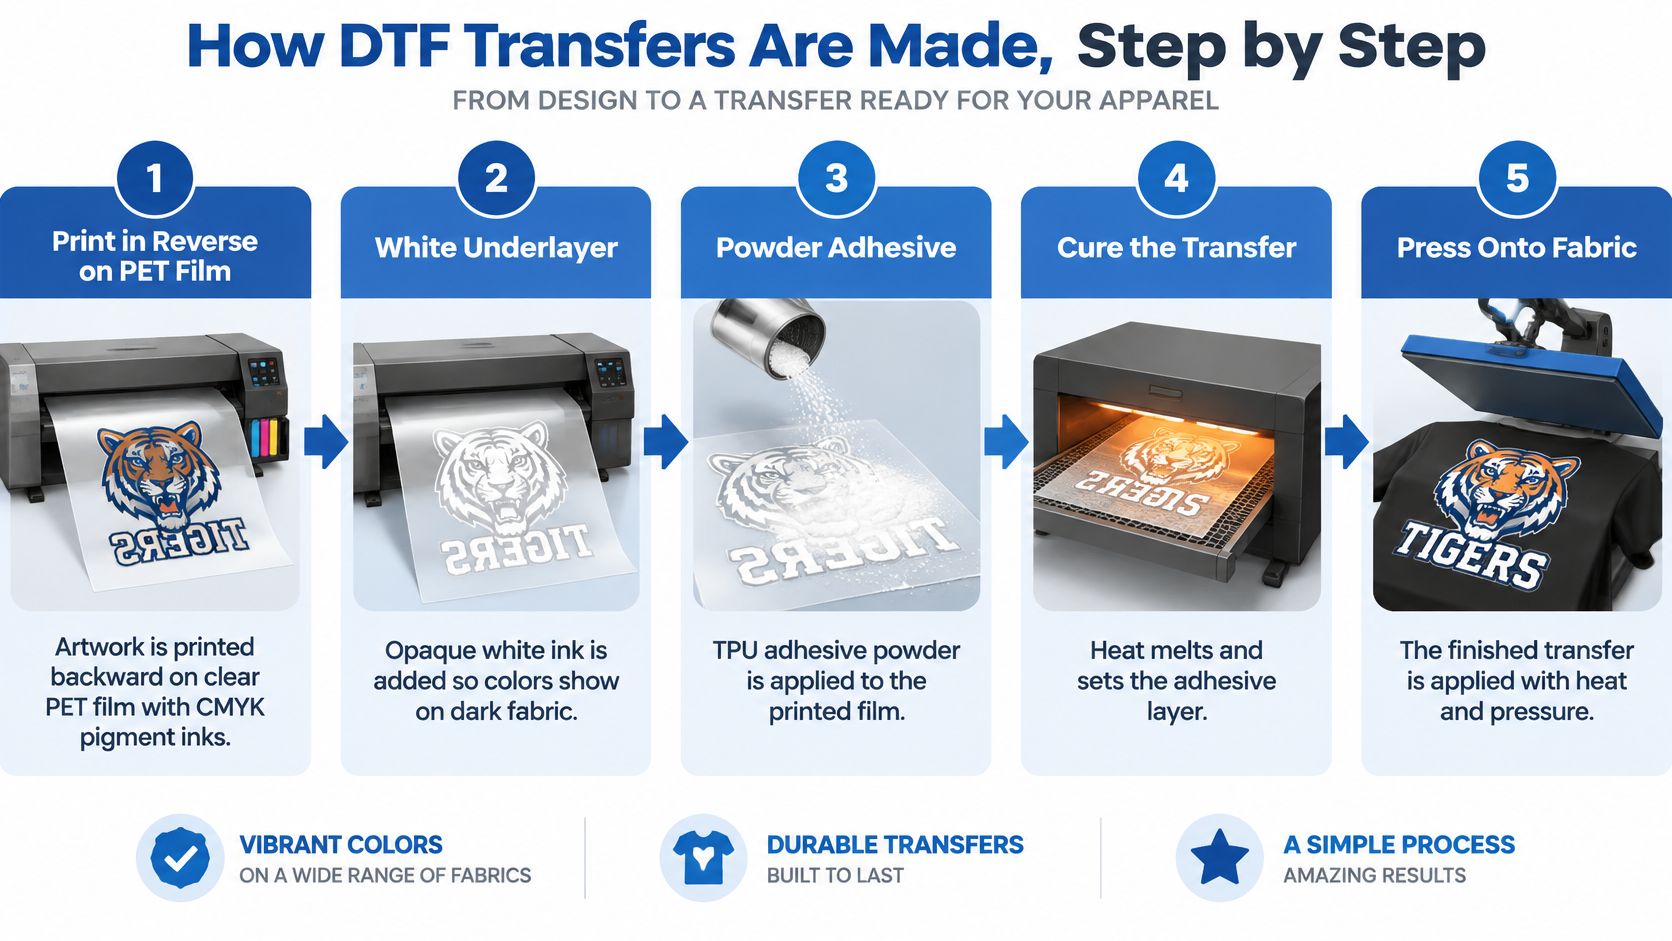
The Seven Steps
- Print in reverse on PET film. The artwork prints backward with CMYK pigment inks so it reads correctly once it's flipped onto the garment. The film is just a carrier at this point, a flat, predictable surface that holds detail better than textured fabric.
- Add the white underlayer. The printer lays opaque white ink over the colour layer. This is the step that makes colours show on dark fabric, because the white becomes the background the colours sit on. Skip it or run it thin and your reds turn muddy on anything darker than grey.
- Apply TPU powder while the ink is wet. Thermoplastic polyurethane hot-melt powder goes onto the printed areas and sticks to the wet ink. This powder, not the ink, is what will glue your design to the shirt.
- Shake off the excess. Loose powder comes off so adhesive stays only where there's ink. Powder left on blank film melts into stray specks and a rough halo around your design.
- Cure the powder. Heat melts the powder into a continuous adhesive layer fused with the printed layer. The Wikipedia overview of direct-to-film printing describes this layered sequence and notes the final transfer is commonly applied at approximately 160–170°C (320–338°F) for 10–15 seconds. Rushed curing is the main reason transfers crack in the wash, because unmelted particles never form a proper bond.
- Store the finished film. Once cured, transfers stack and keep until you need them. That's the workflow advantage. You print on your schedule and press on the customer's.
- Press and peel. Heat and pressure bond the adhesive to the fabric, then you peel the carrier film hot, warm, or cold according to the film specification. Peeling at the wrong temperature can lift edges that looked perfect under the press.
If you'd rather watch the sequence than read it, this walkthrough shows the print, powder, and press stages in order.
Before any transfer goes near a garment, check what you're holding. A good one looks smooth and evenly powdered, with a slight orange-peel texture from the melted adhesive and no bare, glossy patches where powder didn't stick. Bare patches won't bond, and no press setting fixes them afterward.
How to Press a DTF Transfer Onto Fabric
Most failed presses aren't bad transfers. They're moisture in the garment, uneven pressure, or settings borrowed from the wrong stage of the process. Here's the sequence I'd teach a new operator.
The First-Press Sequence
- Pre-press the garment for about 5 seconds. This drives out moisture and flattens the fabric so the adhesive meets a dry, even surface. Steam trapped under a transfer is a quiet bond killer.
- Place the transfer adhesive-side down. Position it carefully, because DTF doesn't forgive repositioning once it's pressed. Cover it with Teflon or parchment paper to protect both film and platen.
- Press with medium pressure for about 10 seconds. That's our standard guidance for our transfers, and it's a sensible starting point before you tune to your film specification.
- Peel according to the film specification. Hot-peel film comes off warm, right after pressing. Cold-peel film waits until it cools. Guessing here lifts fine detail.
Curing and garment pressing are separate heat stages with different ranges, and mixing them up explains a lot of mystery failures. The DuPont Artistri DTF film data sheet specifies curing powdered film for 2–3 minutes at 100–120°C, then pressing the image onto fabric for 10–20 seconds at 160–180°C. The same document lists a short oven-cure alternative of 135–160°C for 3–5 minutes and a garment transfer of 150–170°C for 8–15 seconds.
Curing and garment-pressing settings by stage
| Stage | Temperature | Time | Notes |
|---|---|---|---|
| Pre-press garment | Your garment-transfer temperature | About 5 seconds | Removes moisture and flattens fabric |
| Powder curing in oven | 100–120°C | 2–3 minutes | DuPont guidance for powdered film |
| Powder curing, short oven alternative | 135–160°C | 3–5 minutes | DuPont guidance |
| Garment transfer | 160–180°C | 10–20 seconds | DuPont guidance after oven cure |
| Garment transfer, alternate | 150–170°C | 8–15 seconds | DuPont guidance paired with short cure |
| Garment transfer, typical commercial range | 160–170°C | 10–15 seconds | Common starting point; lower end for polyester |
Treat that table as a map, not a verdict.
Film thickness and adhesive formulation are the variables in this process. Two transfers pressed side by side at identical settings can age differently if one carries a heavier adhesive coat or a different release layer. That's why every reputable film ships with its own spec sheet, and why the ranges above only tell you where to start, not where to stop.
Why Presses Fail
Under-pressure or short dwell produces the cruellest failure in DTF. The bond survives peeling, looks finished, then lets go in the first wash because the adhesive never flowed into the fibres. Uneven pressure leaves localised colour loss or patchy adhesion, usually at the corners where a worn platen or a thick seam holds the press off the garment.
A transfer that peels cleanly hasn't proven anything yet. The wash is the real press test.
Polyester needs respect at the top of the range. Press it at the lower end to limit dye migration, where the garment's own dye bleeds up into your print under heat.
Build one repeatable habit and you'll dodge most of this. Calibrate your press with an external thermometer, confirm pressure across the platen with a test sheet, and run one sample whenever the film, powder, ink, or fabric changes. A scrap garment costs less than a ruined run, and your film specification always outranks any table, including this one.
Fabrics and Garments That Suit DTF Transfers
The short answer is that DTF works on cotton, polyester, and most blends. The longer answer is that each fabric responds differently to the heat that makes the bond, and that's where your settings change.
Fabric suitability and pressing notes
| Fabric | Suitability | Pressing Note | Main Risk |
|---|---|---|---|
| 100% cotton | Strong adhesion | Pre-shrink before pressing; standard setting | Shrinkage and trapped moisture |
| 100% polyester | Good adhesion | Use the lower end of the range | Dye migration into the print |
| Cotton-polyester blend | Good adhesion | Standard setting, test a sample first | Colour shift as blend ratio varies |
| Tri-blend or performance fabric | Workable | Press a sample and wash it | Stiffness, edge lift and dye bleed |
Reading the Rows
Cotton is the easy case. Adhesive grips it well and it tolerates the full pressing range. Its weaknesses are shrinkage and moisture retention, which is why pre-shrunk fabrics are recommended and why that 5-second pre-press matters more on cotton than anywhere else. A shirt that shrinks after pressing distorts the print with it.
Polyester bonds well but punishes excess heat. Press too hot and the fabric's dye migrates into the transfer, turning white areas pink or grey. We cover fabric-by-fabric settings in our guide to what fabrics can be used with DTF transfers if you're building a blank list.
Blends sit in between and behave according to their ratio. A 50/50 and an 80/20 won't grip or colour-shift identically, so a test press isn't caution, it's information. Tri-blends and performance fabrics add stretch and coatings into the mix. They work, but I'd never run a full order on one without a washed sample first.
Say you press a navy polyester jersey at a cotton setting. The print goes on fine, then the white areas show a blue-grey bleed as the dye migrates. Press the identical transfer on a cotton tee at that same setting and it's perfect. Same transfer, same press, different fabric chemistry.
So run this test on any new fabric. Press a sample, wash it, then check for dye migration, edge lift, and stiffness before you commit to the full order.
How Long DTF Transfers Last and How to Test Them
Durability lives in the TPU adhesive layer, not the ink alone. The ink carries the picture, but the melted resin film underneath carries the bond, the flex, and the wash resistance. Judge any wash-count promise by those two components: the film the design was printed on and the adhesive that grips the garment.
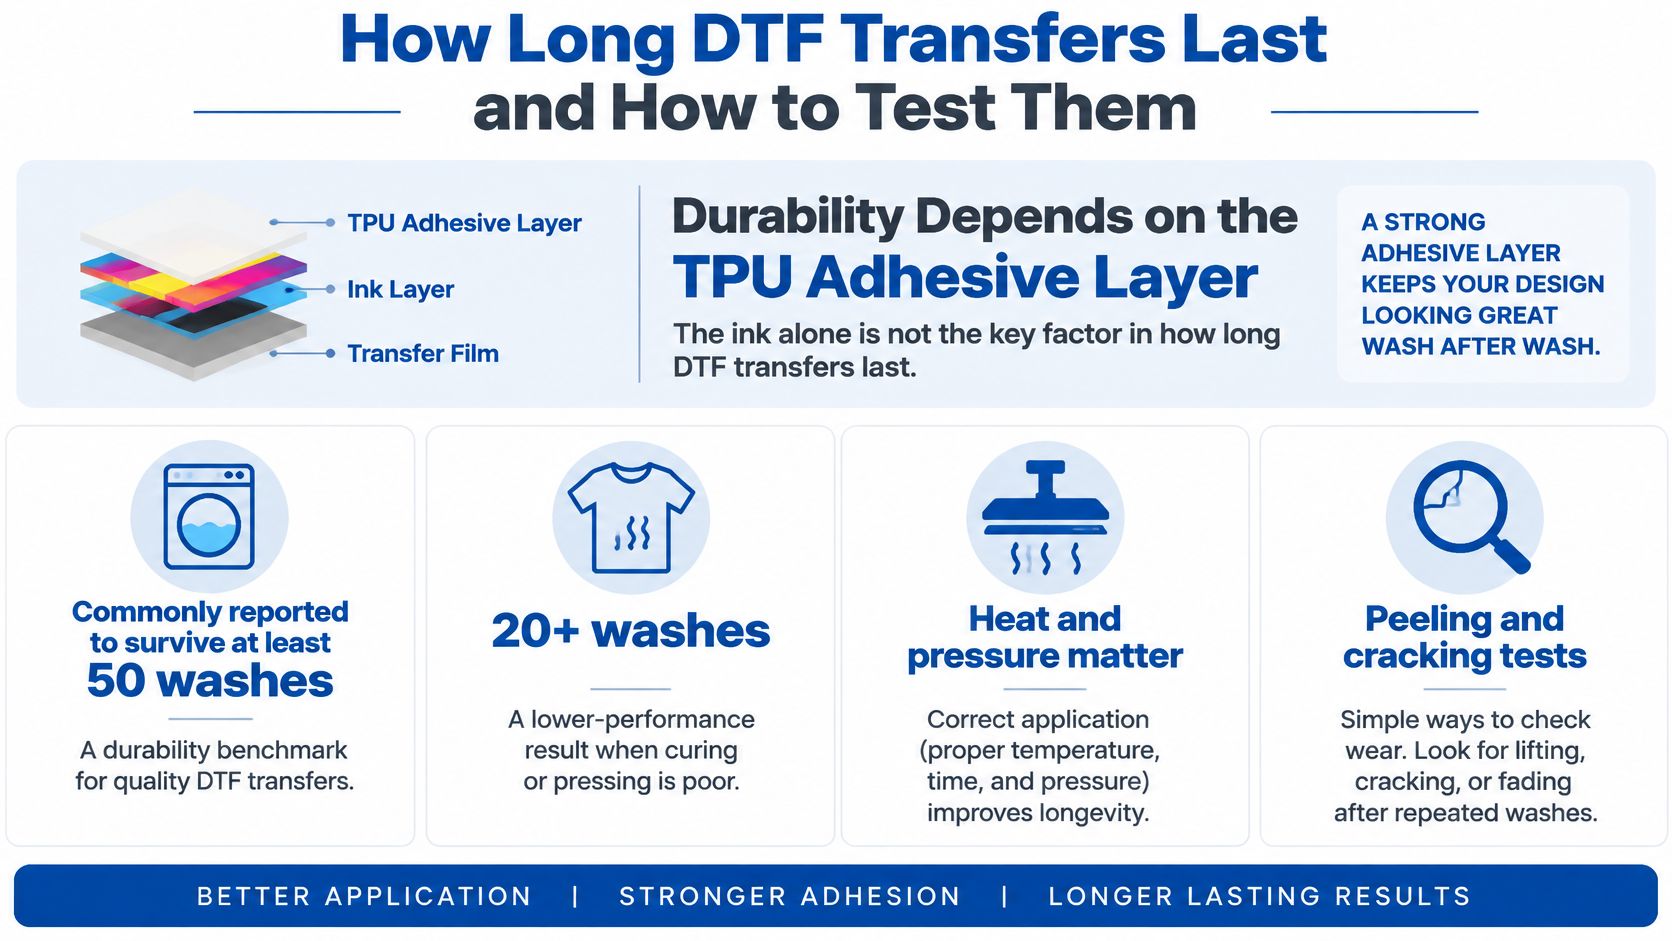
The Gelato guide to DTF printing states that a correctly cured and pressed transfer is commonly reported to withstand at least 50 wash cycles, while emphasising that this is not a universal certification value. Recent trade coverage cited in Graphics Pro's look inside direct-to-film printing puts modern transfers at 80–100-plus washes, compared with roughly 20–50 washes in the technology's earlier period. Both numbers are meaningless without the test conditions behind them, and we dig into that in our article on whether DTF transfers last. Film quality is part of what separates the low end from the high: Lion DTF Transfers uses premium hot peel film rated for 100+ washes, which is the standard a supplier should be able to state outright.
What Actually Fails
- Under-cured powder: Unmelted or weakly bonded particles peel or crack once laundering flexes them.
- Excessive heat: Overheated resin flattens and loses elasticity, so the print cracks when the fabric stretches.
- Hot dryers: Repeated high heat stresses the bond and ages the resin faster than washing does.
Pressing faults cause their own failures, particularly edge lift, but those belong to press setup rather than the transfer's lifespan.
Run Your Own Acceptance Test
- Photograph the print before washing. You need a baseline, because slow fading is invisible from memory.
- Specify the variables. Record garment type and blend, detergent, and wash temperature.
- Wash inside-out under consistent conditions. Same load size and cycle each time, or you're testing your laundry habits.
- Dry by one stated method. Pick line dry or tumble and stay with it.
- Score separately at set wash counts. Record fading, cracking, peeling, and edge lift as four distinct observations, not one overall impression.
Giving end customers simple aftercare instructions prevents most avoidable complaints. Wash inside-out, avoid high-heat tumble drying, and iron only with a cover sheet over the print.
Before you accept any durability claim: Ask what fabric, press settings, detergent, and failure definition produced the number.
Checklist Before You Order DTF Transfers
A cheap transfer that fails on the garment is the most expensive one you've ever bought. Work through this before you order.
The Buyer Checklist
- Artwork quality: Confirm the file is high resolution and in the right colour profile, because DTF reproduces soft artwork faithfully.
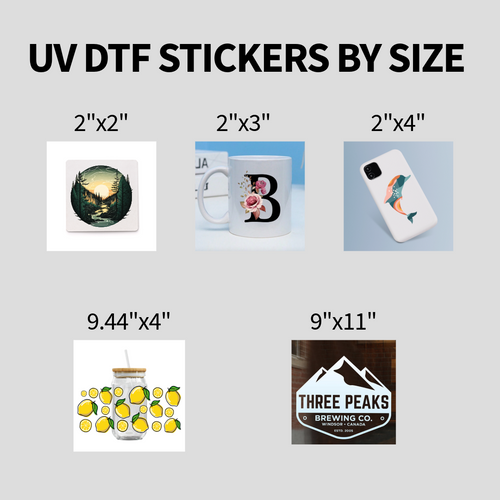
- Size and placement: Check transfer dimensions against the actual garment, not the size you meant to order.
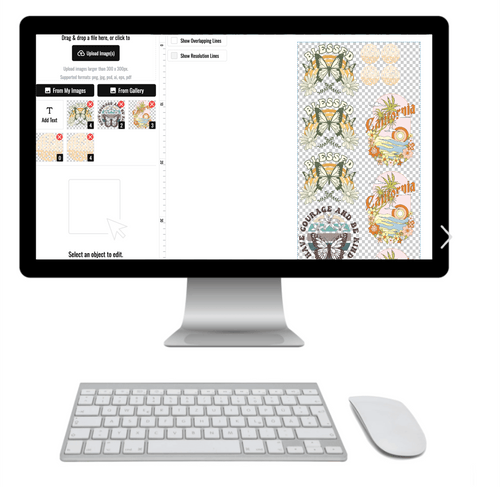
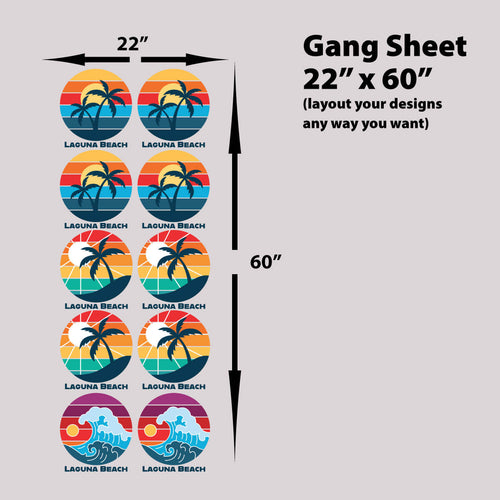
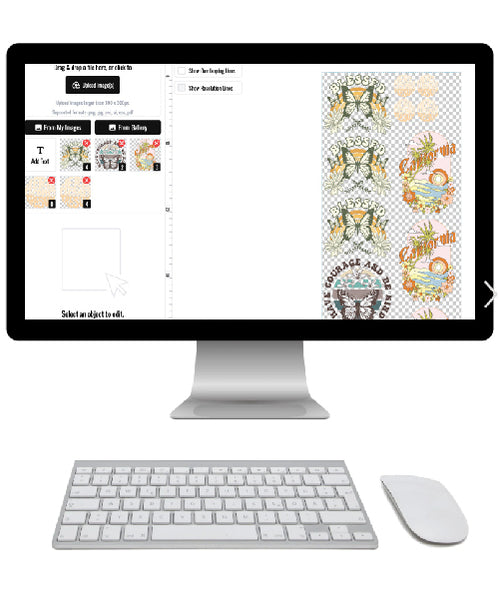
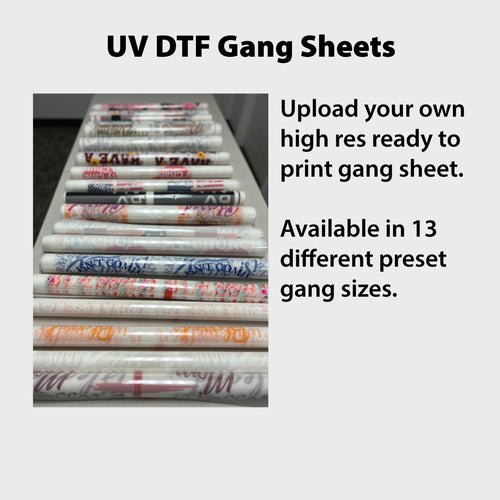
- Gang sheet layout: Where designs are small, group them on one sheet to cut film waste and cost per design.
- Garment preparation: Confirm whether garments need pre-shrinking before pressing.
- Film and waste handling: Ask how used film and production waste are dealt with.
That last item deserves more than a checkbox, because DTF is not automatically sustainable. Digital printing uses less water than conventional wet processing, but lower water use does not by itself establish a lower total footprint. PET film, polyurethane adhesive, curing energy, ink disposal, garment production, and end-of-life treatment all belong in the same calculation.
A recent academic study in Advances in Materials Science and Engineering reports good-to-excellent color fastness after five wash cycles while explicitly identifying film and adhesive as environmental trade-offs. A 2026 report described in that research describes recyclable paper-based transfer media claiming 60% lower cradle-to-gate carbon emissions and more than 75% lower cradle-to-grave emissions, though those are technology-specific claims requiring independent verification.
So compare impact per sellable garment, not impact per transfer ordered. Order size, failed presses, how tightly your gang sheet nests, garment composition, shipping distance, and film disposal all move that number. A tightly nested sheet with zero failures beats a wasteful layout on supposedly greener film.
Your decision is simple. If a supplier's answers on film, waste, sizing, and file handling hold up, order the test sheet described below and let your own wash test settle it.
Choose Single Prints or a Gang Sheet for Your Next Order
The decision rule is one sentence. Order single-size prints when one design fills the job, and a gang sheet when several designs of different sizes can share one film, which lowers your cost per design.
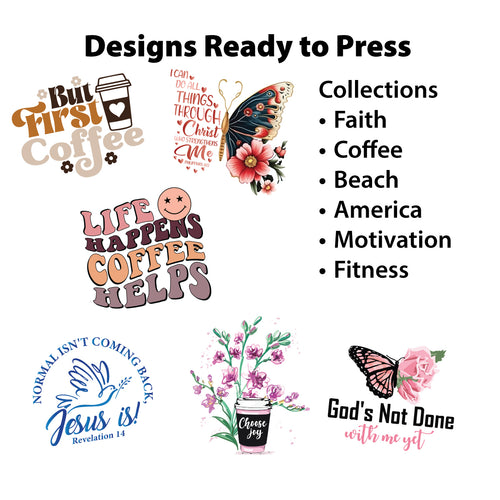
With DTF Print Only, you create or upload a design, select single-size prints or gang sheets, and receive professionally printed transfers shipped directly to you. You press them in your own shop, on your own garments, on your own schedule. There's no printer to maintain and no powder to handle.
A gang sheet earns its keep through packing. Every square inch of empty film between your designs is film you paid for and cannot sell, so arrange pieces to fill the sheet edge to edge. Rotate a sleeve print to fit beside a chest logo. Tuck tag-size designs into the gaps a large front graphic leaves behind. Since transfers start at $0.017 per square inch, shrinking a design's dimensions cuts its cost directly, and a layout that uses more of the sheet lowers what you pay per usable transfer.
When you're choosing between the two options, ask one question: does this order contain enough different designs, or repeats of one design, to fill a sheet at a better rate than single prints? Left chest, full front, and two sleeve prints on one gang sheet almost always beats four separate single-size orders.
Here's your practical next step. Upload one sample design, order a small test sheet, then press and wash it using the settings and acceptance test in this guide. Check the result against your own standards before you commit to volume.
If you've got questions about files, sizes, or turnaround, the DTF specialists and design experts are available seven days a week by call or text at 833-350-5466, or by email at orders@liondtf.com.
Stop guessing whether a transfer will hold up and test one properly on your own garments. Visit Lion DTF Transfers to order a test sheet through DTF Print Only, choose between single prints and a gang sheet, and press, wash, and judge the result yourself before your next full run.