



You've got a fresh stack of DTF transfers on the kitchen table, a blank shirt that cost real money, and a press heating up in the corner of a bedroom or garage. The first peel looks perfect. The second lifts at one corner. That gap between one good shirt and a repeatable run is where most home setups stall, and it's rarely solved by turning every dial up. A good DIY heat press workflow comes down to three controls you can verify, temperature, pressure, and time, plus a workspace that won't trip a breaker or scorch the bench while you learn them.
Starting Settings for DTF Transfers at a Glance
Start with the heat press row, not with theory. For our hot peel DTF transfers, preheat to 240°F-280°F, set medium pressure, cover the transfer with Teflon or parchment paper, press for 10 seconds, and peel the backing off immediately. That is your first test setting, not a universal law.
The transfer maker's sheet overrides these numbers every time. Some published DTF procedures use 10 seconds for the main press instead of 12, so don't argue with the sheet in your hand. Run one small design, inspect it after cooling, and let that test decide whether you stay at 12 seconds or drop to the shorter cycle.
The Settings Table
The two short follow up presses do different jobs. The optional final press of 7-10 seconds with Teflon or parchment settles the design after the main press and takes off excess gloss. The reuse press of 5-6 seconds is a second pass with the cover sheet back over the design when an edge needs help. Don't stack all three automatically. Press, peel, look, then decide.
If You Only Have a Home Iron
Set the iron to its highest cotton setting with no steam. Work on a hard, flat surface, not a padded ironing board that absorbs your force. Apply firm and even pressure in a circular motion for about 20-30 seconds, covering the whole design section by section.
Then stop touching it. Let the transfer cool completely before peeling off the backing paper. That cool down is the opposite of the press workflow, and mixing the two peel rules is a common reason iron applied designs tear or lift. An iron can prove a design works, but it can't repeat pressure the way a platen can, so treat iron results as a trial, not a production standard.
Change one of the three controls at a time. If you raise temperature, extend dwell, and crank pressure together, you'll never know which change fixed it.
Every fix in the rest of this guide adjusts temperature, pressure, or time. There's no fourth magic setting. When a corner lifts, a print feels sticky, or fabric shines, you're looking at one of those three being wrong for that blank and transfer pairing, and the job is finding which one without wrecking the other two.
Choosing a Press That Repeats Results
Do the temperature math before you shop. The DTF hot peel setting is 240°F-280°F. A press that tops out at 450°F can't reach a 500°F setting, no matter what the listing headline implies. Confirm the model reaches 500°F before you buy it or press with it. That single check eliminates a lot of attractive-looking machines.
That same report frames selection around matching temperature range, pressure adjustment, platen size, and cycle control to the transfer and substrate. Maximum heat alone doesn't make a press repeatable. You need a machine that can hold a setting and return to it.
Specs to Verify Before First Use
- Adjustable pressure: You need a knob or mechanism you can change in small steps and return to later, not a fixed spring feel. Validate it with a paper strip before the platen gets hot: a strip that slides out with little resistance suggests light pressure, and one that will not pull suggests too much.
- Repeatable timer: The timer should hold dwell periods consistently so a 12 second press today matches a 12 second press next week.
- Platen size: Measure your largest planned design, including gang sheet layouts, and buy for that, not for the small logo you're pressing this weekend.
- Displayed temperature: Check the display against an infrared thermometer or temperature strip. Displays can read higher or lower than the actual platen surface, and the garment only cares about the surface.
- Auto-shutoff as backup: Treat an auto-shutoff feature as a safety net, not as proof the press is well controlled. It protects the room, not the repeatability of your dwell.
Press Types Compared
| Machine type | Loading style | Bench fit | Best fit |
|---|---|---|---|
| Clamshell | Load under a raised hot platen | Compact footprint | Home and entry-level setups |
| Swing-away | Platen swings aside for loading | Needs more bench depth | Thick hoodies and precise placement |
| Draw press | Lower platen pulls out for loading | Needs clearance in front | Garments that are awkward to slide under heat |
| Other designs | Varies by configuration | Varies by station count | Specialty or multi station home setups |
Clamshell presses are compact and common in home setups, but you load under a raised hot platen. Swing-away and draw designs give you room to position a shirt without reaching under heat, which matters on thick hoodies and precise placements, but they need more bench depth. For a plain language walkthrough of starter models, see this guide to the best heat press for beginners.
Building or adapting a press from parts only makes sense if you can verify even heat, adjustable pressure, and a working thermostat before any transfer touches it. If you can't measure those three, you're not saving money, you're buying unknown variables. I'd start with a boring, verified machine and spend the savings on test blanks.
Assemble your kit before the first test run: Teflon or parchment cover sheets, an infrared thermometer, heat resistant tape, spare test garments, paper strips for pressure checks, and a job card or notebook. None of it's glamorous. All of it prevents the expensive kind of guessing.
Setting Up a Safe Home Workspace
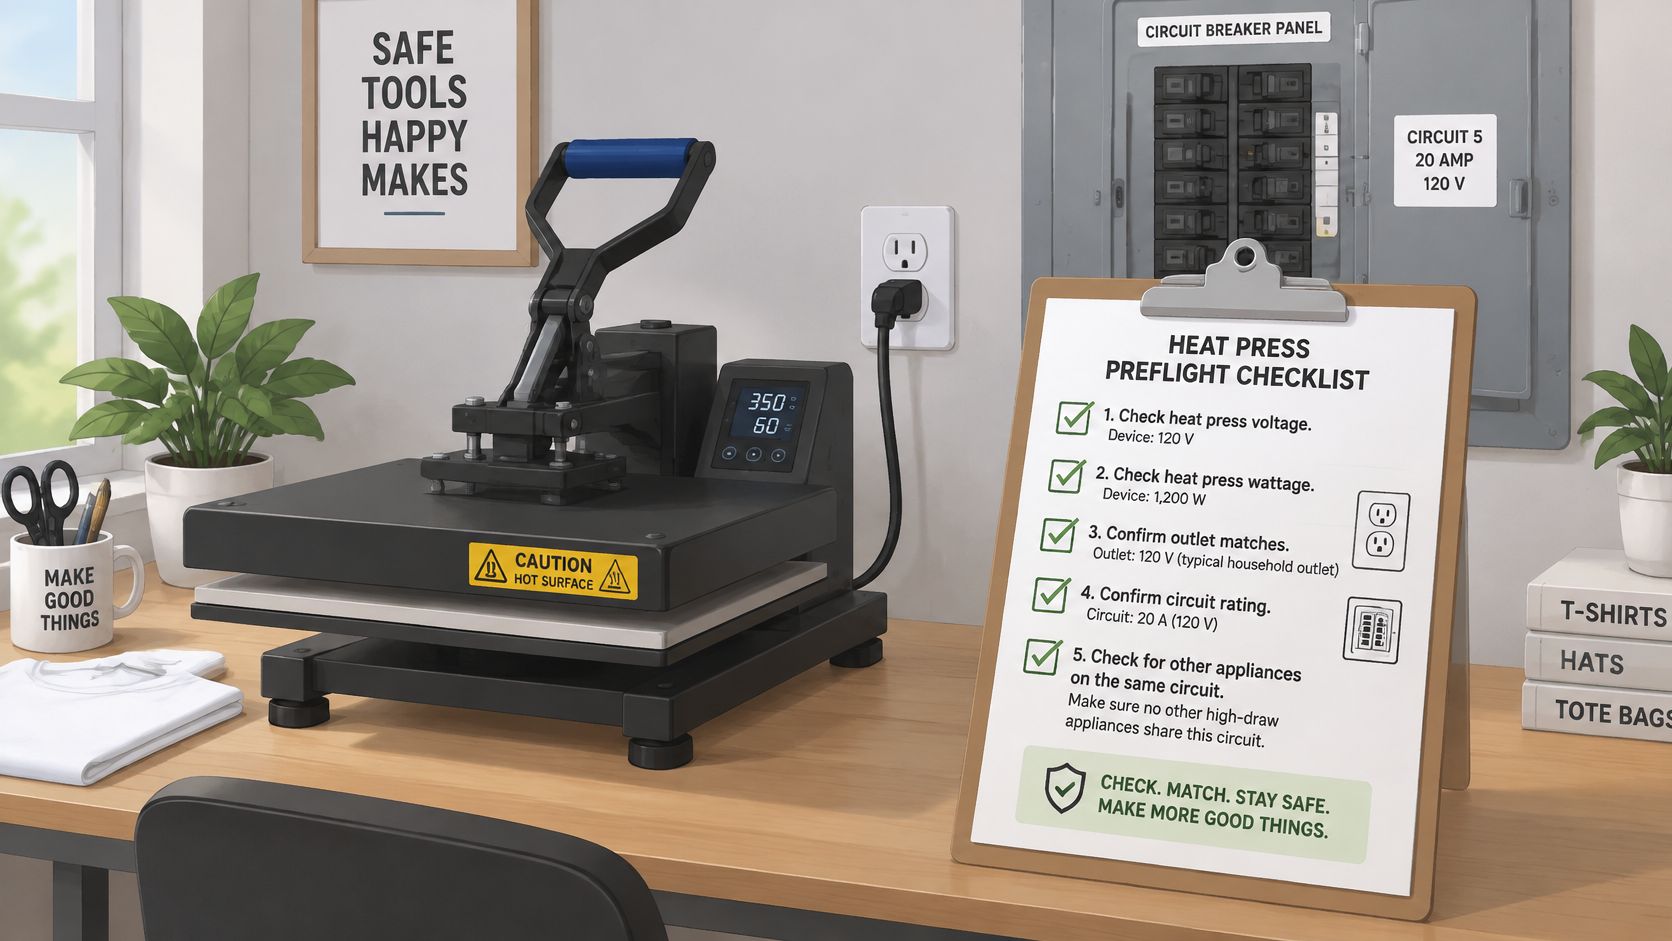
A heat press that draws more current than a bedroom circuit can handle will trip a breaker at best and overheat a plug at worst. Treat setup as a preflight you run in order, not a vague reminder to be careful. A press in a bedroom, garage, or shared studio shares circuits, benches, and air with everything else in that room.
Start with power. Confirm the press's voltage and wattage match your outlet and circuit, and check what else runs on that same line. Avoid unverified power strips and extension cords, inspect the plug and cable before each session, and keep the power disconnect where you can reach it without leaning over the platen.
This is the station to aim for before the platen gets hot.
The Preflight Sequence
- Surface and clearance: Put the press on a stable, heat resistant surface with clear space on all sides. A purpose built support helps here, and this overview of a heat press stand shows what stable placement looks like.
- Combustibles away: Move paper, packaging, loose fabric, and curtains away from the platen before you power on.
- Fire extinguisher within reach: Keep an appropriate extinguisher nearby and know where it is without searching.
- Cool down zone: Mark where hot garments and cover sheets go. Follow the manufacturer's stated cool-down time for your model, and plan the end of the session before you start it.
- Ventilation: Run airflow that clears the work area, especially in small enclosed rooms.
Why These Steps Map to Real Hazards
Borrow the method from OSHA's Job Hazard Analysis guidance: list the task, then the hazard. Here the two that matter are electrical fire and heat-related injury. At home, electrical fire looks like a damaged cord arcing or a plug overheating near paper, fabric, or a curtain. Heat injury looks like a burn from the platen or from grabbing a freshly pressed shirt before it cools.
For this work, that means a stable, nonflammable surface with clearance around the platen, a cord inspection before every session, and connection that matches the manufacturer's electrical requirements. Each checklist item blocks a specific failure, not a general feeling of risk.
Finish with a dry run. Power on with nothing in the press, let it reach temperature, and watch for smells, flickering, or unusual noise. Press the handle through a full cycle and confirm the frame does not rock or walk across the bench. If anything seems off, shut it down and sort it cold.
Supervision rule: An auto-shutoff timer is a backup only. It doesn't make unattended pressing safe, so never leave the press alone while it's hot.
How to Press a DTF Transfer Step by Step
Pressing a DTF transfer is a short sequence, but order matters more than speed. Skipping the preparation steps to get to the handle faster is how edges lift and fine details crack.
This infographic sums up the first three moves before we walk through each one.
The Pressing Sequence
- Preheat the press to 240-280°F. Wait until the display and a surface reading agree within a few degrees. A cold or uneven platen is a leading cause of lifting, and the display alone can't prove the surface is ready.
- Pre-press the garment. Flatten wrinkles and dry the surface. Our transfer instructions specify a 5 second pre-press; follow the sheet for the transfer in your hand. A dry, flat surface matters because trapped moisture fights adhesion.
- Place the transfer adhesive side down, centered. Keep seams, collars, and pocket edges out from under the design. Anything bulky under the artwork steals pressure from the flat areas around it.
- Cover with Teflon or parchment. The cover sheet protects the film and helps spread heat evenly. Smooth it flat so it doesn't introduce its own wrinkles.
- Close at medium pressure and press. Use 10 seconds, or the time on your transfer sheet if it states a different dwell such as fewer seconds. Let the timer finish. Medium pressure is a feel, not a dial number, so confirm the press closes evenly before you commit a garment.
- Peel the backing immediately for a hot peel. Keep the garment and film steady so the design doesn't shift while the adhesive is still settling. A smooth, confident peel beats a slow, hesitant one on a hot peel product.
- Run a follow up press only if the design needs it. Replace the cover sheet for the optional 5 second final press, and reserve the 5-6 second reuse press for a design that needs a second pass after the first one has been checked.
- Cool, then inspect. Let the garment cool before you tug at anything. Check edges, corners, and fine details under good light before the shirt gets worn or folded into a finished pile.
The video below shows the pressing motion and peel timing so you can match your pace to a real cycle.
Record What Actually Worked
The Stahls application instructions make the transfer manufacturer's specification the controlling variable rather than any universal setting. They note that common HTV on cotton clusters around 295-320°F (146-160°C), medium pressure, and 10-15 seconds, while other materials can require materially different settings. That gap between HTV numbers and your DTF sheet is exactly why copying settings across transfer types fails.
Keep a job card for each blank and transfer pairing with temperature, time, pressure setting, and peel type. Run a small test design first, inspect adhesion after cooling, and inspect it again after the first wash. A design that survives the peel but lifts in the wash hasn't passed, and finding that out on a test shirt costs far less than finding it out on a full batch.
Don't blame temperature for every failure. Insufficient pressure, moisture, uneven platen contact, wrinkles, and the wrong peel condition all produce lifting that looks identical at first glance. Your job card is how you tell them apart next time instead of guessing again.
Testing Pressure and Fixing Common Failures
Run the pressure test before you touch temperature. Most DIY heat press problems blamed on heat are really contact problems, and pressure is the variable beginner guides describe worst.
Medium pressure isn't a reproducible setting. It's a feeling on a handle, and that feeling changes with garment thickness, platen size, and machine design. Supplier PSI figures don't fix the problem either, because actual force depends on platen area. As one technical explanation of heat press pressure and PSI shows, applying 40 PSI across a 16x20-inch platen would imply 12,800 pounds of total force, which is why a PSI number can't be read as a direct dial setting on your machine.
The Paper Strip Test
Cut four equal strips of plain paper. Place one at each corner of the platen, close the press while it's cold, and pull each strip in turn. You're comparing resistance, not measuring force.
- Even resistance on all four strips: Pressure is distributed well enough to test a garment.
- One strip slides out easily: That corner isn't loading. Check platen alignment, pad condition, and whether the garment or a seam is lifting one side.
- Strips on one side grip harder: The platen is loading unevenly across its width, and designs will bond on one side and lift on the other.
Temperature and dwell time cannot reliably compensate for uneven pressure or a warped platen. Fix the contact first, then tune the heat.
More pressure isn't automatically better. Too much flattens garment texture, leaves press marks, squeezes adhesive beyond the edge of the design, and can damage delicate fabrics. Too little gives you corners that look bonded on the table and lift in the first wash. You're aiming for even and sufficient, not maximum.
Set Acceptance Criteria Before the Run
Decide what passes before you press a batch. Corners and narrow details fully bonded. No bubbling and no gloss change outside the artwork. No lifting after a controlled wash test. If a test shirt fails any of those, it isn't production ready, however good it looks warm.
| Symptom | Likely cause | Fix |
|---|---|---|
| Edges or corners lift after washing | Low pressure or uneven platen | Run the paper strip test, then raise pressure one step |
| Design stays sticky or transfer tears | Peel timing wrong | Peel immediately for hot peel, or wait for cool peel if the sheet says so |
| Fabric scorched or shiny | Dwell too long or platen too hot | Cut dwell by 2 seconds and check the platen with a thermometer |
| Wrinkle or bubble under design | Moisture or unflattened garment | Pre-press for 5 seconds and smooth the blank before placing the transfer |
| Press marks around the artwork | Pressure too high | Lower pressure one step and use a padded surface under the garment |
Work the table one row at a time. When something lifts, correct one variable, starting with pressure or platen flatness before dwell time. Increasing heat, time, and force together can scorch fabric and still leave the underlying problem, a corner that never made contact, completely untouched.
Document each change on the job card for that garment type. After a few test cycles you'll have settings you can repeat on purpose, which is the difference between a hobby that mostly works and a small operation you can charge money for.
Deciding Between Pressing at Home and Ordering Transfers
Start with the decision rule. Press at home when your press reaches the temperature your transfers need, you can keep a clear and safe station, and you're willing to run test garments and log settings for each blank type. Order the work out when there is no safe place for a hot press, you want to skip setup and calibration, or you need finished garments without owning equipment. If you're weighing suppliers, this guide on where to order DTF transfers covers what to check before you commit.
The Two Service Routes
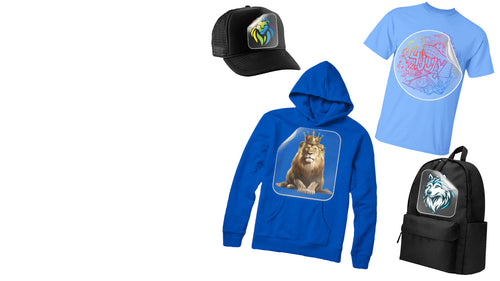
Print & Press runs like this: you upload or create a design with the online tool, bring in your garment, and the team professionally prints and presses the design onto it. You skip the press, the circuit check, and the test shirts entirely.
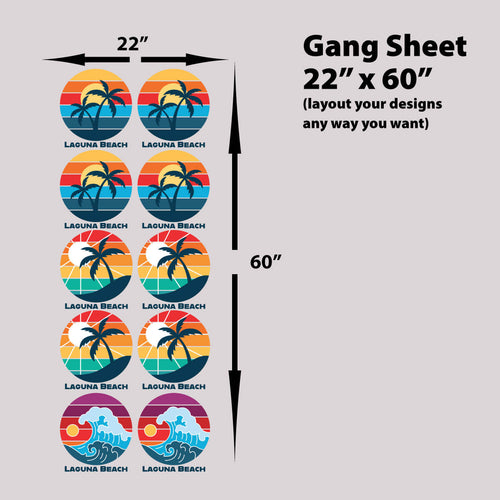
DTF Print Only suits home pressers who want the printing handled. You create or upload a design, select single size prints or gang sheets, and receive professionally printed DTF transfers shipped directly to you. You keep control of garments and pressing while outsourcing the part that needs a printer, white ink handling, and curing equipment. The trade-off: you pay per print rather than per finished shirt, and you keep every variable after the film arrives.
Making Home Pressing Pay
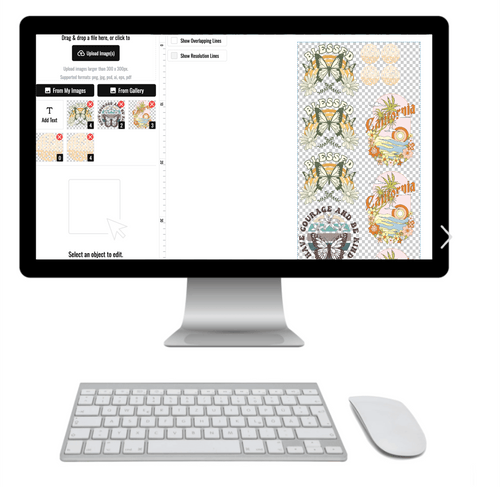
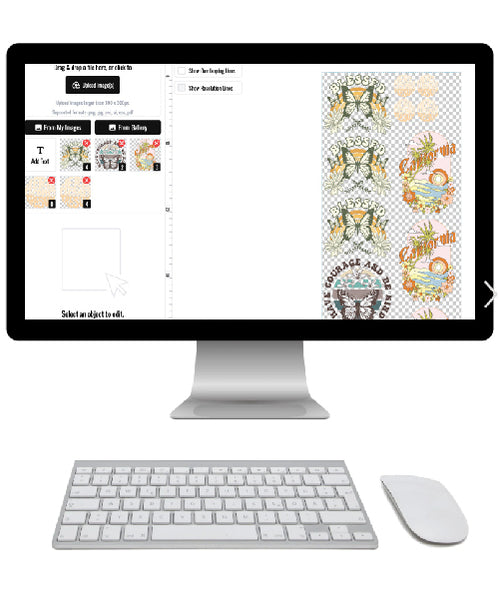
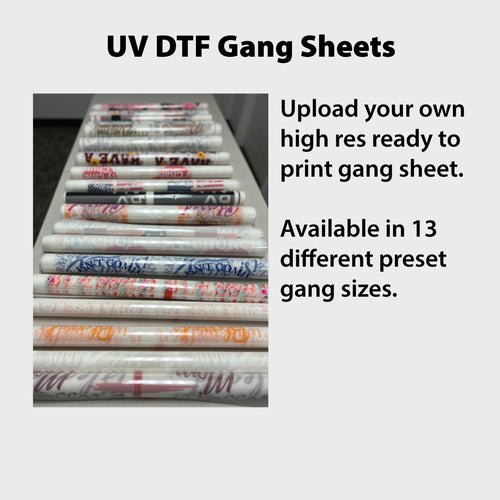
If you press at home, sheet layout is where waste hides. Ordering one small design per sheet burns printable area you already paid for. Building a custom gang sheet online puts several designs on one sheet, so left chest logos, sleeve marks, names, and test designs share the space instead of shipping separately.
That matters for testing discipline too. When spare designs ride along on space you would otherwise waste, you can afford to sacrifice one on a test garment for every new blank type. Operators who skip testing usually aren't careless, they're protecting expensive single transfers. Cheaper tests get run more often, and more testing is what makes results repeatable.
- Own a verified press and safe station: press at home and order transfers by the sheet.
- No safe space or no press yet: use Print & Press and keep your home setup out of it.
- Uncertain which way to go: run the one week test below before buying equipment.
One Test to Run This Week
Build one small sheet with the online gang sheet builder containing your main design plus a spare test copy. Press one test garment using the starting settings from the first section. Wash it the way the finished garment will be washed, then inspect the edges and corners closely.
If the test passes your acceptance criteria, scale up with confidence and your logged settings. If it lifts, you've spent one test shirt learning that, and you can fix pressure, time, or temperature before a customer's order is on the line. I wouldn't buy a bigger press, a second press, or a bulk garment order until that single wash test passes.
Ready to run that first test without wasting sheet space? Build your layout with the online gang sheet builder, order hot peel transfers or a gang sheet, and press one wash tested garment before committing to a batch. Start your order today with Lion DTF Transfers and turn your home press settings into results you can repeat.
Email orders@LionDTF.com or Text or Call: 833-350-5466