



You've got a spirit day in six weeks, a principal who hasn't seen the mascot redesign, three grade levels asking for different colours, and a parent volunteer holding a box of leftover youth smalls from last year. That's how most orders for custom T shirts for schools begin. The shirt itself is easy. The approvals, sizes, margins, and reuse plan around it decide whether you're reprinting in a panic or reordering from a saved file next fall.
Plan the Order Before Any Artwork Is Made
For many school orders, I'd start here. Buy a cotton-polyester blend, print full-colour art with DTF transfers on a shared gang sheet, and screen print only when you've got a single flat logo across a full run.
Then settle five decisions, in this order.
- Print method. Choose by design complexity and order size, not by habit.
- Fabric. Choose by how the shirt has to wear through the school year, not just how it feels on day one.
- Size run. Set counts by size from preorders. Don't guess a ratio and hope.
- Artwork approval. Get written sign-off from the school administrator or trademark office before anything prints.
- Cost and timing. Build a cost worksheet and work backward from the event date.
Skipping step 4 is the common reason an order stalls or needs a reprint. A design can be print-ready and still be unusable if nobody with authority approved the mascot, slogan, or seal.
Context helps explain why this discipline matters. The National Center for Education Statistics reported that 18.8% of U.S. public schools required students to wear uniforms during the 2019–20 school year, with 21% of elementary schools and 18% of middle schools reporting uniform requirements, compared with 12% of secondary/high schools. Optional spirit shirts aren't uniforms, but schools already treat coordinated clothing as an administrative decision, not a casual purchase.
At the end of this process you should have six things in hand. A print method, a fabric, a size plan, an approved file, a cost worksheet, and a timeline tied to a real date.
Choose the Print Method That Fits Your Order
Start with the comparison, then apply the decision rule underneath it.
| Method | Best order size | Detail and colour | Setup and cost pattern | Best school use |
|---|---|---|---|---|
| Screen printing | About 24 or more shirts of one design | Strong for flat spot colours; weak for photo-style art | Screen per colour; cost per shirt falls with volume | Team jerseys and one-colour spirit shirts |
| DTF transfers | From a few shirts to several hundred, mixed designs on one sheet | Full colour and fine detail on cotton, polyester and blends | No screens; efficient for small and mixed runs | Multi-design spirit wear, names and numbers |
| Embroidery | Often 12+ pieces per design | Durable textured logos; poor for gradients and tiny text | Stitch count and thread colours drive price | Polos, jackets and staff wear |
| Heat transfer vinyl | A handful of shirts | Limited colours; weeding takes time | Labour-heavy per shirt | Names or numbers on a few shirts |
How to Read the Trade-Off
Screen printing earns its keep when one design repeats. One flat logo in one or two colours across a whole grade or team spreads the screen setup across enough shirts that the per-shirt cost drops. It stops making sense when you split that same quantity across four designs, because you're paying setup four times for short runs.
DTF transfers flip that logic. There's no screen to make, so full-colour art, fine detail, gradients, and individual names stay practical on cotton, polyester, and blends. Small and mixed runs don't get punished the way they do with screens.
Embroidery and heat transfer vinyl are narrower tools. Embroidery holds up beautifully on polos and jackets, but it'll fight you on gradients and tiny text. Vinyl is fine for a handful of names or numbers, though weeding, which means picking away the excess vinyl by hand, eats time fast.
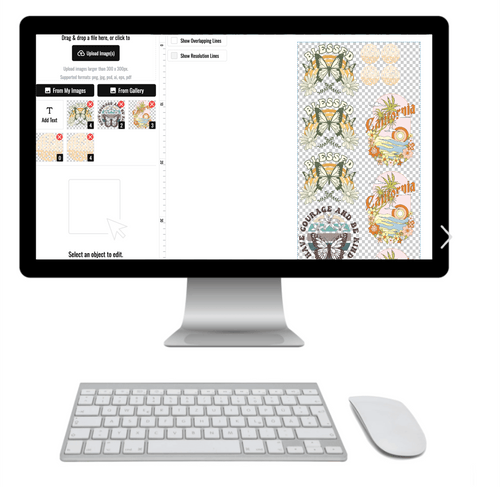
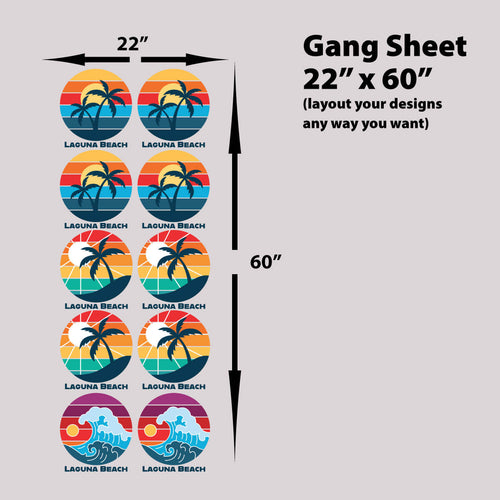
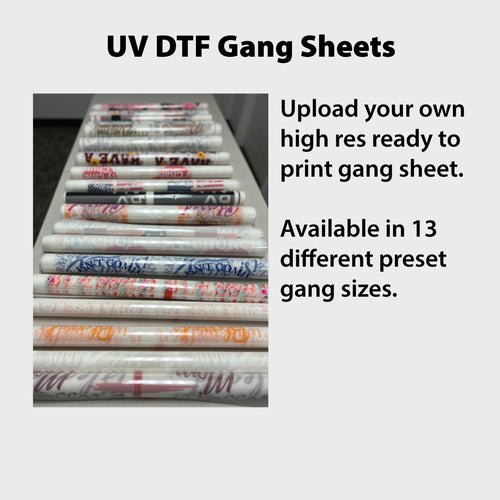
Say a school needs 120 shirts total, split across four designs in three sizes. That's usually a DTF job on a shared gang sheet, not four separate screen-print setups. Our Auto-build gang sheet builder lays out several DTF designs on one sheet so you're not paying to print empty space, and it keeps the layout work simple when designs repeat at different sizes.
You can also combine methods instead of forcing one to do everything. Screen print the core logo for the full run, then use DTF for names and numbers that change shirt to shirt. If you want the head-to-head detail before deciding, our guide on screen printing versus DTF transfers walks through cost and durability side by side.
Quick test before you quote: More than two colours or photo-style art points to DTF. One flat logo in bulk points to screen print.
Pick a Fabric Students Will Wear Again
The cheapest blank isn't always the cheapest shirt. Compare the three common options first.
| Fabric | Strengths | Trade-offs | Best school use |
|---|---|---|---|
| 100% cotton | Soft and breathable; prints well with DTF and screen print | Shrinks unless pre-shrunk; can fade over many washes | Everyday spirit tees and staff shirts |
| Polyester | Dries fast, holds colour and holds its shape | Can feel warm; less breathable for long wear | Sports practice shirts and warm-up gear |
| Cotton-polyester blend | Balances softness with durability; shrinks less than cotton | Print adhesion and colour must be tested on the blend | Year-round spirit wear across grades |
Cotton feels softest and takes both DTF and screen print well. Its weakness is shrinkage, so buy pre-shrunk blanks. We recommend pre-shrunk fabrics for DTF transfers because a shirt that shrinks after pressing can distort fit and make a good print look like a sizing mistake.
Polyester dries fast, holds colour, and suits practice shirts, though some students find it warm for a full school day. Blends sit in the middle, balancing softness and durability for everyday spirit wear across a school year. For blank-specific guidance, see our roundup of the best blank T-shirts for printing.
Price the Year, Not the Shirt
A lifecycle view changes the math. A 2025 survey of 102 parents at a secondary school in Victoria, Australia found that polyester was the most common uniform fiber at 52.1%, followed by cotton at 23.7% and wool at 7.9%, and among parents buying second-hand uniforms, 86% identified cost savings as the main motivation.
Use that as a planning prompt. Count total garments bought, replacement frequency, hand-me-down potential, and whether the graphic stays wearable after a student outgrows it. A low-cost shirt replaced twice can cost more than a durable shirt that moves to a sibling, a uniform bank, or resale.
Artwork affects reuse too. A small, timeless logo can survive across graduating classes. A large dated event graphic turns an otherwise good garment into waste once that event passes. If the shirt is meant to last, keep the mark simple and put dated details in smaller secondary text, or skip them.
Before you approve any blank for the full run, wash one pressed sample three times. Check print adhesion, edges, shrinkage, and colour after the third wash. That ten-minute check catches most fabric and press problems while you can still change blanks.
Size Runs and Inclusive Fit for Every Student
One size chart doesn't fit a whole school, and visual consistency isn't the same as equity.
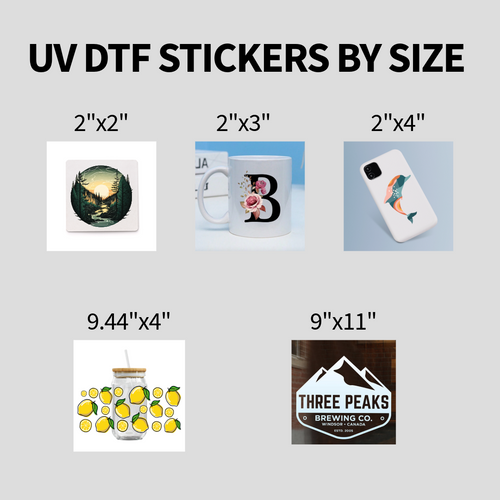
The practical advantage of a transfer-based program is that one design can be printed in different sizes for youth, adult, coach, and fan apparel. You plan the artwork once, then scale it across the full size run instead of rebuilding files for every group.
Fit choices carry real consequences. A review of school uniform policy and inclusion found that poorly designed uniform policies disproportionately harm girls, ethnic and religious minorities, gender-diverse students, and lower-income students when garments do not accommodate physical or sociocultural needs. The same review found that inclusive and unisex designs can improve confidence among girls and overweight students participating in sport, while inflexible policies can reduce confidence and contribute to bullying or exclusion.
A Fit Checklist That Prevents Exclusion
- Offer more than one cut. Put gender-neutral or unisex options next to standard fits instead of forcing one torso shape.
- Carry the extremes. Include youth and adult ends of the range, not just the middle sizes that are easy to stock.
- Publish measurements. Give chest width and body length in inches rather than relying only on age labels, which vary wildly between brands.
- Ask anonymously. Let students and families tell you which fits, necklines, and lengths they need without putting anyone on the spot.
- Mind the details. Consider modesty options, looser necklines, and tagless labels where possible for sensory comfort.
- Cover cost. Provide a low-cost or no-cost option so no student sits out spirit wear because of price.
Keep the policies separate in writing. A spirit shirt signals participation. Dress-code enforcement is disciplinary. Mixing the two turns a voluntary shirt into a source of conflict.
A wider menu does cost more to stock, so control it with preorders. Take counts for each size first, order against those counts, then add a small buffer for late joiners and replacements. Weight that extra stock toward the sizes that sold out first last time, not evenly across the board.
Prepare Artwork and Get Sign-Off Before Printing
Approval comes before production, every time. This six-step flow shows the order that keeps a school order out of reprint territory.
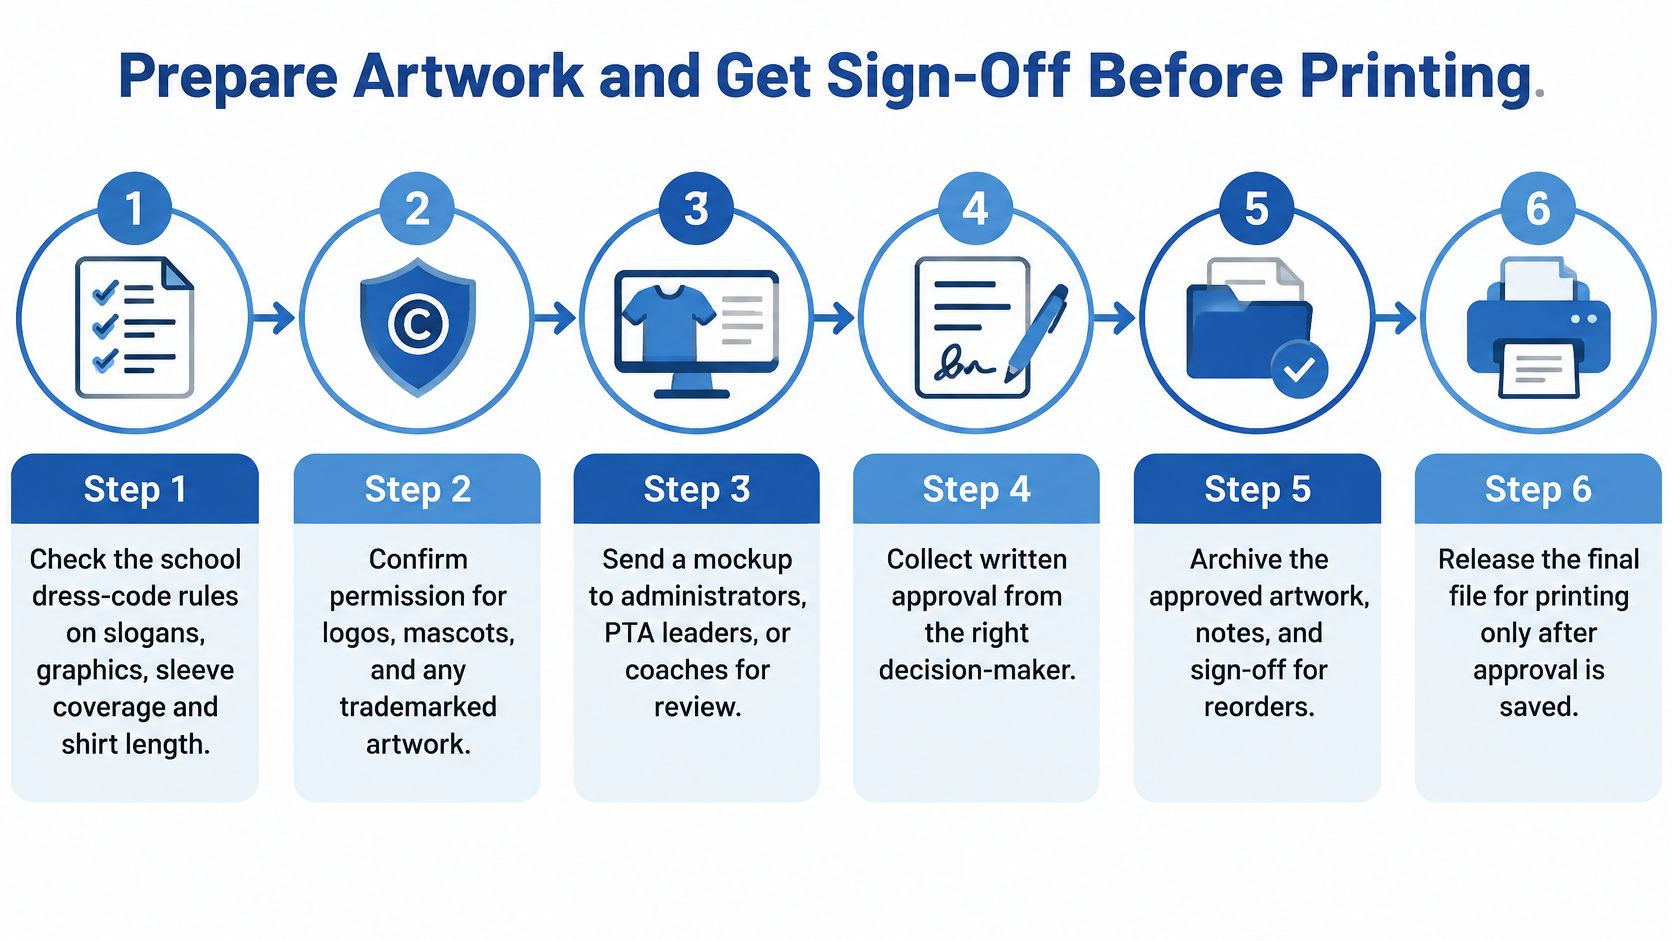
- Check dress-code rules. Confirm limits on slogans, graphics, sleeve coverage, and shirt length. The U.S. Government Accountability Office report on school dress codes found that, in the 2019–20 school year, nearly half of U.S. schools enforced a strict dress code, and a separate GAO analysis found that about 60% of dress codes included rules involving measurements of students' bodies or clothing.
- Confirm permission. Get clearance for any official logo, seal, mascot, or conference emblem from the administrator or trademark office. A parent volunteer saying "the school always uses it" isn't permission.
- Prepare the file. Use vector files for logos and text, or a transparent PNG at 300 DPI at final print size for DTF. A screenshot pulled from a website will print soft and pixelated.
- Order one proof. Press a sample garment and check colour, edges, placement, and spelling at arm's length and up close. Names and class years are where typos hide.
- Get written approval. The sign-off should name the design, garment types, quantity, sales purpose, and campaign dates. Verbal approval doesn't protect you when staff changes mid-year.
- Archive everything. Save the approved file and the approval record together so reprints match the authorized version, not someone's later edit.
If your artwork isn't print-ready, that's fixable before it becomes expensive. As one customer put it, "I didn't know what I was doing with the artwork, they helped me convert my design to a high resolution format, and guided me in printing my first shirts." That was Robert F., and his situation is common with school orders, where the only logo on file is often a low-resolution image from an old newsletter.
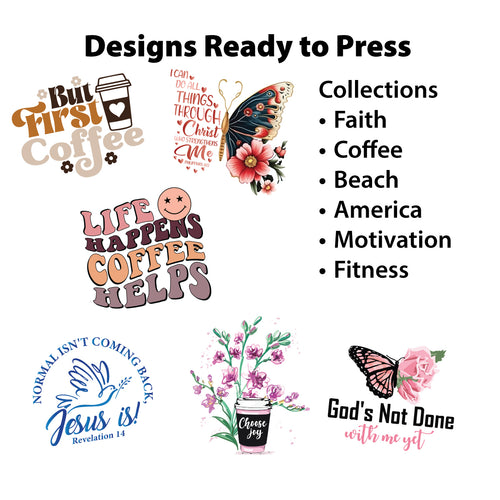
For design direction that fits school rules, our school spirit wear design ideas can help you start from something approvable instead of retrofitting a rejected concept. Once assets are approved, the Auto-build gang sheet builder can keep several of them, such as a mascot, club name, and event mark, on one production layout. That saves print space and money, but it doesn't replace the school's permission step.
If you're new to pressing transfers, this short walkthrough shows the basic process before your first production day.
Don't release the final file for printing until the signed approval is saved in the same folder as the artwork. If those two files ever separate, your reorder is a guess.
Work Out Bulk Pricing and Fundraising Margins
Build the worksheet before you set a selling price. Every line below moves your result, including the ones schools forget.
| Cost line | What to include | How it moves the result |
|---|---|---|
| Blank shirt | Garment price per piece by size and fabric | Usually the largest cost; bulk buying and fabric choice move it most |
| Decoration | Print and press charge per design or per sheet | Gang sheets share one run across several designs |
| Artwork and design | Logo or shirt design fees and vectorization | One-time cost spread across the whole run |
| Shipping and handling | Delivery to one site or to each family | One-site delivery avoids split shipping costs |
| Payment and admin fees | Card or platform fees, and sales tax where it applies | Small per order but adds up across a campaign |
| Unsold stock | Shirts ordered without a matching preorder | Removed by preorder-only runs |
| Markup and net proceeds | Average markup times orders, minus all costs above | Sets what the school keeps after costs |
A Worked Example You Can Copy
A reported elementary school fundraising example describes a 400-student elementary school with 40% family participation, 160 orders, that generated approximately $1,900 from a single campaign when the average markup was $12 per item. The same source states that traditional catalog fundraisers typically return about 40% to 50% to the school.
Treat that as a model, not a promise. Your result depends on blank-shirt cost, decoration cost, shipping, payment fees, unsold inventory, and whether you collect orders in advance. A school with lower participation or leftover stock keeps far less at the same markup.
Use this formula with your own quotes. Orders multiplied by markup per shirt, minus blank, decoration, shipping, and fees per shirt, equals net proceeds. Run it at a pessimistic participation level too, not just your hopeful one. If the campaign only works at full participation, it doesn't work.
The lowest-risk structure is a preorder-only run with a fixed product range and a clear deadline. You buy only what's already sold, which removes the unsold stock line almost entirely. Decide before launch whether proceeds fund athletics, clubs, classroom materials, or one specific event, and state it in the order form. Families buy more willingly when they know where the money goes.
Decoration cost is where a gang sheet helps. When several approved graphics, such as a front logo, class-year mark, mascot, and event badge, share one print run through the Auto-build gang sheet builder, you reduce wasted printable area and keep small multi-design orders priced consistently.
Fill in your own margin line before announcing a price. Blank cost plus decoration plus shipping plus fees gives your true cost per shirt, and your selling price minus that figure is the only margin that counts.
Plan the Timeline and Gang Sheet Production
Work backward from the event date, not forward from today. These phases show a realistic runway for custom t shirts for schools when approvals and preorders are involved.
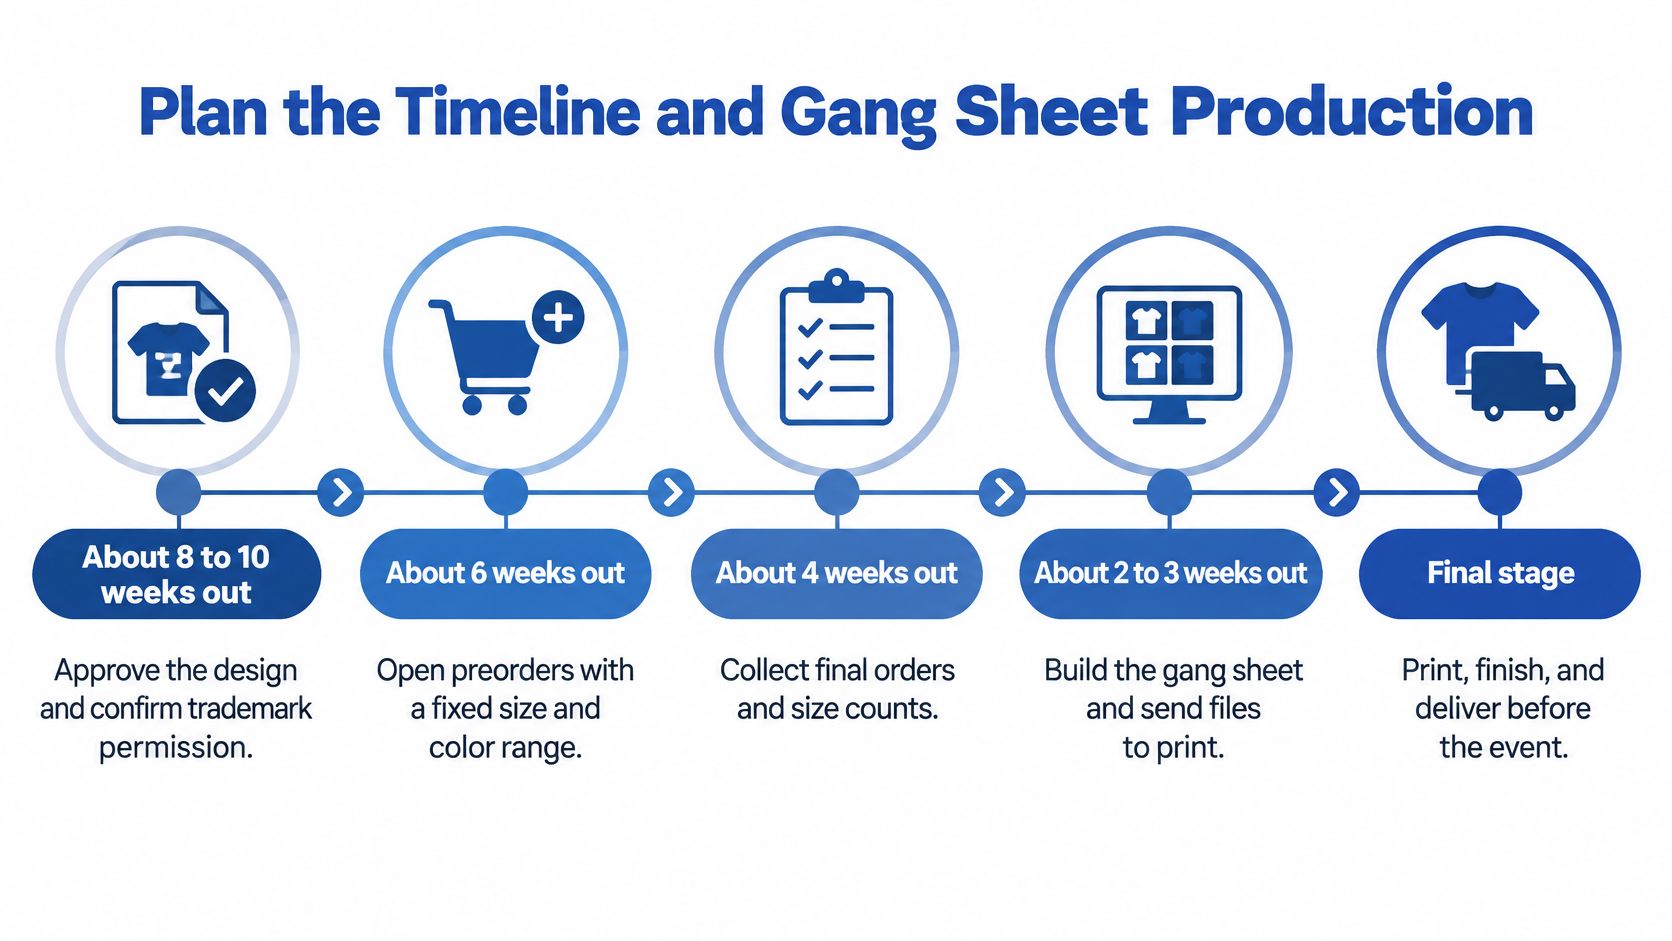
| Phase | Timing | Action |
|---|---|---|
| Design approval and trademark permission | 8 to 10 weeks out | Approve the design and confirm permission |
| Open preorders | About 6 weeks out | Fixed size and colour range with a firm deadline |
| Close preorders | About 4 weeks out | Total quantities by size |
| Submit order and build gang sheet | About 3 weeks out | Upload images, size them, set quantities |
| Delivery, pressing and packing | 1 to 2 weeks out | Confirm delivery, press and pack by class or team |
| Archive | After the event | Save files and the sizes sold for next year |
Treat these as planning windows. Adjust them for your supplier's turnaround and shipping time, and add buffer if your approver only meets monthly.
Production Rules That Save a Reprint
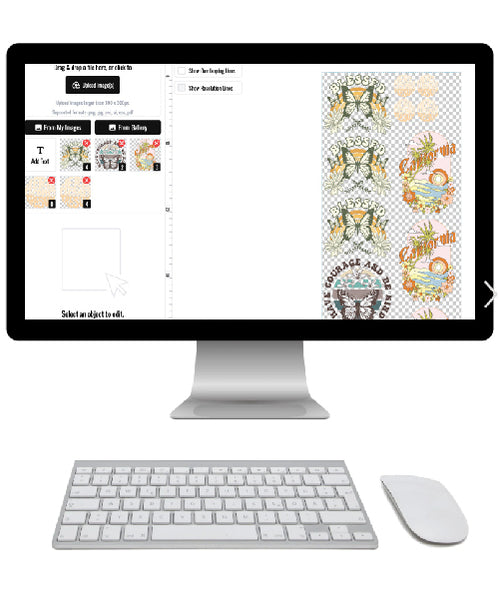
When you're ordering two or more designs, the most cost-effective route is the online gang sheet builder. You upload the images, size them, set quantities, and click apply. Our Auto-build gang sheet builder handles that layout efficiently, which matters when one sheet carries a front logo, back names, and sleeve marks at different sizes.
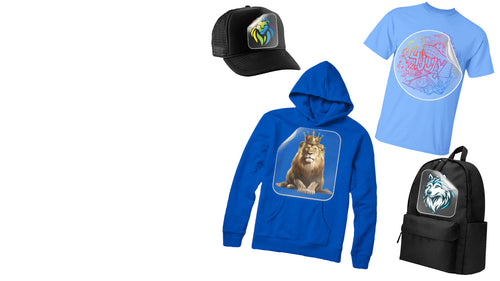
Order blanks early. The transfer does not include the T-shirt or apparel it is pressed onto, so your garments need to arrive, and be pre-shrunk where required, before pressing day. A gang sheet sitting in a drawer while blanks are in transit helps no one.
Check everything before you submit. We don't accept returns because every item is custom-printed to order, so proof spelling, sizes, and quantities as if the order can't come back, because it can't. Print the size tally and have a second person read names aloud against the roster.
Recurring programs get cheaper to run each year. When you reuse the same timeline, artwork system, and sizing guidance, most of the administrative work is already done, and your archive tells you exactly which sizes to buffer next time.
Confirm the Plan and Request a Quote
You can finish this checklist in one sitting, and it's the difference between a quote request and a guessing game.
- Print method confirmed. You've chosen DTF, screen print, embroidery, or a combination, and you can say why in one sentence.
- Fabric confirmed. The blank is chosen, a washed sample passed inspection, and you've verified it's pre-shrunk.
- Size counts ready. Counts come from preorders by group, with your inclusive-fit options and buffer sizes noted.
- Artwork approved. The final file is saved with written sign-off naming the design, garments, quantity, purpose, and dates.
- Worksheet complete. Every cost line is filled in and you've got a net-proceeds figure, not just a markup.
- Dates locked. The preorder deadline, production date, and delivery date all trace back to the event.
With those six items done, price the run properly. Our Lion DTF Bulk Studio offers a T-Shirt Pricing Calculator & Quote Builder so you can model the job before committing, then open the Auto-build gang sheet builder to lay out your approved designs efficiently and hold decoration cost down across the whole order.
Ask every supplier to split the quote into blank, decoration, shipping, and fees so it matches your worksheet line by line. A single blended price hides exactly the costs that erode fundraising margin. For reference, our Custom Printed Unisex T Shirt with full service print, press, and shipping is listed at $12.77. Use that as a comparison point when you're weighing full service against pressing transfers yourself, not as your final quote.
Timing is usually the fear underneath every school order, and it's manageable when the plan is set early. As Gloria S. said, "These guys made it happen and I had my shirts done in time for the event. Thank you!"
Send the completed checklist to your administrator before any artwork is produced. One signature at this stage is cheaper than one reprint later.
Ready to turn your approved checklist into shirts students will wear again? Lion DTF Transfers offers full-colour DTF transfers, an Auto-build gang sheet builder that keeps multi-design school orders cost-effective, and design and vectorization help when your logo file isn't print-ready. Build your gang sheet, price your run, and get your school order moving today.