


When it comes to using a heat press, everything boils down to three things: temperature, pressure, and time. This simple trio is the entire foundation for turning a blank garment and a Direct-to-Film (DTF) transfer into professional, durable custom apparel. Get these right, and you’re already miles ahead of the competition.
Your Foundation for Professional Custom Apparel
Ready to transform blank apparel into high-quality custom products? Your heat press is the single most important tool in your shop, and this guide will walk you through mastering it with DTF transfers. This technology has exploded in popularity, becoming a go-to for everyone from home-based startups to large-scale commercial print shops.
The global demand for personalization is what’s fueling this fire. The market for automatic heat press machines hit roughly USD 1.2 billion in 2023 and is only expected to grow. It just goes to show how essential these machines have become in modern apparel decoration.
Getting Started with Your Machine
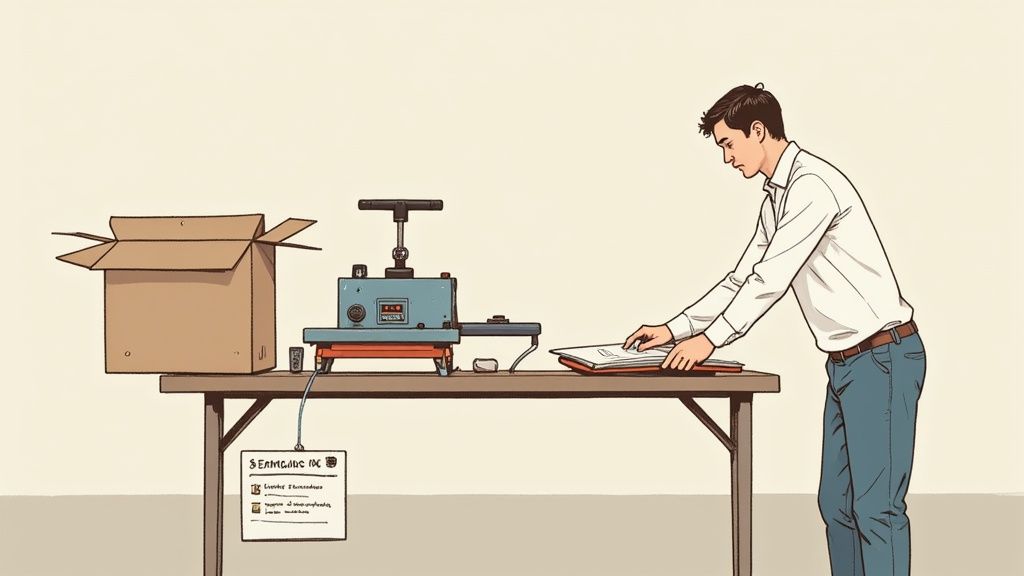
Before you press your first real order, let's get the essentials out of the way, from unboxing to setup. First, get familiar with the key parts of your machine.
- Heat Platen: This is the top part that gets hot. It delivers the temperature and pressure needed to cure the transfer.
- Lower Platen: The bottom silicone pad. This is where you'll lay out your garment.
- Digital Controller: The brain of the operation. You’ll use this to punch in your time and temperature settings.
- Pressure Knob: Usually a big knob on top of the press, this is how you dial in the clamping force.
Your workspace is just as critical as the machine itself. You absolutely need to operate your heat press in a well-ventilated area. It also needs to sit on a sturdy, level surface that can handle both its weight and the heat it throws off. Don't compromise on safety and stability—it directly impacts the quality of your press.
The Crucial First Step: Seasoning
One of the most overlooked steps with a new press is "seasoning." Before you even think about pressing a real garment, heat the machine up to its operating temperature and clamp it down on a spare piece of cloth or a Teflon sheet a few times.
This simple action burns off any oils or residues left over from the manufacturing process. It’s like preparing a new cooking pan before you use it. Skip this, and you risk staining your first project.
Key Takeaway: It’s not just about knowing what to do, but why you’re doing it. Seasoning your press isn’t just a recommendation; it's a preventative step that protects your apparel and ensures you get clean, professional results from the very first press.
Mastering your heat press is your ticket to a world of creative possibilities. Once you're comfortable with these basics, you can start digging into different techniques. A great place to start is our guide on what DTF printing is to really get a handle on the technology.
To scale up and build a real business, you'll eventually need to master your sales and fulfillment. Understanding how to leverage efficient apparel fulfillment services is a critical next step after mastering production. And when it comes to optimizing that production workflow, our Auto-build gang sheet builder is designed for unmatched ease of use and cost-effectiveness, letting you squeeze every bit of value out of your print runs.
Dialing in the Perfect Heat Press Settings for Any Fabric
Getting those vibrant, durable DTF transfers really comes down to mastering three things: your time, temperature, and pressure. Get these right, and you're golden. Get them wrong, and you’re looking at faded prints and peeling edges.
This isn't just about following a generic chart. It’s about understanding how different fabrics react under heat. Let's walk through how to dial in your heat press for cotton, polyester, blends, and even tricky fleece.
Don't Skip the Pre-Press. Ever.
First things first, you need to pre-press every single garment. Seriously. This quick 5-second press does two critical jobs: it zaps out any hidden moisture and smooths out wrinkles.
Think about it—a cotton shirt can hold a surprising amount of moisture, especially in a humid room. When that moisture turns to steam under the press, it can completely ruin your transfer's adhesion. Skipping this step is one of the top reasons transfers fail down the line, leading to ghosting or peeling after a few washes.
How to Get Your Pressure Just Right
Pressure is often the most overlooked setting. Too light, and the transfer won't bond properly. Too heavy, and you'll crush the fabric's fibers and get a weird, shiny outline around your design. You're aiming for a medium-firm pressure.
Here’s a simple trick I use: place a single sheet of regular printer paper on the bottom platen, close the press, and then try to pull the paper out. You should feel a good amount of resistance, but not so much that the paper tears instantly. That’s your sweet spot.
My rule of thumb: The pressure should feel like a firm, confident handshake. Not a limp one, and definitely not a bone-crusher.
Recommended DTF Heat Press Settings
Once your pressure is dialed in, you can start with the time and temperature. The right combo depends entirely on what you're printing on. I've put together this quick reference table with the settings we use in our own shop every day.
This chart is your starting point. Always test on a scrap piece if you're working with a new brand or type of garment!
| Fabric Type | Temperature (°F/°C) | Press Time (seconds) | Pressure | Peel Type |
|---|---|---|---|---|
| 100% Cotton | 280°F | 10 | Medium-Firm | Hot Peel |
| Polyester | 240°F - 250° | 10 | Medium-Firm | Hot Peel |
| 50/50 Blend | 260°F - 270° | 10 | Medium-Firm | Hot Peel |
These settings are the foundation of good DTF work. And it's a skill in high demand—the global heat press market hit USD 1.2 billion in 2024 and is projected to climb to USD 2.3 billion by 2033, fueled by the explosion in custom apparel. You can read more about those trends over at Verified Market Reports.
Fine-Tuning Heat and Time for Different Materials
Different fabrics handle heat in completely different ways. You can't just set it and forget it.
- 100% Cotton is pretty forgiving. You can hit it with higher heat (280°F) for 10 seconds.
- Polyester, on the other hand, is sensitive. Go too hot and you risk scorching the fabric. Drop the temp to 240°F - 250° and press 7-10 seconds to let the adhesive activate without melting the garment.
- 50/50 Blends are the middle ground. I find 260°F - 270° for 10 seconds works best.
For an even deeper dive into troubleshooting and specific substrate tips, check out our full guide on heat press settings for DTF transfers.
Is Your Heat Press Lying to You?
Don't just trust the digital display on your press. They can be off by 10, 20, or even more degrees, especially on cheaper models. Cold spots on the platen are another common problem.
Invest in a surface temperature probe or a heat press test kit. Once a month, check the temperature at the center and all four corners of your platen. If you see a variance of more than 5°F, you've found the source of your inconsistent prints. Keep a log of your readings to track any changes over time.
Your Go-To Workflow Checklist
To wrap it up, here's a simple checklist to run through for every job. Following these steps will help you get consistent, professional-quality prints every single time.
- Calibrate: Check your platen temperature with a probe.
- Pre-Press: Always press the garment for 5 seconds to remove moisture.
- Set Pressure: Use the paper test to dial in a medium-firm pressure.
- Apply Transfer: Position your design and press using the recommended time and temp from the chart above.
- Peel Correctly: Peel hot or cold.
- Log It: Jot down the settings you used for that specific garment. Future you will be grateful.
Bringing Your Designs to Life: The Pressing Process
Okay, your settings are dialed in and the heat press is ready. This is the moment it all comes together—turning a digital design into a tangible, wearable product. It’s where your prep work pays off, so let’s walk through the exact steps to get that perfect application, from lining things up to the final peel.
Knowing your way around a heat press is a bigger deal than ever. The demand for custom gear is exploding, and the global heat transfer printing machine market, which hit USD 1.2 billion in 2024, is expected to grow at a rate of 5.90% every year through 2030. That growth is fueled by creators like you meeting the demand for unique apparel, a trend detailed in this market research report.
Nailing the Alignment
Nothing screams "amateur" like a crooked design. A graphic that’s off-center or sitting too high on the chest can ruin an otherwise great shirt. Don't just eyeball it—use a consistent method to get it right every single time.
- The Center Crease Trick: This is a classic for a reason. Fold the shirt in half vertically and give it a quick, 3-second press. That faint line it creates is your perfect guide for centering the transfer.
- Use Your Landmarks: For a standard chest print, a good starting point is placing the top of your design three or four fingers' width down from the collar. You can use the armpit seams as horizontal guides to make sure it's perfectly level.
- Level Up with Tools: If you’re handling bigger orders, a laser alignment system or even a basic t-shirt ruler will save you a ton of time. They remove all the guesswork and ensure every single shirt in the batch is identical.
This infographic really simplifies the whole process down to its three core pillars: Temperature, Time, and Pressure.
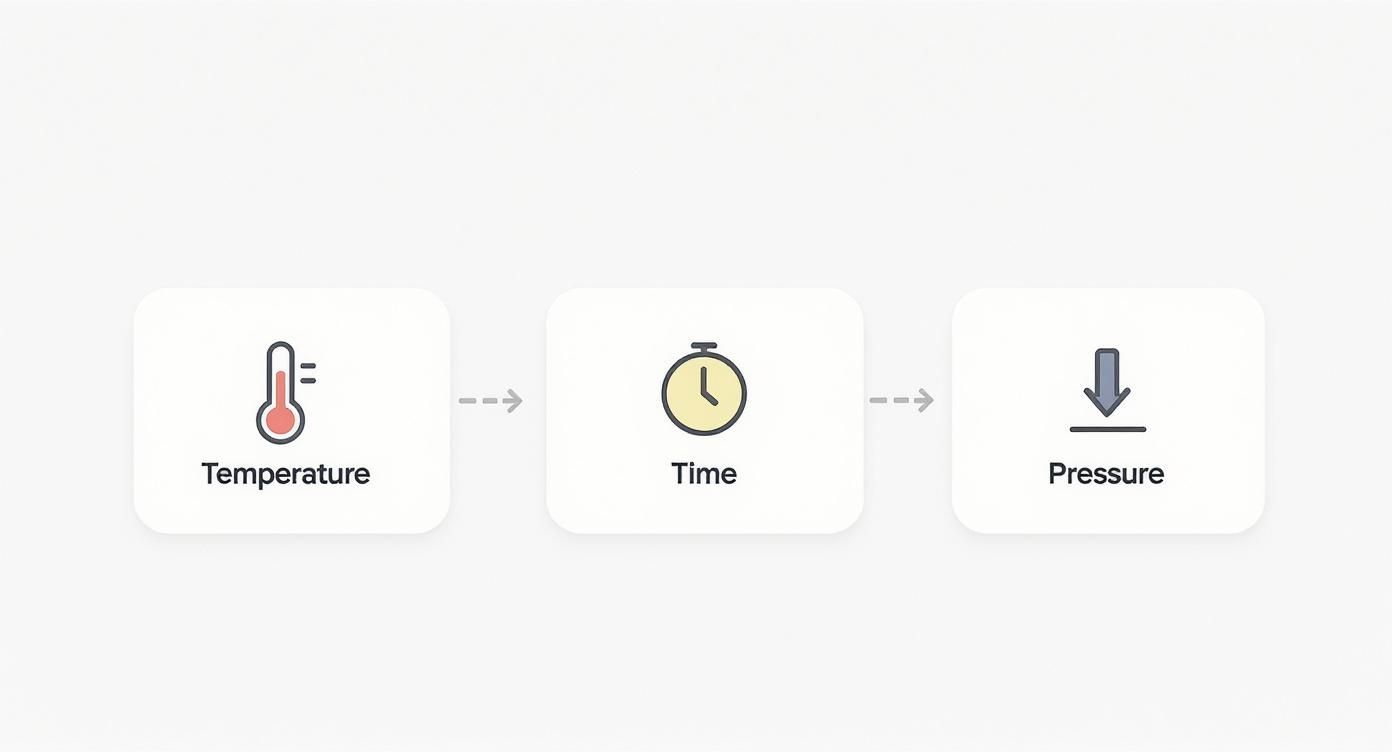
Get these three variables right, and you're well on your way to consistent, professional-grade results with every press.
The Big Debate: Hot Peel vs. Cold Peel
Once that press timer beeps, your next move is peeling the film carrier away. This is a critical step because DTF transfers come in two main flavors: hot peel and cold peel. Using the wrong technique for your film type can ruin the transfer. Lion DTF Transfers are premium hot-peel transfers that can also be peeled cold if you prefer.
A hot peel transfer is meant to be peeled the second the heat press opens. You do it while the shirt is still steaming on the platen. This method is fast, which is great for production, and it tends to leave a softer, more matte finish because the ink melts right into the fabric's fibers. Lion DTF Transfers are premium hot-peel transfers for exactly this reason—we prioritize speed and a high-end feel.
On the other hand, a cold peel transfer requires patience. You have to let the garment cool down completely before you even think about touching the film. Cold peel is recommended when very fine artwork is pressed to allow the fine details to sit longer on the apparel before peeling.
Pro Tip: When you're doing a hot peel, don't just rip it off. Pull the film back in one smooth, fluid motion at a low angle. Think of it less like a band-aid and more like a steady, confident pull. That’s how you get the cleanest release.
Don't Skip the Second Press
This is the secret sauce that many newcomers miss. After peeling the film, you need to press the shirt one more time. It's a quick press, usually just 5-10 seconds, but it makes a world of difference.
This final press fully cures the ink and locks it into the fabric, which massively improves wash durability. It also knocks back any shine left from the adhesive, giving the design a much softer, screen-print-like feel. Always cover the design with a Teflon sheet or parchment paper for this second press to protect both your transfer and your heat platen.
Think about pressing a detailed logo onto a dark polyester hoodie. That second press is non-negotiable. It seals in the colors and helps prevent dye migration—that dreaded effect where the garment's color bleeds into your transfer, turning your crisp whites into a dingy pink.
Work Smarter with Gang Sheets
If you're making more than one item, pressing individual designs is a slow and wasteful process. That’s where gang sheets completely change the game. A gang sheet is simply a large DTF film that has multiple designs arranged on it. You can get the full rundown in our guide on DTF ready-to-press transfers.
To make it even simpler, our Auto-build gang sheet builder is designed to be as user-friendly and cost-effective as possible. Just upload all your artwork, and the tool automatically arranges everything to minimize wasted film, saving you time and material costs. From there, you just cut the individual designs from the sheet as you need them and get right to pressing.
Streamlining Your Workflow with Production Tips
When you’re ready to move from a few test prints to a steady stream of orders, your workflow is everything. This is where a lot of shops hit a wall, but a few smart adjustments can make all the difference.
One of the biggest time-sinks is manually arranging designs. That's why we introduced our Auto-build gang sheet builder. It takes the guesswork out of tiling and rotation, automatically arranging multiple designs on one DTF sheet to slash material waste and cut your cost per print.
It’s a simple tool that dramatically speeds up your turnaround time. For maximum ease of use and cost effectiveness, this builder is the perfect solution.
“The gang sheet builder saved us over 20% on film costs in the first month.” – A satisfied print shop owner
Optimize Your Gang Sheet Workflow
Using the gang sheet builder is incredibly straightforward—just upload your artwork files. The system automatically packs the images together to maximize every square inch of the sheet.
You get a clear preview, letting you adjust margins or lock in a custom layout before finalizing. The output PDF gives you exact cut lines and print details, transforming how you handle bulk orders. In our own tests, shops have cut their film scraps by up to 30% just by getting the layout right.
Think about it: instead of pressing one small logo at a time, you could place six on a single 12x18 sheet. Now you’re producing six shirts in the time it used to take to make one. That's a massive efficiency boost.
Set Up an Ergonomic Press Station
An efficient production line starts with a smart workspace layout. You want a logical path between your heat press, your cutting station, and your DTF sheet storage.
Minimize the steps you take between each task to reduce fatigue. For example, your film cutter should be right next to your press, not across the room. Standing on a cushioned mat can also be a game-changer for your knees during long production runs.
Pro Tip: Label your storage bins for specific transfer sizes. It seems small, but shaving off a few seconds from every job adds up fast.
Here’s a simple flow to get you started:
- Store your DTF sheets by size near the cutter.
- Arrange your trimmed transfers in trays, organized by order.
- Position your blank garments on a rack that’s within arm’s reach of the press.
- Keep essential tools like Teflon sheets and heat-resistant gloves handy at all times.
Fine-Tune Multi-Press Techniques
When you’re running multiple heat presses at once, consistency is king. Every machine needs to be dialed into the exact same time, temperature, and pressure settings.
Before you start a big run, press a test gang sheet on each machine to confirm you’re getting uniform results. Use a heat probe to check for any hot or cold spots on the platens, as these can ruin a print.
If you need to create different textures, you can add a secondary press with parchment paper for a softer, more matte finish. This simple trick can give a transfer a satin sheen or a duller feel depending on the pressure you use.
| Metric | Single Transfer | Gang Sheet Press |
|---|---|---|
| Transfers Per Hour | 20 | 120 |
| Material Waste | High | Low |
| Setup Time | 5 min/print | 15 min/batch |
| Cost Per Print | $0.05 | $0.03 |
Breaking your production into batches also makes order tracking much easier. A simple trick is to use colored tags or add digital notes directly to your Auto-build sheet designs to prevent mix-ups on busy days. This ease of use is a core feature of our Auto-build gang sheet builder.
Troubleshoot Common Bottlenecks
Even the most optimized workflows have occasional hiccups. If a print isn’t sticking properly, the first thing to check is your film placement on the platen.
And never, ever skip the pre-press step. Moisture and wrinkles are the enemies of good adhesion and can ruin a transfer in an instant.
If your film cutter jams, clear out the scraps immediately to avoid a misfeed on the next sheet. It also helps to keep a dedicated maintenance log for each press in your shop.
“Routine checks cut downtime by 40%.” – Production manager tip
A quick walk-around to inspect bearings, belts, and electrical connections before each shift can save you from a much bigger headache later.
By layering these production tips, you can transform a single heat press into a lean, mean manufacturing line. The goal is to move from craft to commerce with confidence, and that means smoother operations, faster turnarounds, and happier customers.
Troubleshooting Common Heat Press Problems
Even when you follow every step to the letter, a frustrating issue can pop up. Learning how to diagnose and fix these common problems is what separates a beginner from a pro who knows their way around a heat press machine. This is your guide to solving the most frequent challenges without wasting expensive garments or transfers.
When a print fails, it's almost always a problem with one of the big three: temperature, time, or pressure. A single incorrect variable can cause a whole mess of issues, from peeling transfers to dull, lifeless colors. But don't panic—most problems are easy fixes once you know what to look for.
Why Your Transfer Is Peeling After Washing
This is easily the most common and confidence-shattering problem for new printers. You press what looks like a perfect shirt, only for your customer to send a picture of the design cracking and lifting after just one wash. It’s a gut punch.
What it looks like: The edges of the transfer are lifting, or parts of the design are cracking and flaking off, looking like it's a year old instead of a day old.
Why it happens:
- Incorrect Pressure: This is the #1 culprit. Too little pressure means the adhesive never fully melts into the fabric fibers. It's just sitting on top, waiting to fail.
- Moisture: You skipped the pre-press, and hidden moisture turned to steam, getting in the way of a clean bond.
- Fabric Coatings: Some new garments have a chemical coating to feel smoother in stores. This invisible barrier can block the transfer's adhesive from grabbing onto the fabric.
How to fix it: Always, always pre-press your garment for 5-10 seconds. This burns off any moisture and weird coatings. Next, re-check your pressure using the paper test—you should feel real resistance when pulling a piece of paper from under the locked platen. If it slides out easily, you've found your problem.
Solving Dull or Faded Colors
You spend hours nailing a vibrant design on your computer, but on the shirt, it looks disappointingly flat and washed-out. This issue almost always points directly to your machine's heat settings.
What it looks like: The colors on the finished shirt just don't have the pop and vibrancy you see on the transfer film.
Why it happens: Insufficient heat is the usual suspect here. If the temperature is too low, the DTF ink doesn't cure properly, which kills the vibrancy. Inconsistent heat across your platen can also be the problem, causing some parts of the design to look great while others look faded.
How to fix it: First, check your platen's temperature with a surface heat probe. Don't blindly trust the digital display; they can be off by a surprising amount. If it's low, increase your temperature in 5-degree increments until you hit that sweet spot. If the problem continues, you might have cold spots on your platen, which is a sign it's time for machine maintenance or an upgrade.
Key Takeaway: Consistent, accurate heat is non-negotiable for professional results. An inexpensive heat probe is one of the best investments you can make to guarantee every press is perfect.
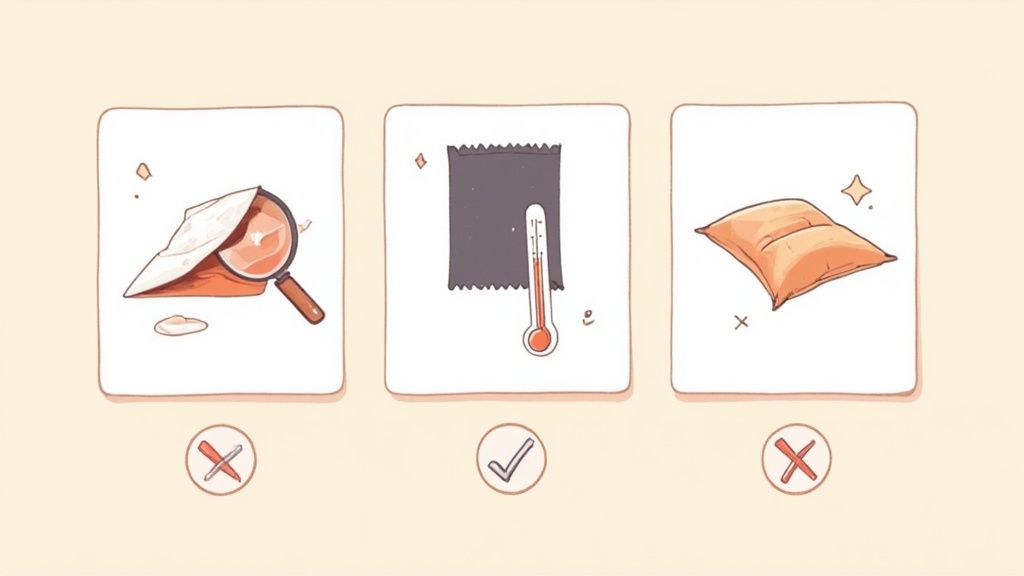
Preventing Scorch Marks on Sensitive Fabrics
There's nothing more frustrating than seeing a yellowish or shiny box around your design, especially on light-colored or tricky fabrics like polyester. These scorch marks are a dead giveaway that your heat or pressure is too high.
What it looks like: A faint, discolored rectangle or a shiny outline that perfectly matches the shape of your heat platen.
Why it happens:
- Temperature is Too High: Polyester and other synthetic blends are very sensitive to heat. They can easily melt or discolor.
- Too Much Pressure: Heavy pressure can crush and flatten the fabric fibers, creating that ugly shiny look.
How to fix it: For sensitive fabrics, drop your temperature and always use a protective cover sheet, like Teflon or parchment paper. A heat press pillow is another fantastic tool for this. The pillow raises the print area so the platen only makes firm contact right where the transfer is, not on the surrounding fabric. This simple accessory all but eliminates the pressure points that cause scorching.
By mastering these troubleshooting steps, you'll save time, reduce waste, and build the confidence you need to produce high-quality custom apparel. And when you're ready to maximize efficiency, our Auto-build gang sheet builder provides an easy-to-use solution for arranging multiple designs, helping you cut down on material costs and the chance for errors.
Essential Heat Press Safety And Maintenance
Your heat press isn’t a toy—it’s a high-powered machine that demands respect. Treating it right safeguards your investment and, more importantly, keeps you safe. Skip the basics, and you’re inviting accidents and frustrating downtime.
A solid setup starts with a stable, level table that can handle both the weight and heat your press produces. Keep these clutter culprits well out of reach:
- Flammable solvents
- Paper scraps
- Excess fabric
Even small piles of junk can become a fire risk in a flash.
Electricity is non-negotiable. A heat press draws serious power, so it belongs on a dedicated 20-amp outlet. Never plug it into a standard extension cord or an overloaded power strip—those shortcuts lead straight to blown fuses or worse.
Creating A Safe Operating Environment
Airflow makes a big difference when you’re running long print runs. DTF transfers don’t kick off heavy fumes, but a little breeze keeps things comfortable and helps prevent heat buildup. I often crack a window or aim a small fan toward the platen—it really helps on marathon days.
Key Takeaway: Never walk away from an active heat press. Temperatures get high enough to cause instant burns. And remember: the upper platen stays hot long after you hit “off.” Treat it like it’s still live.
Simple Maintenance For Longevity
A few minutes of care after each session goes a long way. Here’s what I check every time:
- Clean the Platen: While it’s still warm (not scorchingly hot), wipe the upper platen with a soft, dry cloth. This clears away ink or adhesive that could ghost onto your next job. Accidentally pressed a transfer upside down? Power off, let it cool slightly, then gently scrub with a non-abrasive cleaner.
- Inspect the Power Cord: Look for frays, cracks, or exposed wires. A damaged cord isn’t just inconvenient—it’s dangerous. Replace it at the first sign of wear.
- Protect the Lower Pad: That silicone pad takes a beating over time. Slip on a lower platen protector to extend its life and make sliding garments on and off feel effortless.
I learned the hard way after a 50-shirt run—no one wants to wrestle with a sticky pad. A quick wipe and a protector saved me headaches (and misaligned designs) down the road.
Keeping up with these simple steps pays off in consistent, top-notch results. Plus, when you’re pairing your press with tools like our Auto-build gang sheet builder, a well-maintained machine ensures every layout comes out perfect, highlighting its ease of use and cost effectiveness.
Heat Press FAQs: Your Questions Answered
Got questions about dialing in your heat press? We hear a lot of the same ones from new and experienced printers alike. Let's clear up some common hurdles and get you pressing like a pro.
Can I Just Use an Iron Instead of a Heat Press?
We get this question a lot, and the short answer is no—at least not if you want professional results. While you might technically be able to stick a transfer on a shirt with an iron, it’s a recipe for disaster.
Irons have hot spots and cool spots, meaning the heat is never even. More importantly, they can't deliver the consistent, heavy pressure that's absolutely critical for the DTF adhesive to properly cure and bond into the fabric. The result? Transfers that peel, crack, and fade after the first wash. A quality heat press is a non-negotiable investment for creating durable, sellable products.
How Often Should I Calibrate My Heat Press?
Consistency is king in this business. You should get in the habit of checking your heat press temperature with a reliable surface probe or temperature gun at least once a month.
If you're starting a big or particularly important client order, it's smart to check it beforehand, too. A press that's running just 10-15 degrees off can be the difference between a perfect application and a failed one. Don't trust the digital readout alone.
Why Does My Transfer Feel Sticky After I Peel It?
It's completely normal for a hot-peel transfer to feel slightly tacky or sticky right after you peel away the film. This is just the adhesive residue before it has fully cooled and settled into the garment's fibers.
This feeling should disappear once the transfer cools down or after you perform the recommended second press. If it stays overly sticky even after cooling, it’s often a sign that your temperature is a bit too high, causing the adhesive to over-melt. Try dropping your temp by 5-10 degrees and see if that resolves it.
The world of heat pressing extends far beyond apparel, too. The same principles of heat and pressure are adapted for all sorts of unique products.
Ready to create stunning, professional-quality custom apparel with ease? Lion DTF Transfers makes it simple. Our premium hot-peel transfers and cost-effective Auto-build gang sheet builder are designed to help your business grow.