


Ever wondered how you can get any digital design—no matter how colorful or complex—onto almost any piece of fabric? That's the magic of Direct-to-Film (DTF) printing services. It’s a game-changing method where we print your artwork onto a special transfer film, creating a graphic that’s ready for you to press onto apparel, hats, bags, and more. This is the tech that puts professional-grade custom products into everyone’s hands.
What Are DTF Printing Services and How Do They Work?
At its heart, DTF printing bridges the gap between your digital file and a physical product. Unlike older methods that print directly onto a garment (and come with a lot of limitations), DTF prints onto an intermediate film first. That one simple difference is what makes it so incredibly versatile.
Think of it like a super-durable, high-end sticker made for fabric. Your design is printed onto a clear PET film with specialized, water-based inks. We then print a layer of brilliant white ink behind the entire design, which is the secret to making your colors pop on any fabric, from bright white to jet black.
The Magic Behind the Transfer
Once the design is printed, the real work begins. We apply a fine, powdered adhesive that sticks only to the wet ink on the film. The whole thing then goes through a curing process where heat melts the powder into a smooth, even adhesive layer.
What comes out is a self-contained, ready-to-press transfer. It's a finished graphic that’s durable, flexible, and ready to be shipped right to your door. The only thing left to do is press it onto your item with a heat press.
From Digital File to Finished Product
The journey from your computer screen to a finished shirt is refreshingly straightforward, especially when you’re working with DTF printing services. The whole process cuts out the messy, time-consuming steps of traditional printing.
Here’s a quick look at the stages:
- Design Creation: It all starts with your digital artwork—a logo, a cool graphic, you name it.
- Film Printing: We take that file and print it onto the specialized DTF film using our advanced commercial printers.
- Adhesive Application: The powdered glue is applied and cured, locking in the design and preparing it for application.
- Heat Pressing: You receive the transfer, place it on the garment, and press it with heat. The design permanently bonds to the fabric.
The real power here is the ability to handle super-intricate, full-color designs with gradients and tiny details without any extra setup. No more counting colors or paying for new screens. This is why it’s a go-to for small businesses, merch brands, and creators.
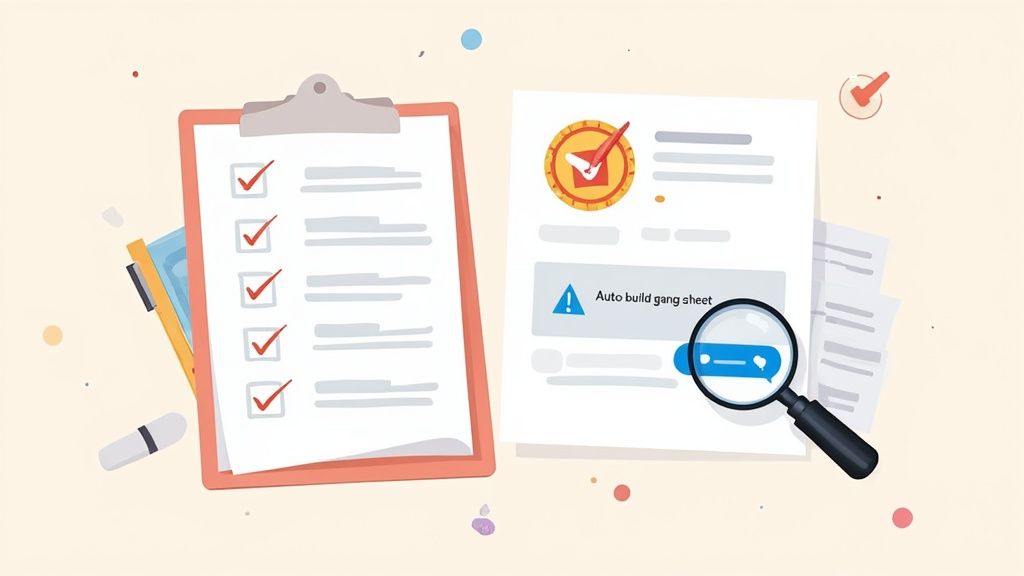
To make things even more efficient, multiple designs are arranged on a large sheet called a "gang sheet." By fitting all your graphics onto one sheet, you slash the cost per print. Our Auto-build gang sheet builder takes all the guesswork out of this, automatically nesting your uploads to maximize every inch of film and give you the best possible value for cost effectiveness and ease of use.
Comparing DTF Against Other Apparel Printing Methods
Picking the right decoration method is a huge decision for any custom apparel project. It can feel like a crowded field, but understanding how DTF printing services stack up against the old guards—screen printing, Direct-to-Garment (DTG), and Heat Transfer Vinyl (HTV)—is the key to getting it right for your specific needs. The best choice always comes down to your design's complexity, how many you're ordering, and what you're printing on.
And trust me, the buzz around DTF isn't just hype. It's a real shift in how we create on-demand apparel. The global market for DTF was already valued at USD 2.72 billion and is on track to hit USD 3.92 billion by 2030. This isn't happening in a vacuum; it’s being fueled by smarter printing tech and the explosion of e-commerce brands that need fast, reliable, and cost-effective solutions.
A Quick Glance: DTF vs. The Competition
Sometimes, you just need a simple breakdown. Here’s how these popular printing methods compare side-by-side to help you see where DTF really shines.
| Feature | DTF Printing | Screen Printing | Direct-to-Garment (DTG) | Heat Transfer Vinyl (HTV) |
|---|---|---|---|---|
| Best For | Full-color, detailed graphics on any fabric, small to large runs | Simple designs in high volume (100+ units) | Full-color on 100% cotton, soft feel | Single-color names, numbers, and bold graphics |
| Color Limit | Unlimited; photographic quality | Limited; priced per color | Unlimited, but less vibrant on darks | Limited; one color per layer |
| Feel on Fabric | Lightweight and flexible | Can be heavy, depending on ink layers | Very soft; ink soaks into fibers | Can feel thick and plastic-like |
| Fabric Versatility | Excellent: Cotton, poly, blends, leather, nylon | Good: Best on cotton, some polys | Poor: Best on 100% cotton only | Excellent: Most fabrics, including synthetics |
| Setup Costs | None | High; requires a separate screen per color | Minimal; requires pre-treatment | Minimal; material and cutting time |
| Durability | High; flexible and crack-resistant | Very high; one of the most durable | Moderate; can fade over time | Good, but can crack or peel if layered heavily |
This table makes it clear: when you need unlimited colors, fabric freedom, and no setup fees, DTF is a powerful contender that blends the best of all worlds.
DTF vs. Screen Printing
Screen printing has been the workhorse of the apparel world for decades. It's known for being tough as nails and incredibly cheap for massive orders. The process involves pushing ink through a mesh screen, one color at a time. This makes it perfect for simple, one- or two-color designs in bulk—think concert tees or corporate event swag.
But its biggest strength is also its greatest weakness. Every single color needs its own screen, which means high setup costs and a lot of prep time. If your design has gradients, photos, or a rainbow of colors, screen printing becomes a costly and logistical nightmare, especially for smaller batches.
DTF printing, on the other hand, excels where screen printing falls short. Since it’s a digital process, there are no color limitations and no setup fees per color. This makes it the superior choice for full-color, complex graphics on small-to-medium-sized runs.
This flowchart really simplifies the decision, showing how DTF is a go-to for all sorts of materials.
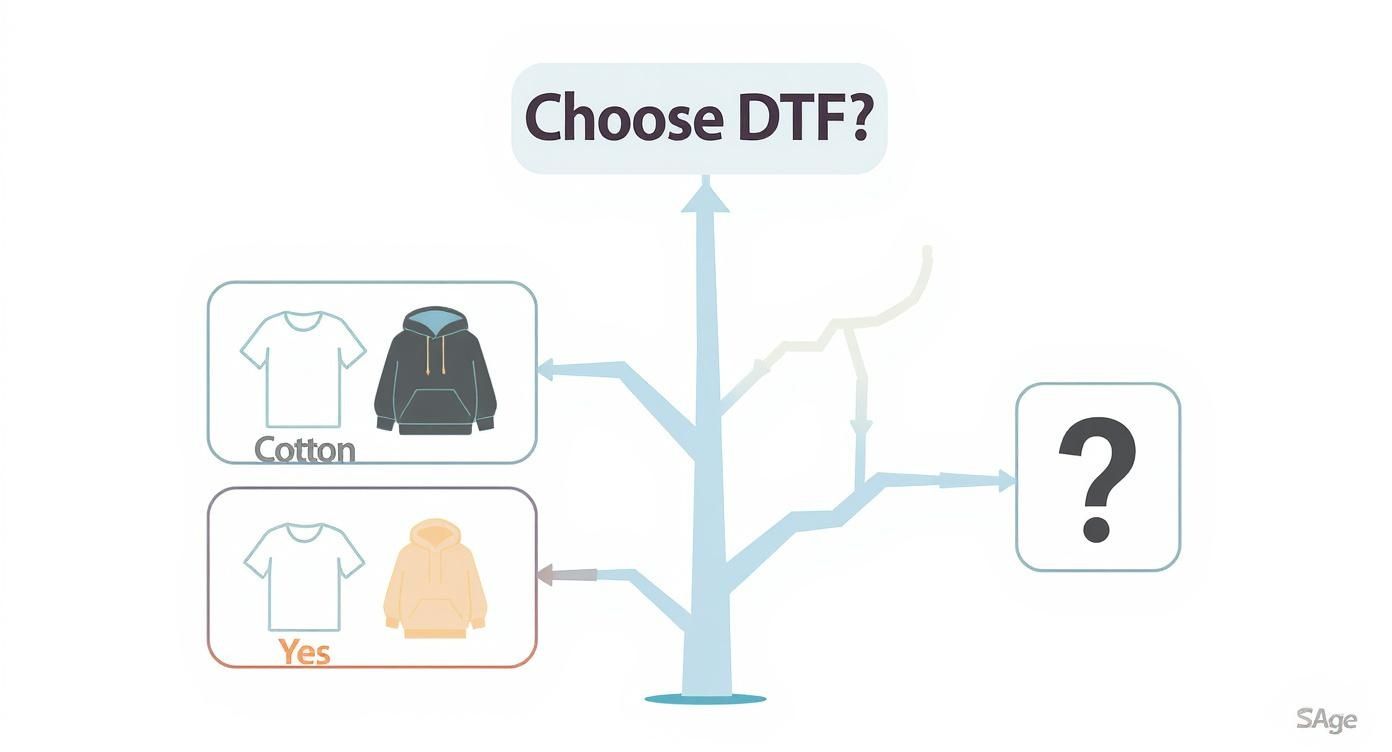
As you can see, whether you're working with classic cotton or tricky synthetics like polyester, DTF is a versatile and powerful option.
DTF vs. Direct to Garment (DTG)
DTG is another digital method that acts like a paper printer for clothes. It sprays ink directly onto the fabric, creating a super soft feel because the ink becomes one with the fibers. It's fantastic for highly detailed, full-color designs, but there's a catch: it works best on 100% cotton.
The big challenge with DTG is its fussy relationship with fabric. It just doesn't play well with polyester or other synthetics, and the mandatory pre-treatment step adds time and complexity to the whole process. And while the print feels soft, the colors can look a bit muted on dark garments compared to the bold pop you get from a DTF transfer.
For a deeper dive, we broke down all the nuances in our detailed guide comparing DTF vs DTG printing.
DTF vs. Heat Transfer Vinyl (HTV)
Heat Transfer Vinyl is all about cutting designs from colored vinyl sheets and pressing them onto a garment. HTV is the undisputed king for simple, one-color jobs like names and numbers on sports jerseys, and it sticks to just about any fabric.
But that’s where its utility ends. HTV is a terrible choice for anything intricate or multi-colored. Every color has to be cut and layered by hand, which is not only a ton of work but also severely limits detail. The final result often feels thick and plasticky, making the garment less flexible and breathable.
In contrast, DTF printing services give you a single, lightweight transfer that can handle super-fine lines, tiny text, and a limitless palette of colors with zero fuss. It delivers a much better feel and a higher level of detail for complex artwork. Plus, putting multiple designs on a single roll with our Auto-build gang sheet builder makes it way more cost-effective and easy to produce lots of different designs at once—a task that would be a slow, painful process with HTV.
How to Prepare Your Designs for Flawless DTF Prints
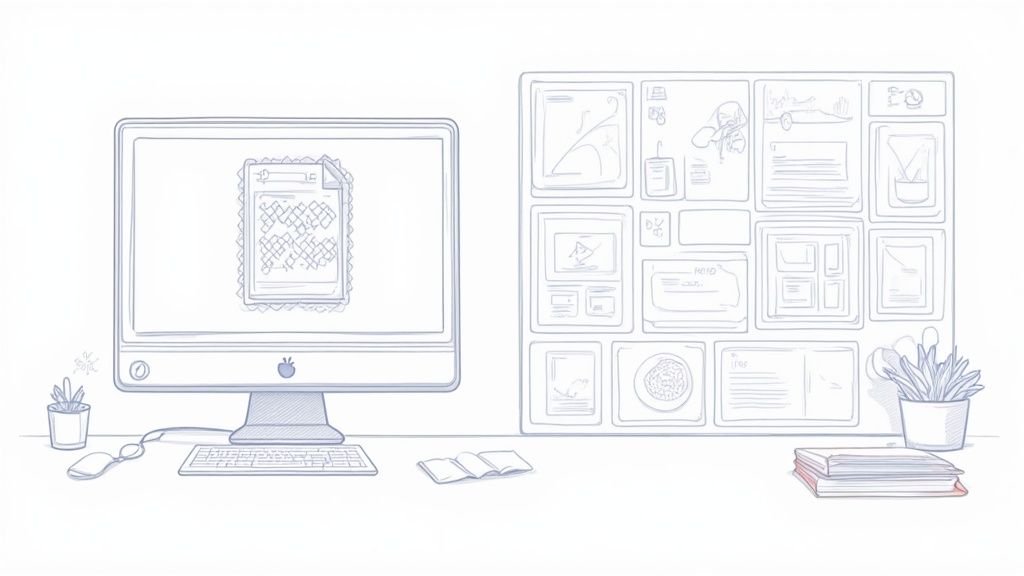
The success of your custom apparel all comes down to the quality of your digital artwork. Think of your design file as the blueprint for the final shirt; a solid blueprint leads to a stunning result, while a weak one just creates headaches. Getting your art ready for DTF printing services isn't complicated, but nailing the fundamentals is absolutely essential if you want to turn what you see on your screen into a flawless, professional-grade transfer.
This guide will walk you through the key steps to make sure your designs are 100% print-ready. From picking the right file format to setting the proper resolution, these best practices will help you dodge common issues like pixelation, blurry lines, and weird color shifts. A little prep work upfront saves a ton of time, money, and frustration later on.
Mastering the File Fundamentals
The two most critical parts of any print-ready file are its format and its resolution. These technical details have a direct impact on how sharp and clear your final print will look.
First things first, your design must be saved with a transparent background. If your file has a white or colored box behind the art, that box is going to get printed—and that's almost never what you want. The best format for the job is a PNG (Portable Network Graphics) file, because it supports transparency while keeping your image quality high.
Second, resolution is non-negotiable. For a crisp, pro-level print, your artwork has to be at least 300 DPI (dots per inch). If you try to print a design made at a lower resolution, like the 72 DPI standard for web images, it’s going to look pixelated and blurry. It's crucial to set your canvas to 300 DPI before you start designing, because you can't just scale up a low-res image later and expect it to look good.
Optimizing Your Designs for Cost and Efficiency
Once your individual designs are looking perfect, the next step is arranging them for print. This is where the "gang sheet" becomes your best friend for saving money. A gang sheet is just a large sheet of transfer film where multiple designs are grouped—or "ganged"—together to be printed all at once.
Instead of paying to print each design one by one, you pay for the whole sheet. This massively cuts down your cost per print, especially if you're printing smaller logos or graphics. The more designs you can smartly fit onto a single sheet, the cheaper your order becomes. This strategy is key to what makes DTF printing services so affordable for businesses of any size.
The goal is to maximize every single square inch of that film. By nesting your designs tightly, you eliminate wasted space and squeeze the absolute most value out of every sheet you order. This approach turns printing from a per-item expense into a bulk production powerhouse.
Our easy-to-use Auto-build gang sheet builder automates this entire process for you, delivering exceptional cost effectiveness and ease of use. Just upload all your prepared PNG files, and the tool handles the rest.
The system's algorithm figures out the most efficient layout possible, rotating and nesting your graphics to slash waste and lower your cost per print without any manual work on your end. For anyone new to the process, you can learn more about creating custom heat transfer designs in our helpful guide.
Common Mistakes to Avoid
Even with the right tools, a few simple mistakes can throw a wrench in your project. Knowing what to look out for ahead of time will help ensure everything goes smoothly from start to finish.
Here are a few key things to watch for:
- Forgetting Transparency: Always double-check that your PNG file has a true transparent background, not just a white one that blends in with your design canvas.
- Using Low-Resolution Artwork: Never, ever use images you saved from the web or took a screenshot of. They are almost always 72 DPI and will produce a blurry, unprofessional print.
- Creating Designs That Are Too Thin: Extremely fine lines or tiny text (under 0.018 inches thick) might not print or transfer correctly. There simply isn't enough surface area for the adhesive to grab onto.
- Ignoring Semi-Transparent Elements: Avoid using glows, shadows, or gradients that fade out to nothing. DTF printers see these effects as solid blocks of color, which results in a hard, ugly edge instead of the soft fade you were going for. Convert these effects to solid colors or use a halftone pattern instead.
A Guide to DTF Pricing and Turnaround Times
Let's talk about two of the most important factors in any print project: how much it costs and how fast you can get it. Getting a handle on DTF pricing and turnaround times is what separates a smooth, successful run from a stressful one. The good news? DTF has a super transparent cost structure that puts you in the driver's seat.
Unlike screen printing where you get hit with setup fees for every single color, DTF pricing is refreshingly simple. It's almost always based on the amount of film you use, usually calculated per sheet or by the linear foot. The basic idea is this: the more designs you can cram onto the film, the less you pay for each individual transfer.
Breaking Down the Cost-Per-Sheet Model
The most common way DTF transfers are priced is by the sheet. You buy a specific-sized sheet of transfer film—say, 22x24 inches—and your goal is to fit as many of your designs onto it as you possibly can.
Think of it like cutting cookies out of a sheet of dough. You arrange your cookie cutters to get the maximum number of cookies, right? Wasted space between them just means fewer cookies. It's the exact same principle with DTF. Wasted film means a higher cost for each print.
This is where the gang sheet becomes your best friend for saving money. By arranging multiple logos, graphics, and designs onto a single sheet, you're making every square inch of your investment count.
For example, let's say a 22x24 inch sheet has a flat rate. If you can fit ten 5x5 inch logos on it, your cost per logo is simply the sheet price divided by ten. But if you can squeeze twenty smaller 3x3 inch designs onto that same sheet, you just cut your cost per design in half.
This model is a game-changer for small businesses, merch creators, and anyone who needs a bunch of different designs without having to order huge quantities of each one. It offers flexibility that's hard to beat. To make this even easier, our Auto-build gang sheet builder does all the heavy lifting for you, automatically arranging your uploads to maximize the space and lock in the best possible price, ensuring cost effectiveness and ease of use.
Factors That Influence Turnaround Times
Speed is just as critical as cost. The time it takes to get your transfers, from the moment you upload your file to when they land on your doorstep, depends on a few key things. Knowing what they are helps you plan your production schedule without any guesswork.
Here's what mainly affects production speed:
- Order Size: It’s pretty straightforward. A huge order with dozens of complex gang sheets will take a bit longer to print and prep than a quick one-sheet job.
- File Readiness: This is a big one. Sending us print-ready files (300 DPI PNGs with transparent backgrounds) means we can get straight to printing. Files that need fixing create delays with back-and-forth emails.
- Current Production Volume: Like any busy shop, our order queue can fluctuate. We're always pushing to hit our standard 1-2 business day printing turnaround.
The demand for DTF is exploding. In fact, the market is projected to more than double, hitting an incredible USD 5.18 billion by 2035. That kind of growth shows just how important it is to partner with a reliable printer who can handle the volume. You can dig into some of these market trends to see where the industry is headed.
Once your transfers are printed and packed, shipping time kicks in. We've got options to fit any deadline:
- Standard Shipping: The most budget-friendly choice for when you're not in a huge rush.
- Expedited Shipping: Need it tomorrow? We offer options like Next-Day Air for those tight deadlines.
- Next Day and Same Day Pickups: If you're local, this is the absolute fastest way to get your hands on your prints.
By balancing the cost-per-sheet model with these turnaround factors, you can manage your budget and schedule like a pro, making every DTF project a predictable and profitable one.
Choosing the Right DTF Printing Service for Your Needs
Let's be real: not all DTF printing services are created equal. The partner you choose has a direct impact on the quality of your final products, how smoothly your workflow runs, and ultimately, your success. Picking the right one means looking beyond just the price per sheet and really evaluating the whole experience—from the moment you upload a file to the support you get after your order arrives.
Think of it like picking a key supplier for your business. You wouldn't base that decision on a single factor, right? The same logic applies here. A truly reliable provider is a mix of excellent print quality, consistent results every time, and a user experience that makes your job easier, not harder.
The market is blowing up, with the U.S. DTF printing sector expected to hit USD 389.8 million by 2030. With so many options popping up, knowing what to look for is absolutely critical. You can learn more about the growth of the DTF market in the United States to see just how fast things are moving.
Evaluating Print Quality and Consistency
First things first, let's talk about the transfers themselves. Your reputation is on the line with every single shirt you sell, so getting inconsistent or shoddy prints is a non-starter. A top-tier DTF provider has to deliver sharp, vibrant, and durable results with every single order.
Here’s what you should be looking for as proof of quality:
- Color Accuracy: Does the printer have a solid color-matching process? Your prints should look just like the file you uploaded, without any weird color shifts.
- Vibrancy and Opacity: Good transfers have a bright, solid white underbase. This is what makes your colors pop on dark garments instead of looking dull or muddy.
- Durability: Ask them about wash testing. A great transfer should be rated to withstand 50+ washes without cracking, peeling, or fading away.
A provider’s commitment to quality often shows in how transparent they are. Look for companies that are open about their printing tech, the types of ink they use, and their wash test results. It’s a sign they’re confident in their product and serious about professional standards.
The Importance of User Experience and Support
Beyond the physical print, the ordering process itself is a huge deal. A clunky, confusing website is a massive time-waster and can lead to expensive mistakes. A company that truly gets it will invest in tools that actually simplify your workflow and help you save money.
For example, a service that offers an intuitive Auto-build gang sheet builder is a massive green flag. It shows they understand the need for cost effectiveness and ease of use, and have built a tool to help you get there without the headache. This kind of feature automates the most tedious part of the process, letting you just upload your designs and have the software figure out the best layout.
Finally, don't ever overlook customer support. When you’re staring down a tight deadline and something goes wrong, you need a partner you can actually get a hold of. Check for support channels like phone, email, and live chat. A responsive team that can quickly answer a question or fix an issue is an invaluable asset for any business relying on DTF printing services. Clear communication and reliable turnaround times are the final pieces of the puzzle, making sure you can plan your projects with confidence.
Getting Your DTF Transfers Pressed Just Right
Your transfers have arrived, and the designs look incredible. Awesome! Now for the most important step in the entire process: pressing that transfer onto your garment. This is the moment your digital file becomes a real, wearable product, and getting it right is what creates a professional-grade finish that actually lasts.
A great press isn't just about cranking up the heat. It’s a careful dance between the right temperature, the perfect amount of pressure, and precise timing. While you could technically use a home iron for a one-off project, if you're serious about your craft, a quality heat press is non-negotiable. It’s the only way to get the consistent, even pressure and stable heat needed to properly bond the transfer to the fabric.
The Step-by-Step Pressing Workflow
Nailing a vibrant, durable print is pretty straightforward when you follow the right steps. Trust me, you don't want to rush this part. Cutting corners can lead to peeling edges or a blotchy finish, so a methodical approach is your best friend here.
Here’s the simple workflow we use for a perfect press every time:
- Pre-Press the Garment: First things first, place your garment on the heat press and give it a quick press for 5-10 seconds. This is a critical step that removes moisture and smooths out wrinkles, giving you a perfect canvas for the transfer.
- Position the Transfer: Carefully lay the DTF transfer onto the spot you just pre-pressed. Make sure the white adhesive side is facing down against the fabric.
- The First Press: Cover the transfer with a Teflon sheet or a piece of parchment paper. Now, press it using the recommended settings for your fabric. This initial press is what melts the adhesive and bonds the design to the material.
- Peel the Film: After that first press, you’ll peel away the clear carrier film. Whether you do this while it's hot or after it cools depends on the type of transfer you're using (more on that in a second).
- The Final Press: Place the parchment paper back over the design and press it one more time for just 5-10 seconds. This final step locks everything in, boosts durability, and gives the print a clean, matte finish.
Hot Peel vs. Cold Peel Explained
You’ll hear the terms "hot peel" and "cold peel" a lot. This simply refers to when you remove the clear film after the first press. Getting this right is crucial for a clean release and a great-looking final product.
- Hot Peel: This is exactly what it sounds like. You peel the film off immediately after the press opens while everything is still hot. Hot peel transfers are fantastic for efficiency and speed, and they often leave the print with a softer, more flexible feel.
- Cold Peel: With this method, you have to let the garment and transfer cool down completely before you even think about peeling the film. This process usually gives you a slightly glossier, super smooth finish and is often the best choice for designs with really fine, intricate details.
Always, always check the instructions from your DTF printing services provider to know which peel method your transfers are designed for. Using the wrong technique can cause the design to lift right off the shirt or leave behind a sticky residue. It’s a small detail that makes a huge difference.
Lion DTF's Recommended Heat Press Settings
While settings can vary a bit depending on your specific heat press and the garment you're using, it helps to have a solid starting point. This table is a quick-reference guide for the most common fabrics we see.
For a much deeper dive, be sure to check out our complete guide to heat press settings for DTF transfers.
Heat Press Settings for Common Fabrics
Here are our go-to settings to get you started. Remember to always test a small, inconspicuous area first if you're working with a new fabric!
| Fabric Type | Temperature °F | Time (Seconds) | Pressure | Peel Type |
|---|---|---|---|---|
| 100% Cotton | 280°F | 10 | Medium-Firm | Hot or Cold |
| Polyester | 240-250°F | 7-10 | Medium | Hot or Cold |
| 50/50 Blends | 270-280°F | 10 | Medium | Hot or Cold |
| Tri-Blends | 270-280°F | 10 | Medium | Hot or Cold |
Getting these settings dialed in is key to making sure your final product not only looks amazing but also stands up to whatever life throws at it. Happy pressing
Got Questions About DTF Printing? We’ve Got Answers.
Jumping into the world of custom apparel can feel like a lot. To help clear things up, here are some straight answers to the questions we hear most often about our DTF printing services. My goal is to help you feel confident you're making the right call for your next project.
How Durable Are DTF Prints, Really? And How Do I Care for Them?
DTF prints are built to last. When they’re applied the right way, you can expect them to hold up for 50+ washes without fading, cracking, or peeling away from the shirt. The magic is in the ink and adhesive combo—it creates a super strong bond that actually flexes with the fabric instead of fighting against it.
Want to keep those prints looking brand new? It’s pretty simple:
- Wash the garment inside-out in cold water.
- Tumble dry on low, or just hang it up to air dry.
- Stay away from bleach and other harsh chemicals.
- Whatever you do, don't iron directly on the design.
Follow those simple rules, and your prints will stay soft and vibrant for a long, long time.
Can I Just Use a Home Iron Instead of a Heat Press?
Look, for a one-off hobby project, you could technically try to use a home iron. But for anything you plan to sell or give to a client, it's a hard no. We strongly discourage it. A proper heat press is the only tool that gives you the two things that matter most: consistent temperature and even pressure.
Home irons have hot spots and cold spots, and you just can't apply the kind of firm, even pressure needed for the adhesive to permanently bond to the fabric. This usually leads to peeling edges, spotty adhesion, and a transfer that fails after the first wash. If you want a professional, sellable product, a heat press isn't just recommended—it's essential.
What’s the Big Deal With Your Gang Sheet Builder?
The main benefit of our Auto-build gang sheet builder boils down to two things: saving you a ton of time and a good chunk of money. Its ease of use and cost effectiveness are unmatched. Instead of sitting there manually trying to fit all your designs together like a puzzle to avoid wasting film, you just upload your files. The builder’s algorithm automatically nests everything for you.
It’s all about efficiency. The tool makes sure more of your designs fit onto every sheet, which brings your cost-per-print way down. It completely takes the headache out of the ordering process, making our DTF printing services both affordable and incredibly easy to use.
Is There a Minimum Order I Have to Place?
Nope. One of the best things about DTF printing is that there are no high minimum order quantities (MOQs). Since the whole process is digital, setting up a print job is quick and efficient, whether we're running one single transfer or a few thousand.
This makes DTF a perfect fit for almost any need. You can order one-off samples to test a new design, do a small run for your Etsy shop, or create a handful of personalized items for a local team without getting stuck with a huge, expensive inventory.
Ready to see your designs come to life with prints that are vibrant, durable, and a breeze to apply? Let Lion DTF Transfers handle the printing so you can get back to creating. Build your first gang sheet today!