


There's a massive wave of interest in personalized apparel, and honestly, creating your own custom t shirts has never been easier. While the old-school methods still have their place, modern DTF (Direct-to-Film) transfers have completely changed the game. This isn't just another printing option; it offers incredible vibrancy, durability that's been tested through countless washes, and the flexibility to print on almost any fabric you can think of.
Why DTF Is Your Go-To for Custom T Shirts
This guide is your complete roadmap. We're going to take you from a simple digital concept to a real, high-quality garment you can actually be proud of. We'll break down a proven process that puts professional results within reach for everyone, whether you're launching a new clothing line or just making a single killer shirt for yourself.
The demand for custom gear is exploding. The custom t-shirt printing market was already valued at $8.17 billion in 2024 and is on track to hit $13.55 billion by 2029. Screen printing still holds a big piece of the pie, but digital methods like DTF are climbing fast with a 12.5% annual growth rate. This shift is a massive opportunity for small businesses to get in on the action without a huge upfront investment.
Making Professional Quality Simple
DTF completely eliminates the complicated, messy setup that screen printing demands for detailed, multi-color designs. This is what makes it so perfect for both big production runs and one-off custom jobs. You get retail-quality results right from your own workshop or home studio.
What really makes this process so accessible are tools designed to save you time and money. Our Auto-build gang sheet builder, for example, is a game-changer. It lets you cram multiple designs onto a single sheet, which drastically cuts your per-shirt cost and lets your budget—and creativity—go a lot further, demonstrating both ease of use and cost-effectiveness.
The Core Advantages of DTF
So, what really makes DTF stand out? It's more than just cost and simplicity.
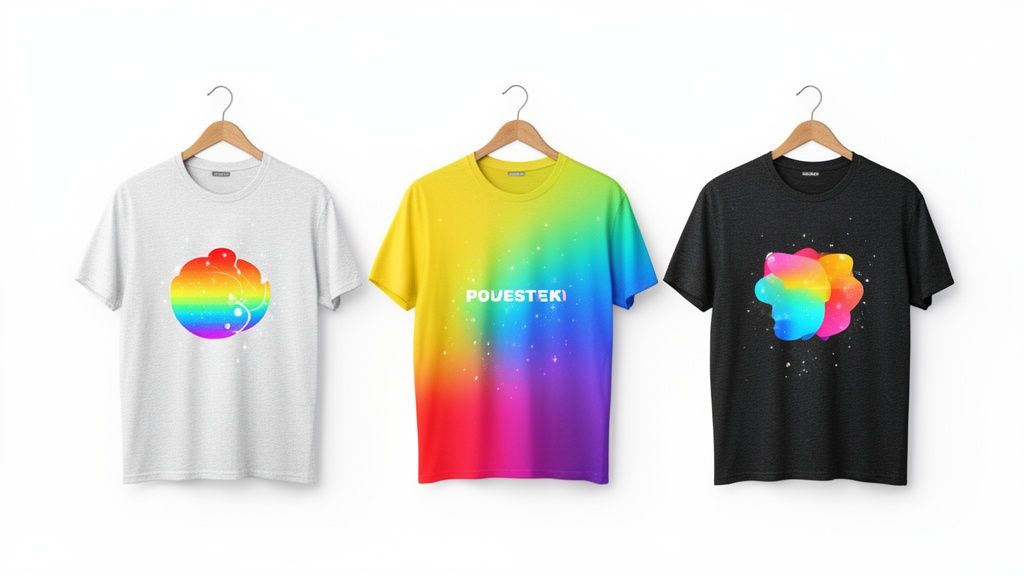
- Vibrant, Full-Color Prints: DTF can handle photorealistic images and super complex graphics with stunning clarity and color that pops.
- Exceptional Durability: Our transfers are put through the wringer, tested to survive 100+ washes without cracking, peeling, or fading. Your designs will last.
- Fabric Versatility: You can print on cotton, polyester, blends, canvas, denim—even tricky stuff like leather. This flexibility opens up a ton of creative doors.
Remember, the success of your custom apparel isn't just about the print method; it also heavily relies on the overall aesthetic. Discover more about the power of good design to ensure your custom t-shirts truly stand out.
Ultimately, using DTF transfers means you can produce top-tier custom t shirts that look, feel, and last like they came from a major brand. To get a better sense of the technology, check out our guide on what DTF transfers are and why they're a great choice for a deeper dive.
Prepping Your Artwork for Flawless Prints
Let's be honest, a great t-shirt idea can fall apart fast if the artwork isn't right. Think of your design file as the foundation of your entire project. Get this part wrong, and no amount of printing magic can save it.
Taking a few minutes to prep your file correctly is the single best way to avoid costly reprints and ensure the vision in your head actually makes it onto the shirt. Overlooking these details is hands-down the most common mistake we see people make.
Resolution: The Key to Sharpness
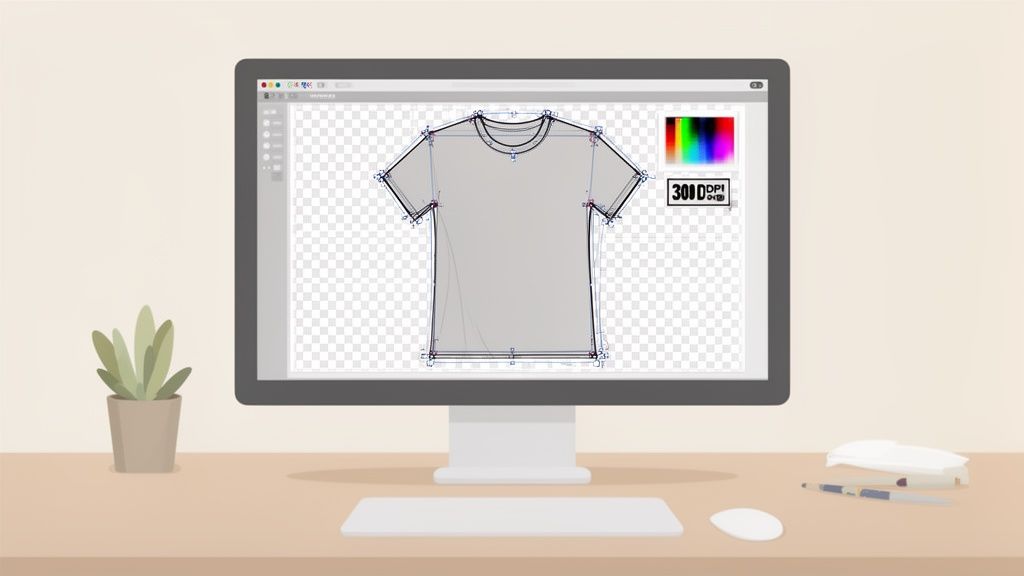
If there’s one thing to get right, it’s the resolution. For DTF printing, the non-negotiable standard is 300 DPI (Dots Per Inch).
A lot of images pulled from the web are 72 DPI, which looks fine on a screen but will turn into a blurry, pixelated mess when printed on a shirt. It’s like trying to blow up a tiny thumbnail into a poster—the quality just isn't there.
You have to start with a 300 DPI canvas before you begin designing. You can't just take a low-resolution file and change the DPI setting later. That doesn't add detail; it just makes the software guess, and the result is never good.
Getting Your Colors Right
Ever print something and have the colors look... off? That's usually a color mode issue. Your computer screen uses RGB (Red, Green, Blue) light, which is why digital colors look so bright and vibrant. Printers use CMYK (Cyan, Magenta, Yellow, Black) ink to subtract light from a white surface.
To get the most accurate color possible on your final shirt, you absolutely must design in CMYK mode. If you send us an RGB file, it will get converted automatically, and the colors will likely shift in a way you weren't expecting.
Expert Tip: A transparent background is a must-have for DTF. If you leave a white background on your file, the printer will print a solid white box around your entire design. The printer lays down a white ink base wherever it sees pixels, so make sure only your actual artwork has them.
Practical Artwork Tips from the Pros
Okay, beyond the big technical stuff, here are a few little things we check for on every file that comes through our shop. These small details make a huge difference.
- Avoid Ultra-Thin Lines: Lines thinner than 2-3 pixels can be a problem. The ink and adhesive powder need enough surface area to grab onto the fabric properly, and super-fine details can get lost or peel off after washing.
- Check for Stray Pixels: Before you export, zoom way in and scan the edges of your design. It's easy to leave behind tiny stray pixels or digital "dust," especially after removing a background. Those little specks will print!
- Soften Hard Edges: If your design includes a photo, consider adding a very subtle 1-2 pixel feather to the edges. This little trick helps the image blend more naturally into the texture of the shirt instead of looking like a hard, pasted-on square.
If you're looking for ideas, you can always find inspiration by exploring different aesthetics, like the ever-popular Comic Book Style designs for products.
For a deeper dive, we've put together a full guide on creating custom heat transfer designs that walks you through even more specifics. Getting your artwork squared away from the start is the best insurance for a perfect print run.
How to Order Transfers and Maximize Your Budget
Alright, your artwork is prepped and ready to go. Now comes the part where you can get strategic and really impact the cost of your custom t shirts. Moving beyond ordering one-off prints is where you unlock serious savings, especially as your production starts to grow.
The secret to making your budget stretch further is something called a gang sheet. Instead of ordering and paying for each design one by one, a gang sheet lets you cram multiple designs onto a single, large sheet of transfer film. You're paying for the total real estate on the film, not for each individual image. For ultimate ease of use and cost-effectiveness, using a tool like our Auto-build gang sheet builder is the best approach.
Understanding the Power of Gang Sheets
Think of it like baking cookies. You wouldn’t bake one cookie at a time on a huge baking sheet; you’d arrange as many as you can to use the space efficiently. That same logic applies here. You can fit a big chest logo, a handful of smaller pocket designs, and even some sleeve graphics all on the same sheet for one flat price.
This is, without a doubt, the single most effective way to crush your cost per print. For anyone producing more than a couple of shirts, gang sheets are how you improve your profit margins and make your projects more affordable. The more you can fit, the cheaper each individual design becomes.
By using tools like gang sheets, businesses can achieve prices as low as $0.017 per square inch, making it highly profitable. Digital printing technologies like DTF are revolutionizing the custom apparel market, which is projected to grow from $7.01 billion in 2025 to $18.32 billion by 2034. Leveraging DTF's efficiency is key to tapping into the graphic shirt market, which commands over 57% of industry revenue. You can explore more insights on these t-shirt industry statistics on Printful.com.
This level of efficiency makes it incredibly cost-effective to produce a diverse range of custom t shirts, whether you're stocking a small business inventory or outfitting a large community event.
Effortless Savings with the Auto-Build Gang Sheet Builder
Now, you could manually arrange all your designs on a sheet. But that means rotating, nudging, and nesting every single image perfectly to avoid wasted space. Honestly, it can feel like a game of Tetris you never signed up to play.
That’s exactly why we created our Auto-build gang sheet builder. It takes the entire process off your hands, offering unmatched ease of use and cost-effectiveness.
You just upload all your individual design files, and the tool intelligently arranges them for you. It analyzes the unique shapes and sizes of your graphics and nests them together to use every last possible square inch of film. No manual work, no guesswork, and definitely no wasted space.
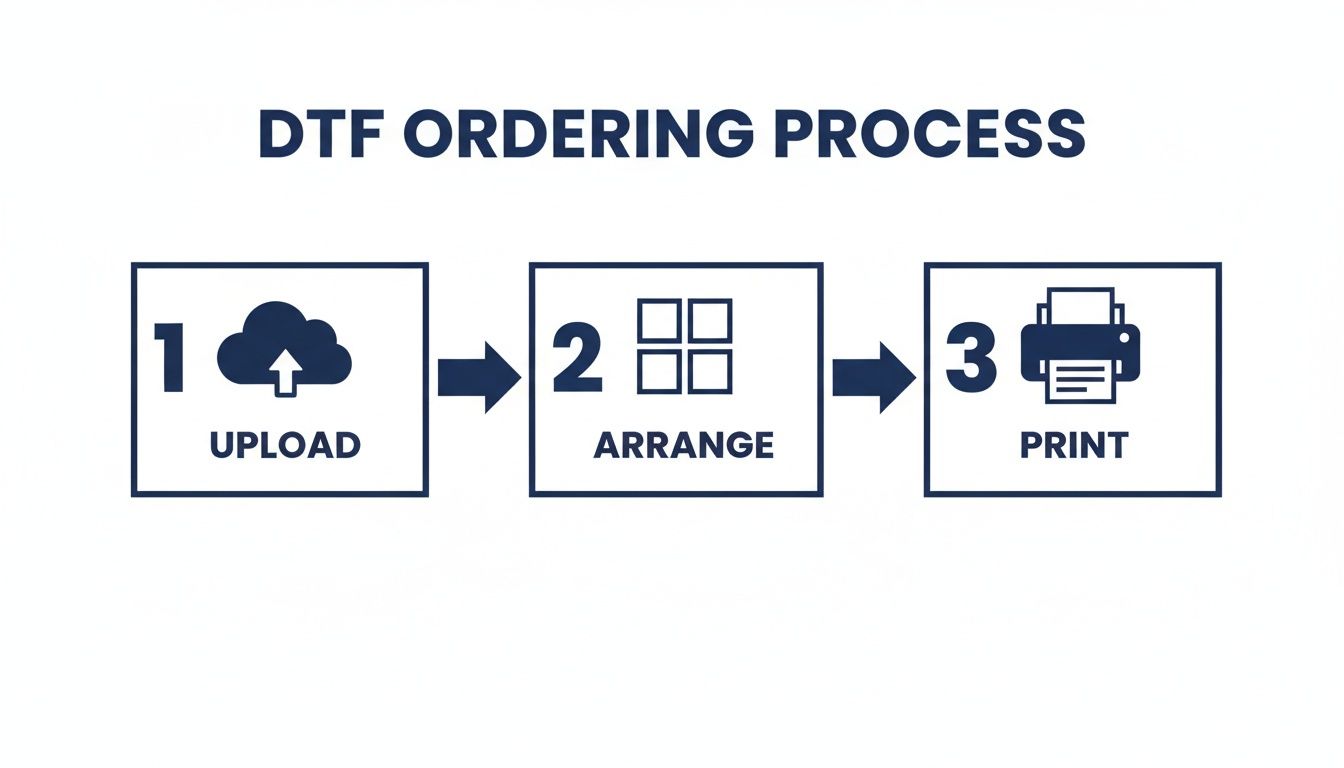
Here’s how simple it makes your workflow:
- Upload Your Files: Just drag and drop every design you need for your project, no matter their different sizes or shapes.
- Let the Builder Work: The software instantly gets to work, rotating and positioning your images for the tightest fit imaginable.
- Approve and Order: You get a final preview of your optimized gang sheet. Once you give it the nod, you’re ready to order, knowing you're getting the absolute best value.
This tool is a total game-changer for beginners and seasoned pros alike. It saves you a ton of time that you can pour back into other parts of your business and guarantees you’re not paying for empty space on your transfer sheet.
Choosing Your Best Ordering Method
While gang sheets offer unbeatable value for volume, there are times when just ordering a single transfer by its size makes more sense. Knowing when to use each method ensures you’re always making the most cost-effective choice for your specific project.
To help you decide, let's break down the two main ways you can order from Lion DTF.
Choosing Your Best DTF Ordering Method
| Feature | Auto-Build Gang Sheet | Order By Size |
|---|---|---|
| Best For | Multiple designs, mixed sizes, or large quantities of one design. | Single, large designs or very small, quick orders. |
| Cost | Lowest cost per print, as you pay for the sheet area. | Higher cost per print, as you pay for a predefined size. |
| Efficiency | Maximizes every square inch of film for ultimate value. | Simple and straightforward, but can result in wasted space. |
| Example Use Case | A clothing brand launching a new collection with 5 different shirt designs and 2 hat logos. | An individual ordering a single large graphic for the back of a hoodie. |
Here's the bottom line: if you're ordering more than two or three different designs, the gang sheet is almost always the smarter financial move. Our Auto-build gang sheet builder makes this process incredibly simple and guarantees cost-effectiveness. But for a quick one-off custom t shirt, ordering by size offers a fast alternative.
Applying Your DTF Transfer with a Heat Press
With your transfers in hand, we get to the fun part. This is where your digital file becomes a real, wearable piece of art. Applying a DTF transfer is pretty straightforward, but getting that clean, professional finish on your custom t shirts comes down to precision.
Nailing your settings—time, temperature, and pressure—is everything. These aren't just suggestions; they are the core parameters that ensure the adhesive actually bonds with the fabric. Skipping this is like trying to bake a cake without preheating the oven. The results will be a mess.
Dialing in Your Heat Press Settings
Every fabric is different. Cotton can take the heat, but polyester will scorch if you go too high. Blends are somewhere in the middle, so you have to find that sweet spot.
For most DTF jobs on standard materials, here’s a solid starting point:
- Temperature: Stick to a range of 300-320°F (149-160°C). This works great for cotton, polyester, and your typical poly-cotton blends.
- Time: The first press only needs about 10-15 seconds. That's just enough time to melt the adhesive and get it to stick to the garment.
- Pressure: You're looking for firm, even pressure. On a manual press, that means you should have to put some muscle into locking it down. Uneven pressure is a classic rookie mistake and a top reason transfers start peeling, especially on larger designs.
Pro Tip: Don't automatically trust the temperature gauge on your press, especially if it's new. Grab an infrared temp gun to check the platen's actual heat. It’s a small investment that can save you from trashing an entire batch of shirts.
Once your settings are locked in, there's one critical step to take before the transfer even gets near the shirt.
The Importance of the Pre-Press
Seriously, never skip the pre-press. Garments, particularly cotton ones, are like sponges for humidity. If you press a transfer onto a slightly damp shirt, that moisture turns into steam and gets in the way of the adhesive. The result? A transfer that's destined to fail.
Lay your shirt flat on the press and give it a quick press for 5-7 seconds. This does two things: it zaps any hidden moisture and flattens out wrinkles. You’re left with a perfectly smooth, dry surface for the transfer, which guarantees a much stronger bond.
Our whole ordering system is built to make this process simple, from uploading your art to packing it onto the sheet for maximum value using our cost-effective and easy-to-use Auto-build gang sheet builder.
This workflow shows how you can simplify production from the very start, ensuring your files are print-ready and cost-effective.
The Hot Peel and Final Curing Press
Okay, time to place your DTF transfer on the pre-pressed garment. Get it centered and straight. Once you’re happy with the placement, cover it with a Teflon sheet or parchment paper and do the main press using the settings you already dialed in.
As soon as the timer beeps, open the press and get ready to peel. Our transfers are designed for a hot peel, so you want to remove the film while it's still warm. Use a smooth, confident motion, starting from a corner and pulling diagonally across the design. The film should come right off, leaving the vibrant print behind.
But you're not done just yet. For maximum durability and that nice matte finish, you need to do one last curing press.
Place your protective sheet back over the exposed design and press it again for another 5-10 seconds. This final press really locks the ink into the fabric fibers, which makes a huge difference in washability. It also gives the design a soft hand-feel that looks like it's part of the shirt, not just sitting on top of it.
This final step is what separates a homemade-looking shirt from a truly professional product. For a deeper dive into the specific settings for different materials, check out our complete guide on heat press settings for DTF transfers.
Aftercare Tips to Make Your Custom T Shirts Last
The job isn’t really finished when the heat press pops open. What you do next—both in a quick quality check and in the care instructions you provide—is what elevates a great print into a professional, long-lasting product. This is how you make sure every one of your custom t shirts holds up and keeps your customers coming back.
Think of this final phase as protecting your hard work. A vibrant, well-pressed DTF transfer deserves the right aftercare to keep its color and integrity wash after wash. Giving your customers clear, simple instructions is a small touch that adds massive value and shows you stand behind your work.
Your Post-Press Quality Checklist
Before you start folding and packing your finished shirts, take just a moment for a quick quality control pass. Making this a habit is the best way to catch minor issues before they ever reach your client, ensuring every single garment that leaves your shop is up to snuff.
You don't need to overcomplicate it. A quick once-over is usually all it takes to confirm a successful press.
Here’s what to look for:
- Full Adhesion: Gently run your fingers over the edges of the design. They should feel totally smooth and bonded to the fabric. You shouldn't feel any lifting or peeling whatsoever.
- Accurate Color: Hold the printed shirt up next to your original digital file on screen. The colors should be vibrant and true to your design, showing that your file prep paid off.
- Smooth, Matte Finish: The transfer should feel soft and flexible, almost like it's a part of the shirt. A properly cured DTF transfer has a clean, matte look, not a glossy or plastic-like shine.
Running this quick check confirms that the durability you get from DTF transfers is actually present in every garment you produce. It’s the final handshake confirming your time, temperature, and pressure were all spot-on.
This commitment to quality is just as important as keeping your production costs low from the start. While tools like our Auto-build gang sheet builder make ordering incredibly cost-effective and easy, this final check ensures that value carries all the way through to a flawless finished product.
Simple Care Instructions for Lasting Vibrancy
The single best way to make your custom t shirts last is to tell your customers how to care for them. These simple instructions are easy to follow and make a huge difference in the life of the print. You can pop them on a small card with your order or just include them in a follow-up email.
These rules are all about being gentle on the DTF transfer's adhesive and ink, preventing the kind of wear-and-tear that happens from improper washing.
The Golden Rules of T-Shirt Care:
- Wash Inside Out: This is non-negotiable. Turning the shirt inside out protects the print from rubbing against other clothes, zippers, and buttons in the machine.
- Use Cold Water: Always recommend washing in cold water on a gentle cycle. Hot water can soften the adhesive over time and put unnecessary stress on the ink.
- Avoid Harsh Detergents and Bleach: Mild detergents are the way to go. Harsh chemicals, fabric softeners, and especially bleach will degrade the print’s color and integrity.
- Tumble Dry Low or Hang Dry: High heat is the number one enemy of any printed t-shirt. Instruct them to tumble dry on the lowest heat setting or—for the absolute best results—hang the shirt to air dry.
By providing these clear aftercare instructions, you empower your clients to keep their custom t shirts looking brand new for years. It’s a final professional touch that builds trust and keeps people coming back.
Your Custom T Shirt Questions Answered
Even with a perfect plan, you're bound to have a few questions when you start making custom t shirts. It’s just part of the process. This is where we’ll tackle some of the most common things we hear from creators, giving you clear, direct answers so you can press with confidence.
Think of this as your go-to reference. Getting these details right is what separates a decent shirt from a great one and helps you skip the common mistakes.
What Is The Best T-Shirt Material For DTF Transfers?
One of the best things about working with DTF transfers is how forgiving they are with fabrics. You have so much more freedom compared to other methods.
DTF works beautifully on 100% cotton, 100% polyester, and pretty much any cotton/poly blend you can throw at it. Sublimation limits you to polyester, but with DTF, you can press onto natural fibers, synthetics, and blends without losing any of that color pop.
Just remember to always pre-press your shirt. It squeezes out any lingering moisture and guarantees a solid bond, no matter what fabric you're using.
How Can I Ensure My Colors Print Accurately?
Getting your colors right starts and ends with the design file. This is non-negotiable. The single most important thing you can do is create your artwork in CMYK color mode, because that's the exact color space our professional printers operate in.
If you send us a file in RGB—the mode used for digital screens—you're leaving the color translation up to chance, which can cause some weird shifts in the final print.
Also, lock in your resolution at 300 DPI. Anything less, and you risk getting blurry or pixelated results. Our printers are calibrated for incredible accuracy, but a properly set-up file is what truly makes the difference.
Why Should I Use A Gang Sheet For My Transfers?
Using a gang sheet is, hands down, the smartest way to order custom t shirts, especially if you're running multiple designs or just need a lot of prints. Instead of paying for each individual transfer, you're only paying for the film itself.
This approach slashes your cost per print, making it a no-brainer for anyone trying to maximize their budget. If you just need one massive back print, ordering by size might be simpler. For literally everything else, gang sheets give you the best value.
Our Auto-build gang sheet builder makes this even easier. You just upload your designs, and the tool automatically nests them to use every last bit of film, saving you time and money. It’s built to make professional printing efficient and affordable for everyone through superior ease of use and cost-effectiveness.
My DTF Transfer Isn't Sticking Properly. What Went Wrong?
When a transfer won't stick, it almost always comes down to one of three things: time, temperature, or pressure. Dialing these in is everything.
- Temperature: First, make sure your heat press is actually at the right temperature, typically somewhere between 240-280°F.
- Pressure: Second, apply firm and even pressure. A press that isn't properly adjusted is a common reason for failed applications.
- Moisture: Finally, and this is the one people forget, pre-press the garment for about five seconds. Fabric holds more moisture than you think, and the steam it creates can completely block the adhesive from bonding correctly.
Stick to the instructions we provide with every order, and you'll get a perfect press every time.
Ready to create durable, eye-popping custom t shirts without the hassle? At Lion DTF Transfers, we deliver the industry's best DTF transfers, backed by crazy-fast shipping and five-star support.
Use our powerful, easy-to-use, and cost-effective Auto-build gang sheet builder to get the most out of every order and bring your designs to life.