


Welcome to the world of custom apparel. If you're looking to create professional-quality t-shirts right from your own workspace, then printing t shirts with a heat press is your ticket in. This method uses heat and pressure to turn digital designs into vibrant, durable garments, and with the rise of Direct-to-Film (DTF) transfers, it’s become a favorite for everyone from hobbyists to established business owners.
Your Guide to Flawless Heat Press T-Shirts
Starting a t-shirt business or just creating your own custom gear can feel like a huge undertaking, but it doesn't have to be. With the right tools and a bit of know-how, printing your own apparel is surprisingly accessible and seriously rewarding. Think of this guide as your complete roadmap—we're breaking down the entire journey from a simple idea to a finished, sellable product.
The industry is booming for a reason. The global heat press market was valued at around USD 829.13 million in 2024 and is on track to hit USD 1.315 billion by 2032. With textile and apparel printing making up a massive 67.27% of that market, it's clear this technology is the backbone of the customization world. You can discover more insights about the heat press market here. That growth spells one thing: huge opportunity for creators like you.
Why DTF Transfers Are a Game-Changer
Direct-to-Film (DTF) transfers have completely changed the game for anyone with a heat press. Gone are the days of tedious vinyl weeding or dealing with messy inks. DTF offers a straight shot to high-quality, professional-looking prints.
Here’s why they’re so effective for printing t shirts with a heat press:
- Incredible Detail: DTF can handle it all—fine lines, complex color gradients, and even photorealistic images with stunning clarity.
- Fabric Versatility: These transfers aren't picky. They work on a huge range of materials, including cotton, polyester, blends, and even trickier items like hats and bags.
- Built to Last: When applied correctly, DTF prints are soft, flexible, and made to survive dozens of washes without cracking or fading.
Think of DTF as the bridge between your digital design and a professional physical product. It removes a ton of technical barriers, letting you focus on what really matters: your creativity and growing your business.
The Pillars of Success
To get consistently great results, you need to nail three core elements. Getting these right is the secret to avoiding failed prints and wasted materials. We'll dive deep into each of these pillars throughout this guide.
Here are the fundamentals:
- Artwork and Garment Prep: Success starts long before you turn on the press. It’s all about choosing the right fabric and making sure your digital artwork is optimized and ready to go.
- Mastering Your Settings: The "golden triangle" of heat pressing—temperature, time, and pressure—is everything. These settings determine the quality and durability of your final print.
- An Efficient Workflow: For businesses looking to scale, a smooth process is non-negotiable. This is where tools like our Auto-build gang sheet builder become essential, helping you arrange multiple designs on one sheet for ease of use and cost effectiveness.
Once you get a handle on these foundational concepts, you'll be ready to start your journey with confidence and create apparel that looks truly professional.
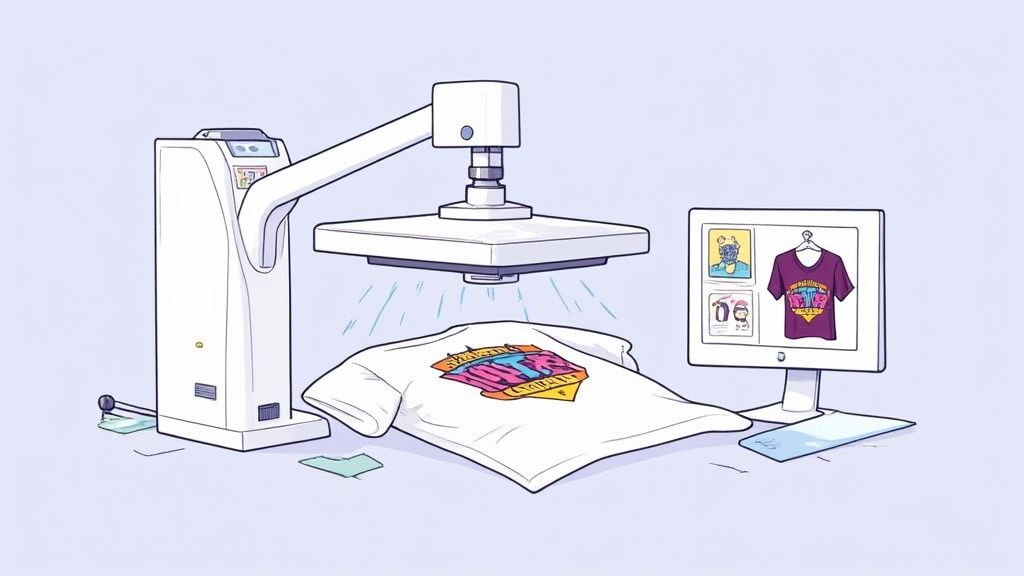
Getting your hands on the right tools and prepping your artwork is where the magic really begins. A killer print job doesn’t just happen at the press; it’s the result of smart prep work. Think of it like this: you can’t build a sturdy house on a shaky foundation. Nailing this first stage is what separates an amateur-looking shirt from a professional one when you're printing t shirts with a heat press.
Before you even think about firing up that press, let's get your workspace in order. Having everything you need laid out and ready to go makes the entire process smoother and a whole lot less stressful.
Your Essential Heat Press Supply Checklist
There's nothing worse than getting halfway through a project only to realize you're missing a key item. This checklist covers the non-negotiables I keep on hand to ensure a clean, consistent application every single time. It's all about setting yourself up for success.
| Item | Purpose | Pro Tip |
|---|---|---|
| Quality Heat Press | Provides the even heat and consistent pressure that a durable transfer demands. | I've found that a swing-away or draw-style press gives me a much better line of sight for lining up designs compared to a basic clamshell. |
| DTF Transfers | These are the printed designs you'll be applying to your garments. | To save money and time, always order your designs on a gang sheet. You can fit multiple graphics on one sheet, seriously cutting down your cost per print. Our Auto-build gang sheet builder makes this incredibly easy. |
| Blank Garments | Your t-shirts, hoodies, or whatever else you're decorating. | Always, always check the fabric content. Cotton, polyester, and blends all need slightly different temperature settings. |
| Teflon Sheet or Cover | Protects your shirt from getting scorched by the heat press and gives you a clean finish. | A reusable Teflon sheet is an absolute must-have. Just make sure to wipe it down between uses so you don't transfer old ink or adhesive residue. |
| Heat-Resistant Tape | Keeps your transfer locked in place on the garment so it doesn't shift around. | This stuff is a lifesaver, especially for smaller designs or tricky placements on things like sleeves or hats where perfect alignment is everything. |
Getting Your Digital Artwork Print-Ready
Your physical setup is only half the battle. The quality of your digital file has a direct, undeniable impact on how sharp and vibrant your final print will be. A blurry, low-res design file will always give you a blurry, unprofessional-looking t-shirt. It’s that simple.
To make sure your artwork is ready for prime time, stick to these standards:
- Go for High Resolution: Your design files should always be created and saved at 300 DPI (dots per inch). This is the industry standard for a reason—it guarantees your images come out crisp and clear, not fuzzy or pixelated.
- Pick the Right File Type: A PNG file with a transparent background is the way to go for DTF transfers. This ensures that only your design gets printed, without any ugly white or colored box around it.
- Think About Your Colors: If you can, design in a CMYK color profile. It more accurately reflects the inks used in the printing process. You can use RGB, but just be aware some colors might shift a bit when they're converted for printing.
Here's the bottom line: the printer can only work with what you give it. Taking a few extra minutes to double-check your file's resolution and format will save you a ton of frustration later on.
Why Gang Sheets Are a Game-Changer
Once you start printing more than just a few shirts, efficiency becomes your best friend. This is where the "gang sheet" comes in and completely changes your workflow. A gang sheet is just a large transfer sheet where you've arranged, or "ganged up," multiple designs. Instead of ordering a bunch of small, individual transfers, you fit everything onto one or two big sheets.
This approach is a massive win for anyone serious about printing t shirts with a heat press, particularly if you're running a business. By packing your designs together, you slash material waste and bring your cost per print way down. With the custom T-shirt market expected to hit around USD 18.32 billion by 2034, using smart, cost-effective methods like this is how you grab your piece of the pie. Read the full research about custom t-shirt printing market trends.
Trying to manually arrange a dozen designs to perfectly fit a sheet is a huge time-sink. That’s exactly why we developed our Auto-build gang sheet builder. You just upload your design files, and the tool automatically nests them together with perfect spacing. It takes all the guesswork out of the process, saving you time and ensuring cost effectiveness. For anyone looking to scale up, it's an absolute no-brainer. You can learn more about creating custom heat transfer designs in our article.
Alright, you've got your transfers, your shirts are stacked, and the heat press is warming up. Now for the fun part—turning all that prep work into a finished product. Getting the application process right is what separates a shirt that just looks good from one that feels great and lasts wash after wash. Precision here is everything.
This whole workflow, from design to print-ready gang sheet, is simpler than it looks. It's all about getting your files optimized before you ever touch the press.
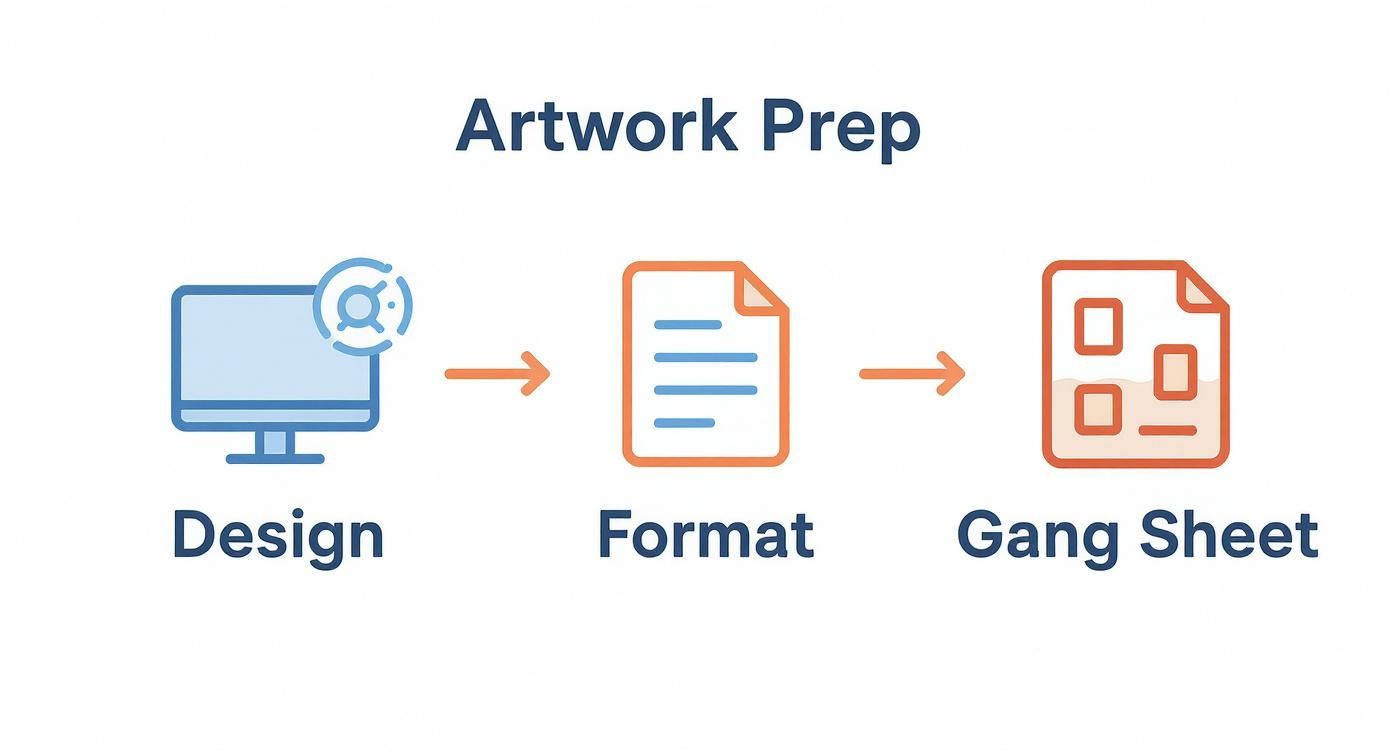
Honestly, once you get the hang of it, you’ll fly through this part of the process.
Don't Skip the Pre-Press
Before you even think about laying down that transfer, you need to pre-press your shirt. This step is non-negotiable. It’s not just about getting rid of wrinkles; its real job is to zap any moisture hiding in the fabric.
Even a shirt that feels perfectly dry has moisture trapped in the fibers. When that moisture meets a hot press, it turns to steam, and steam is the enemy of good adhesion. It can stop the transfer from bonding properly, which leads to peeling and cracking later on.
A quick 4-5 second press is all it takes. Let it cool for a second, and you’ve created the perfect dry canvas for your art. This simple step makes a massive difference in the final quality.
Nailing the Placement and Main Press
Now it's time to position the transfer. For a standard chest print, a good rule of thumb is to place the top of the design about three fingers down from the collar.
If you’re doing a big run of shirts, grab a t-shirt alignment tool. Seriously, it's worth it. It guarantees every single shirt comes out looking consistent and professional. Once you're happy with the spot, you can use a little heat-resistant tape on the corners to make sure nothing shifts when you lower the press.
With the transfer locked in, you're ready for the main event. This is where the "golden triangle" of heat pressing comes into play.
Every single print you do comes down to three things: temperature, time, and pressure. Get this combo right, and you'll create a print that looks amazing, feels soft, and holds up for the long haul.
Dialing In Your Settings
Getting that perfect, durable print means finding the sweet spot between heat, time, and pressure. These settings will change depending on your fabric and the specific transfers you’re using.
-
Temperature: This is what activates the adhesive. For cotton and poly/cotton blends, a range of 270-280°F is a solid starting point. If you're working with polyester or other heat-sensitive fabrics, you'll want to go lower to avoid scorching.
-
Time: This is your "dwell time"—how long the heat is applied. Most DTF transfers on cotton need about 10 seconds. Too long, and you risk burning the adhesive; too short, and it won't bond properly.
-
Pressure: You need enough force to embed the design into the fabric fibers. For DTF, medium to firm pressure is the standard. You want the press to clamp down securely without leaving a giant press box outline on the shirt.
To really dig into the specifics for different materials, our complete temperature guide for heat press applications breaks it all down.
Hot Peel vs. Cold Peel: What's the Difference?
Once the timer goes off, what you do next depends on the type of transfer film you have. You'll either do a "hot peel" or a "cold peel."
A hot peel is exactly what it sounds like: you peel the film off immediately while the shirt is still hot. It's fast, efficient, and perfect for high-volume jobs. This method usually leaves the print with a nice matte finish.
A cold peel, on the other hand, requires patience. You have to let the garment cool down completely before you touch the film. This process often gives you a glossier finish and can be a bit more forgiving with really detailed, intricate designs. Always check your supplier’s instructions so you know which film you’re working with.
The Final Press: Your Secret to a Perfect Finish
You've peeled the film, and the design looks great. But don't stop there. There’s one last step that takes your print from good to pro.
Cover the design with a protective sheet (parchment paper or a Teflon sheet works great) and press it again for just 5-7 seconds. This final press does two crucial things: it pushes the ink deeper into the fabric's weave for incredible durability, and it knocks back any shine, giving the print a super-soft feel.
It's a small step, but it's what makes the design look and feel like it’s part of the shirt, not just sitting on top of it. Don't skip it.
Post-Press Care and Troubleshooting Common Issues
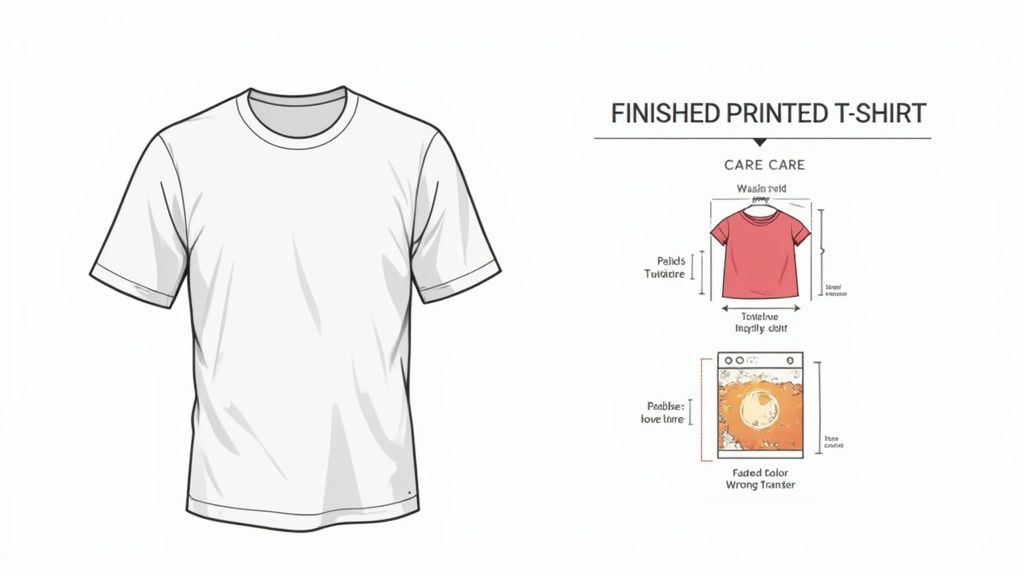
A great print isn't just about how it looks fresh off the press. It’s about how it holds up wash after wash. The final piece of the puzzle in printing t shirts with a heat press is ensuring that your hard work lasts. This comes down to two things: showing your customers how to care for their new shirts and knowing how to troubleshoot when things go wrong.
Giving your customers clear care instructions is a small detail that speaks volumes. It shows you're confident in your product's quality and helps prevent simple mistakes from ruining a perfectly good print.
Essential T-Shirt Care Instructions
To keep those DTF prints looking sharp, pass these simple rules along to your customers. Tucking a small care card into the package is a pro move.
- Turn it Inside Out: Before it hits the wash, the garment should always be turned inside out. This is the single best way to protect the print from rubbing against other clothes, zippers, and buttons.
- Wash with Cold Water: Tell them to skip the hot water. It's the enemy of custom apparel. Washing in cold water on a gentle cycle helps preserve both the ink and the adhesive.
- Stick to Mild Detergent: Harsh detergents, bleach, and especially fabric softeners will break down the print over time. A basic, mild detergent is all that’s needed.
- Hang Dry if Possible: The absolute best way to dry a custom shirt is to hang it or lay it flat. If the dryer is a must, use the lowest heat setting—tumble dry low—to avoid heat damage.
Following these steps can make a huge difference in the life of a print, keeping your work looking crisp for dozens of washes.
The goal is to make the design last as long as the shirt itself. Proper care is the bridge between a good print and a great, long-lasting product that customers will wear and love for years.
Solving Common Heat Press Problems
Even with a perfect process, you'll eventually hit a snag. Knowing what went wrong and, more importantly, how to fix it is what separates the amateurs from the pros. Let’s walk through the most common headaches.
Nothing is more frustrating than a customer sending a picture of a design peeling or cracking after just one wash. Nine times out of ten, this points back to an issue with your application—not a bad transfer.
Another common one is scorching or yellowing, especially on polyester or light-colored blends. That’s a dead giveaway that your heat settings are off, a mistake that can torch an entire batch of shirts if you don't catch it fast.
When you run into trouble, this chart can help you diagnose the problem on the fly.
Solving Common Heat Press Problems
| Problem | Potential Cause | Solution |
|---|---|---|
| Design Peeling/Cracking | Incorrect pressure (too low) or temperature was too low. The adhesive didn't fully bond with the fabric. | Increase your press pressure to medium-firm. Double-check your temperature settings to ensure they match the fabric and transfer type (280°F for most cottons). |
| Scorched or Yellowed Fabric | The heat press temperature is too high for the material, or the dwell time is too long. | Reduce the temperature immediately, especially for polyester or blends. Use a protective Teflon sheet to shield the fabric from direct, intense heat. |
| Dull or Faded Colors | The design was under-pressed (not enough time or heat) or you're using low-quality transfers. | Increase your dwell time by a few seconds. Ensure your transfers are from a reputable supplier known for vibrant, high-quality inks. |
| Uneven Transfer Adhesion | Pressure is uneven across the platen, or you're pressing over seams, collars, or zippers. | Use a heat press pillow to raise the print area, ensuring even pressure. Check that your press platen is level and applying consistent force everywhere. |
Having a quick reference like this saves time, material, and a lot of frustration.
Ultimately, consistent quality is what builds a successful t-shirt business. When you dial in your entire workflow—from prepping art with tools like our Auto-build gang sheet builder to mastering your press settings—you build a reputation for being reliable. This troubleshooting knowledge is your safety net, letting you fix problems quickly, cut down on waste, and keep production humming.
Scaling Your Operation from Hobby to Business
Making a few shirts for friends is one thing. Turning that spark into a real-deal, profitable business? That's a whole different ballgame. The jump from hobbyist to entrepreneur is all about building smart, repeatable systems so you can pump out more orders without ever letting quality slide.
This isn't just about buying more blank tees. It's a mindset shift. You have to move from thinking about one-off projects to mastering efficient batch production. The same heat press that made your first dozen shirts can absolutely power a small business, but your workflow has to grow with you. Smart scaling means finding tools and strategies that shave off time and money from every single print you make.
Optimizing Your Workflow for Profit
When you're starting to scale, every dollar and every minute is precious. The secret to growing without going broke is finding ways to slash your cost-per-item and speed up your production time. This is where clever workflow tricks and cost-saving tools can make a huge difference to your bottom line.
One of the biggest time sinks? Prepping your print files. Manually cramming dozens of different designs onto a single transfer sheet is a tedious puzzle, and you almost always end up with wasted, empty space. That wasted film is literally money in the trash.
This is exactly why our Auto-build gang sheet builder is such a game-changer for a growing business. You just upload your designs, and the tool automatically nests them together, using every possible square inch of the transfer sheet. That efficiency directly lowers your cost per print, which immediately boosts your profit margin on every single t-shirt you sell. It's built for ease of use and cost effectiveness.
Sourcing Supplies and Managing Inventory
As you grow, buying supplies one t-shirt at a time just won't cut it anymore. Sourcing your materials in bulk is a foundational step toward profitability. Start looking for wholesale suppliers for your blank garments and other essentials like heat-resistant tape and protective sheets.
Here are a few tips for sourcing smarter:
- Order Sample Packs First. Before you drop a ton of cash on a huge order of a specific shirt brand, get a sample pack. Press them, wash them, wear them. Make sure they meet your quality standards before you commit.
- Track Your Inventory. A simple spreadsheet is all you need to keep tabs on your blank apparel. Note the sizes, colors, and quantities you have on hand so you know exactly what to reorder and when.
- Build Supplier Relationships. Find a couple of reliable wholesale suppliers you can trust. Good relationships can lead to better pricing, early access to new products, and more dependable service when you're in a pinch.
When you're scaling, consistency is everything. Your customers expect the same great quality every time they order. A quick quality control check at each stage—from inspecting new blank garments to a final check after pressing—stops mistakes before they ever reach the customer.
Creating an Efficient Workspace
Your physical setup plays a massive role in how quickly you can get orders out the door. An organized station for printing t shirts with a heat press cuts down on wasted movement and helps you find a smooth, repeatable rhythm.
Try setting up distinct zones for each part of the process. Have a clean area for unboxing and prepping blank shirts, your main pressing station with all your tools within arm's reach, and a separate cooling and folding area where finished products are prepped for shipping. This assembly-line approach, even on a small scale, can seriously boost your output.
The demand for custom apparel is exploding. The custom decorated T-shirt printing machines market hit about USD 1.2 billion in 2024 and is projected to reach USD 1.9 billion by 2033. This growth is fueled by the exact kind of on-demand flexibility that a heat press provides, making it the perfect tool for small businesses.
To truly turn your heat press hobby into a thriving business, you'll need to think beyond just production. Exploring various small business growth strategies—like marketing, customer service, and financial planning—is what will set you up for long-term success. For more specific advice, our guide on how to grow your printing t-shirt business with DTF transfers offers even more in-depth tips for taking your operation to the next level.
Common Questions About Heat Press Printing
Even with a perfect guide, you'll always have questions once you start getting your hands dirty. Getting into printing t-shirts with a heat press is a blast, but it’s totally normal to hit a few snags along the way.
We've pulled together some of the most common questions we hear from both beginners and growing shops. Getting these answered upfront will save you time, materials, and a whole lot of frustration.
Can I Just Use My Regular Iron Instead of a Heat Press?
This is probably the number one question we get, and the answer is a hard no—at least not if you want professional results. While a home iron might work for a quick craft-store vinyl project, it's completely wrong for DTF transfers.
Irons fail on two critical points:
- Uneven Heat: The surface of an iron is a patchwork of hot and cold spots. Your transfer will never get the consistent temperature it needs to bond correctly.
- Inconsistent Pressure: You simply can't generate the even, consistent pressure needed to fuse a DTF transfer into the fabric fibers. It's just not possible by hand.
If you try using an iron, your design will almost certainly crack, peel, or fade after the first wash. A quality heat press isn't just a recommendation; it's a must-have for creating durable, sellable products.
How Do I Stop Getting That Faint Box Outline on My Shirts?
Seeing that ghosted rectangle around your design is a classic rookie mistake, but thankfully, it's usually an easy fix. That "press box" happens when the heat and pressure from the platen smash down the fabric fibers, leaving an impression.
Here are a few ways to eliminate it:
- Get a Heat Press Pillow: Slide one of these foam-core, heat-resistant pillows inside the shirt. It raises the print area so the press only makes firm contact right where your design is, leaving the surrounding fabric untouched.
- Ease Up on the Pressure: You need firm pressure, but cranking it to the max will only make the box more obvious. Dial it back just a bit. Find that sweet spot where the transfer adheres perfectly without flattening the whole shirt.
- Try a Flexible Finishing Sheet: For that final post-peel press, swap your thick Teflon sheet for a more flexible one. They distribute pressure and heat more gently.
Pro tip: Keep a few different sizes of heat press pillows on hand. Using one that's just slightly bigger than your transfer is the secret to isolating pressure right where you need it.
What's the Best Way to Print on Polyester or Blends?
Polyester is a go-to for athletic apparel, but it can be tricky to work with because it's sensitive to high heat. Too much heat causes "dye migration," where the fabric's dye bleeds into your transfer and ruins the colors. You can also scorch the material, leaving behind a permanent shiny mark.
The trick is to lower your temperature and shorten your press time. Stick to the lower end of the recommended range, somewhere around 240-250°F, and press for only 7-10 seconds. If you're ever in doubt, always press a small test on a scrap piece of the same fabric first.
Why Do My DTF Transfer Colors Look So Dull After Pressing?
If your transfer looks amazing on the film but falls flat on the shirt, it’s almost always a settings issue. The number one cause? Under-pressing. This means your temperature was too low, your pressure was too light, or you didn't press it for long enough.
When the transfer doesn't get enough heat, time, and pressure, the ink can't fully release from the film and embed into the fabric fibers. The result is a weak, faded-looking print. Go back and double-check the recommended settings for your specific transfers and fabric. And don't skip that final 5-7 second press after peeling the film—it's crucial for locking in color vibrancy.
Of course, the quality of the transfer itself matters, too. Always get your DTF prints from a reputable supplier known for using top-tier inks. It ensures the colors you designed on-screen are the colors you get on the final shirt.
Ready to stop guessing and start creating? At Lion DTF Transfers, we deliver vibrant, wash-tested DTF transfers that make professional results simple. With our killer color accuracy and fast shipping, you get exactly what you need, right when you need it. Plus, our Auto-build gang sheet builder makes ordering easy, cost effective, and a breeze to use. Get started today at https://liondtf.com.