


Mastering your heat press is all about knowing how the three key players—temperature, time, and pressure—work together. When you get this combination right, you create durable, professional-looking designs every single time. Nail these settings, and you can say goodbye to frustrating issues like peeling transfers or scorched shirts.
The Core Principles of Heat Pressing
Getting a perfect transfer isn't magic; it's a science. The entire process hinges on a careful balance of three critical factors that we like to call the 'golden triangle' of heat pressing. Once you understand how temperature, time, and pressure influence each other, you'll be able to press onto any material with confidence.
Temperature is the first piece of the puzzle. Its main job is to activate the adhesive on the back of your transfer, whether it's DTF, HTV, or something else. If the heat is too low, the adhesive won't bond correctly, and your design will start peeling after the first wash. Go too high, and you risk burning the fabric or causing dye migration, especially on sensitive materials like polyester.
Time and Pressure Work Together
Dwell time—the amount of time the press stays clamped down—is what gives the activated adhesive enough time to cure and create a permanent bond with the fabric. This goes hand-in-hand with pressure. Proper pressure ensures the transfer makes even contact across the whole design, pushing that adhesive deep into the garment's fibers for maximum durability.
Before you dive into specific settings, it’s helpful to understand the general principles of applying heat to fabric, like mastering proper seam pressing techniques.
The interplay of these three variables—temperature, time, and pressure—is what determines the final quality and longevity of your custom apparel. A slight adjustment to one often requires a change to another.
Heat press settings are critical and can vary widely depending on the material you're working with. For most common fabrics, temperatures usually fall between 240°F and 280°F, with pressing times ranging from 7 to 10 seconds.
Quick Reference Heat Press Settings Chart
Finding the sweet spot for your heat press settings is the first, most critical step to a perfect transfer. This guide gives you a solid starting point for the most common fabrics and transfer types you'll run into.
Think of it as your go-to cheat sheet, but remember—always run a quick test press first. Every machine has its own quirks, and a little testing upfront saves a lot of headaches later.
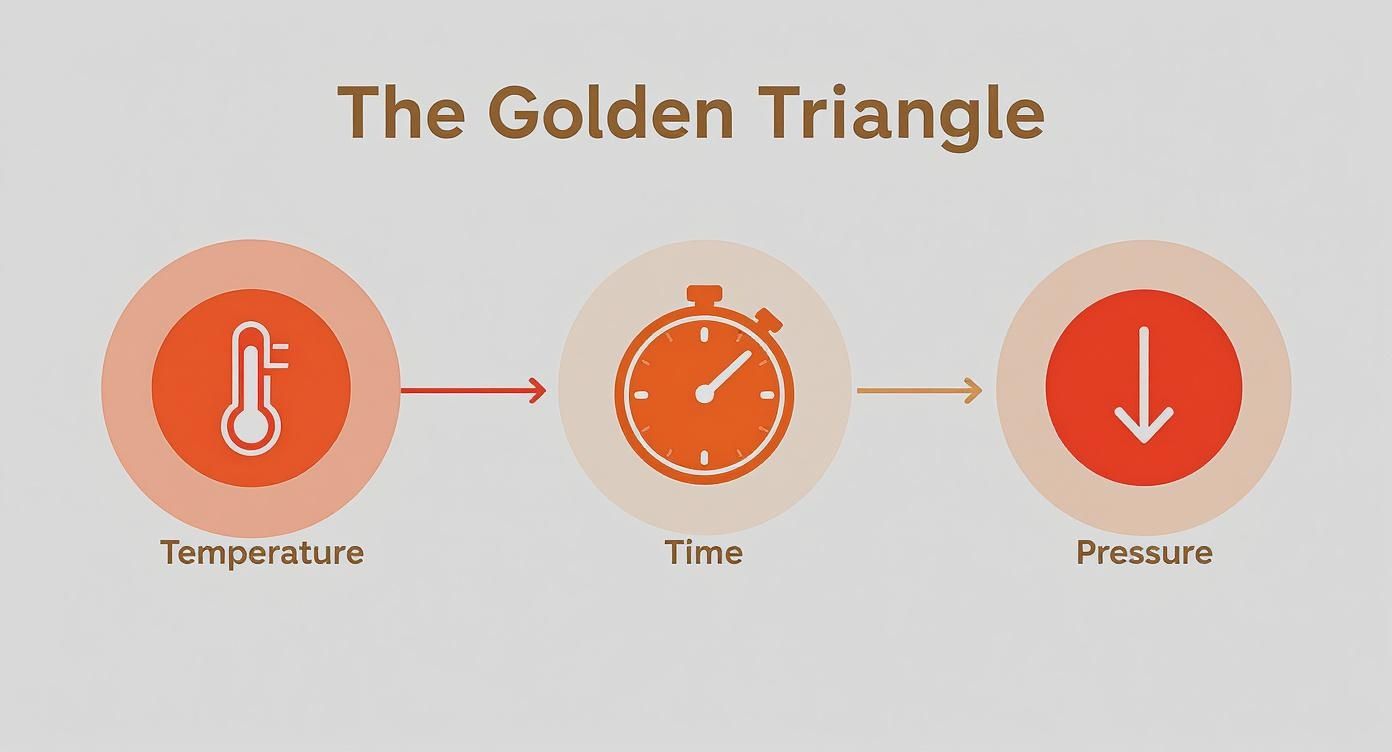
The image above nails it: temperature, time, and pressure are the three pillars of a great press. Get one wrong, and the whole thing can fall apart. A durable, professional-looking application depends on getting that balance just right.
Comprehensive Heat Press Temperature and Time Chart
The settings below are our recommended starting points based on what we see work day in and day out on the production floor. For a deeper dive into specific materials like cotton, polyester, and our own Lion DTF hot-peel transfers, check out the dedicated sections further down in this guide.
| Material Type | Transfer Type | Temperature (°F/°C) | Time (Seconds) | Pressure | Peel Type |
|---|---|---|---|---|---|
| 100% Cotton | DTF (Hot Peel) | 280°F | 10 | Medium-Firm | Hot |
| Polyester | DTF (Hot Peel) | 240°F - 250°F | 7-10 | Medium | Hot |
| 50/50 Blends | DTF (Hot Peel) | 260°F - 270°F | 10 | Medium | Hot |
This table covers the basics, giving you reliable numbers to plug into your press so you can start with confidence.
Pro Tip: Want to boost your efficiency and cut down on waste? Get smart about your layouts. Using our Auto-build gang sheet builder is a game-changer for combining multiple designs onto a single sheet. It’s perfect when you have a bunch of smaller jobs that use similar press settings—you'll save serious money on film and ink with every run.
Pressing on Natural Fibers Like Cotton and Canvas
Natural fibers like cotton and canvas are staples in the custom apparel world, and for good reason. They’re breathable, tough, and take a print beautifully. But their organic nature means they hold onto moisture, a hidden variable that can make or break your final press.
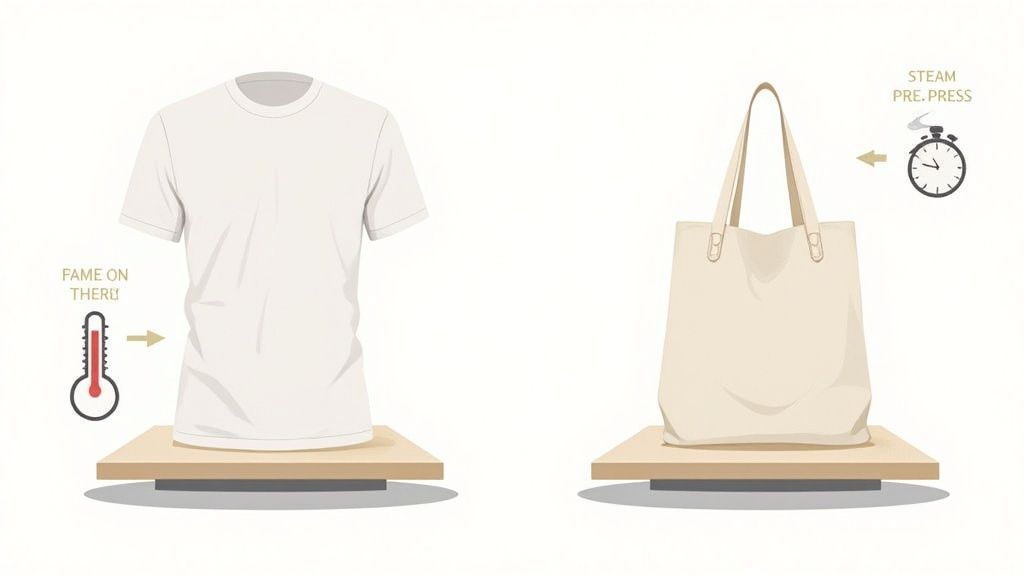
When you press a damp garment, that trapped moisture turns into steam. That steam gets in the way of the transfer's adhesive, often leading to bubbly designs or edges that peel right up. This is why pre-pressing is absolutely essential for any natural fiber. A quick 5-10 second press before you lay down your transfer is all it takes to drive out that moisture, giving you a perfectly flat, dry surface for adhesion.
Ideal Settings for Cotton
Cotton is a true workhorse, but getting a vibrant, durable print isn't just a matter of guesswork. You need the right formula. For most applications, cotton requires a temperature of about 280°F .
When you're applying our Lion DTF hot-peel transfers to a standard 100% cotton tee, here are the settings we've dialed in for perfect results:
- Temperature: 280°F
- Time: 10 seconds
- Pressure: Medium to Firm
These settings ensure the DTF adhesive melts just right, creating a solid bond with the cotton fibers. The choice between materials often comes down to the look and feel you're after. If you're weighing your options, you can explore the pros and cons of polyester vs cotton for DTF transfers in our detailed guide.
Pressing on Heavy Canvas
Thicker materials like canvas tote bags or jackets demand a few tweaks. The dense, textured weave of canvas can be a little tougher for the adhesive to penetrate deeply, so you have to compensate.
You’ll want to dial up the pressure to really push the transfer into the fabric. It often helps to add a few extra seconds to your press time, too. This ensures the heat soaks all the way through and locks that transfer in place for good.
Example Application: Canvas Tote Bag
For a heavy canvas tote, start with a temperature of 280°F, apply firm pressure, and press for 10 seconds. Don't forget to run a quick test on a scrap piece or a hidden spot to make sure your settings are perfect before pressing the real thing.
Settings for Synthetic Fabrics Like Polyester
Pressing on synthetic fabrics like polyester and poly-blends definitely requires a more delicate touch. Unlike cotton, which can take a lot of heat, these materials are sensitive. Get the settings wrong, and you can end up with scorching, melting, or permanent press marks on the garment. It's all about precision.
A huge headache with synthetics is dye migration. This is what happens when the heat from your press causes the fabric's dye to turn into a gas and stain your lighter-colored transfer. The best way to stop this is by using lower temperatures and shorter press times.
Navigating Heat Sensitivity
The real key to success with polyester is finding the lowest possible temperature that still properly activates the transfer's adhesive. This approach dramatically cuts down the risk of damaging those sensitive fibers you find in performance wear or athletic apparel.
Polyester has its own set of rules for heat pressing that reflect its synthetic nature. For a typical Direct to Film (DTF) transfer on standard polyester, you’re looking at around 240°F - 250°F with medium pressure for a quick 7-10 seconds, followed by a hot peel. You can always explore more detailed settings for polyester fabrics to really dial in your process for specific blends.
Essential Tools and Techniques
When you're working with synthetics—especially tricky items with zippers, buttons, or thick seams like hoodies—a couple of extra tools can be a lifesaver. Using these aids helps guarantee even pressure across the board, which is absolutely critical for a good application.
- Protective Sheets: Always, and I mean always, place a Teflon sheet or a piece of parchment paper between the heated platen and your garment. It acts as a buffer, preventing direct heat from scorching or discoloring the fabric.
- Heat Press Pillows: These foam-filled, heat-resistant pillows are designed to go inside the garment. They raise the pressing area, letting seams and zippers sink down into the pillow so your transfer gets perfectly even pressure where it counts.
Honestly, using these tools isn't optional if you're aiming for professional results on challenging garments.
For example, imagine pressing a DTF logo onto the front of a polyester zip-up hoodie. A heat press pillow is a must-have. You slide the pillow inside, which lifts the flat logo area above that bulky zipper, ensuring the press makes firm, even contact only where you need it to.
Streamlining Your Workflow
For shops cranking out multiple designs for team jerseys or company polos, efficiency is everything. Arranging all your different logos and names onto a single sheet saves a ton of material and time.
Our Auto-build gang sheet builder makes this whole process ridiculously simple and cost-effective. You can quickly upload and arrange multiple designs onto one sheet, which drastically cuts your cost per transfer. It's a super easy way to boost your profitability on every single polyester job you run.
Mastering DTF Transfer Application
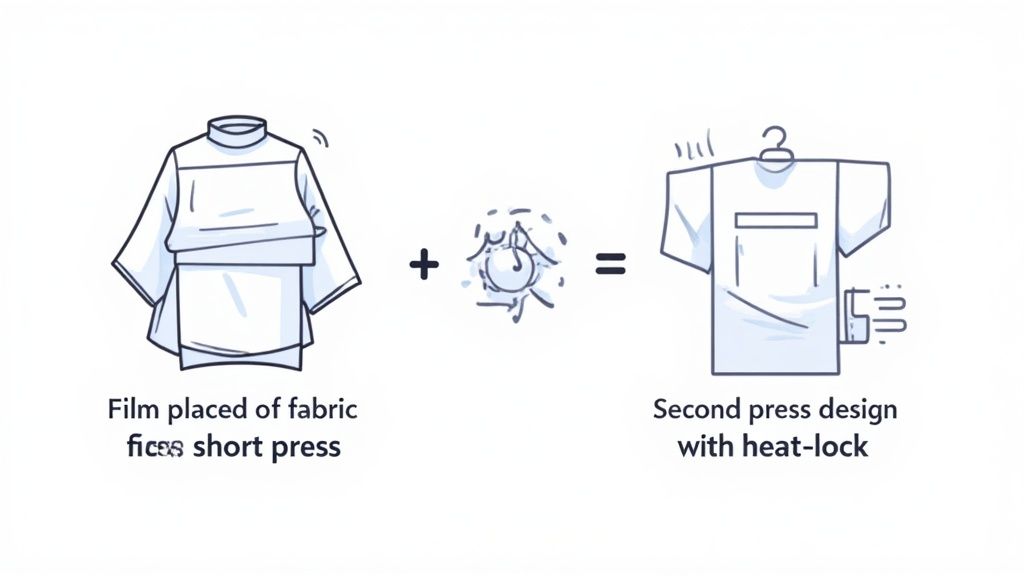
If you've spent any time in the apparel world, you know Direct-to-Film (DTF) has become a serious player. It's known for knockout colors and durability that actually lasts. But getting it right comes down to nailing the two-step pressing process—this is what creates that soft, professional finish that won't wash out.
The whole thing starts with the first press. This is where the adhesive melts and the design makes its initial bond with the shirt. After that first press, you'll have to peel it instantly while it's hot and the film lifts off perfectly, leaving every bit of your design behind.
The Two-Step Pressing Method
The real magic of DTF happens in the second press. Once you've peeled the film away, you press the design one more time. This final step is what locks the ink deep into the fabric fibers, massively boosting its washability and giving it that smooth, matte finish that feels like it’s part of the shirt, not just sitting on top.
Here’s the go-to two-step process that works for most fabrics like cotton and poly-blends:
- First Pre-Press: Get your heat press set to the settings for your specific type of fabric. Cover the transfer with a protective sheet and press with medium-firm pressure for 5 seconds.
- Second Press: Put the transfer on the garment in the exact place you want your design to be. Press it for 10 seconds at the same temperature and pressure.
- Hot Peel: Instantly peel the transfer from one corner and at an angle.
- Third Press: Put the protective sheet back over the now-exposed design. Press it again for 5-7 seconds at the same temperature and pressure. This cures the ink and finishes the job.
Sticking to this three-step method is what separates a homemade-looking shirt from a retail-quality product. That third press is non-negotiable for embedding the design, which is why our transfers may last over 100 washes. For a full rundown, dive into our detailed guide on heat press settings for DTF.
Optimizing Your Workflow and Costs
When you start cranking out multiple items, especially with different designs, efficiency and material costs suddenly become very important. The smartest move you can make is arranging multiple logos, tags, or graphics onto a single DTF sheet to slash waste and boost your profit on every single order.
To make this dead simple, our Auto-build gang sheet builder is a game-changer. It lets you upload and arrange all your designs on one sheet with ease, which dramatically cuts your cost per transfer. It’s a straightforward, effective way to get more bang for your buck while saving a ton of setup time.
Troubleshooting Common Heat Press Issues
https://www.youtube.com/embed/xNsKSByhN50
Even when you follow a heat press temperature guide perfectly, things can still go sideways. Let's be real: a flawless press involves more than just the numbers on your machine's display. The accuracy of your press, slight variations in fabric, and the quality of your transfer all have a say in the final outcome.
When a design doesn't turn out right, don't get frustrated—it's time to play detective. Most problems come back to one of three things: temperature, time, or pressure. This guide will walk you through the most common issues we see and give you clear, practical steps to fix them, turning a potential dud into a product you can be proud of.
Problem 1: Designs Are Peeling or Lifting at the Edges
This is probably the number one complaint we hear. A transfer starts peeling up, either right after you press it or, even worse, after the first wash. Nine times out of ten, this is a classic case of poor adhesion.
The most likely culprit here is uneven or not enough pressure. If your press isn't clamping down with enough force across the entire design, the adhesive won't get properly pushed into the fabric's fibers. You’ll see this a lot when pressing near thick seams, collars, or zippers, as they prevent the platen from making full, even contact with the transfer area.
- Solution 1: Increase Your Pressure. It sounds simple, but it often works. Adjust your press to a firmer setting and run a test on a scrap garment.
- Solution 2: Use a Heat Press Pillow. This is a game-changer. Slide a heat-resistant pillow inside the shirt to raise the printing surface. This lets bulky seams and collars sink down, ensuring the transfer gets direct, even pressure right where it needs it.
- Solution 3: Pre-Press the Garment. Always press the blank item for 5-10 seconds before you lay down the transfer. This zaps any hidden moisture and smooths out wrinkles, giving you a perfectly flat surface for the best possible adhesion.
Problem 2: Scorch Marks or Discolored Fabric
Ever pull a shirt off the press and see a yellowish or shiny box around your design? That’s scorching. It happens when the heat is too high for the fabric you're working with, a particularly common issue with heat-sensitive materials like polyester and certain synthetic blends.
Heads up: your heat press's digital readout might be lying to you. We've seen studies showing that built-in thermometers can be off by as much as 5-10ºF. An infrared temperature gun is a worthwhile investment—it gives you the true surface temperature of your platen, so you can calibrate it for dead-on accuracy every time.
To fix scorching, you need to dial back the heat and protect the fabric.
- Solution 1: Lower the Temperature. Drop your heat setting by 10-15°F and press another test piece.
- Solution 2: Use a Protective Sheet. Always, always, always place a Teflon sheet or a piece of parchment paper over your transfer. This creates a protective barrier, softening the direct heat and helping to prevent scorch marks.
- Solution 3: Shorten the Dwell Time. Try reducing the press time by a few seconds. Sometimes it’s not just the temperature but the total duration of heat exposure that causes the damage.
For more helpful pointers, check out our guide with tips and tricks for beginners pressing DTF transfers.
Problem 3: Colors Look Faded or Dull After Pressing
If your design was vibrant on the film but looks washed out on the shirt, the cause is almost certainly an issue with temperature or pressure. If the heat is too low, the ink won't fully cure, leaving it with a dull finish. On the flip side, if the heat is too high, it can literally cook the ink and cause the colors to fade out.
To make sure your designs are consistently bright and pop off the shirt, especially when you're running a big order, starting with high-quality transfers is non-negotiable. Our Auto-build gang sheet builder not only saves you money by letting you combine multiple jobs but also guarantees every design on that sheet is printed with the same professional-grade quality, giving you a reliable starting point for every single press.
Common Questions Answered
When you're dialing in a heat press, a few questions always pop up. Getting the small details right is what separates a decent print from a great one. Here are some quick answers to the most common challenges we see people run into.
What Happens If My Heat Press Temperature Is Too High or Too Low?
Getting the temperature right is everything. If your press is running too hot, you’re asking for trouble. You can easily scorch delicate fabrics like polyester or, in a worst-case scenario, actually melt the garment. Overheating is also the number one cause of dye migration, where the shirt’s color bleeds into your transfer and completely ruins the design.
On the other hand, if the temperature is too low, the transfer's adhesive won't activate and cure the way it's supposed to. This leads to weak adhesion, which is why you see designs peeling at the edges or cracking after just a couple of washes.
Can I Use the Same Temperature for All Heat Transfers From Any Vendor?
Absolutely not. Every type of Heat Transfer vendor has its own recipe for success from the manufacturer. You must follow each vendor's directions for temperature, time, and pressure to bond correctly.
Your best bet is to always check the vendor's directions for the specific fabric you’re working with. Before you press the final product, do a quick test on a scrap piece of fabric to make sure your settings are dialed in.
How Do I Know What Pressure Setting to Use?
Pressure can feel a bit subjective since it's usually just described as light, medium, or firm. For manual presses, a simple "paper test" is a great way to get a feel for it. To check for medium pressure, you should be able to slide a piece of paper out from under the locked-down platen, but it should put up a good fight. For firm pressure, that paper shouldn't budge at all.
When you're running bigger jobs with lots of different designs, consistency is what matters most. Our Auto-build gang sheet builder takes the guesswork out of it by letting you group similar designs together. This ensures they all use the exact same press settings, giving you maximum efficiency and perfect results every single time.
At Lion DTF, we're all about getting you professional-grade transfers without the hassle. Speed up your production with our reliable transfers and easy-to-use online tools.