UV DTF Cup Wraps - Blessed - Daisy Nautical
⭐️ ⭐️ ⭐️ ⭐️ ⭐️
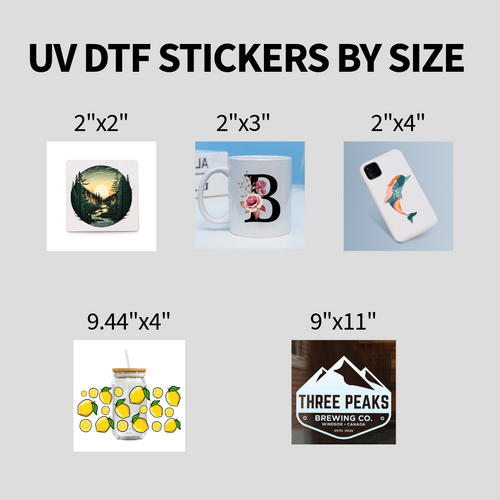
Approximate Size Of UV DTF Cup Wraps Transfer:
- Width 9.25" Height 4.25"
One Sticker Per Order
Cups/Apparel Not Included
UV DTF Sticker - Ready To Stick Directions:
1. Clean the surface of your product thoroughly. Apply only to smooth surfaces.
2. Use firm pressure to squeegee the back of the sticker, moving the squeegee back and forth several times.
3. Carefully remove the sticker from its backing, especially if the design includes fine lines, peeling slowly. If any parts don’t peel off, squeegee the back again.
3. Apply the sticker to your product carefully, as once it's in place, it cannot be removed.
4. Apply firm pressure to the already placed sticker by running the squeegee over the entire design area. This will help securely press the design onto your product.
5. Slowly remove the clear part of the sticker. If any part of your design isn’t sticking, press it back down with the squeegee.
Disclosure: Stickers are durable but not permanent. Their longevity is greatly influenced by the environmental conditions they are exposed to. Avoid using the dishwasher for products with these stickers. Do not use them to display essential instructions related to safety, protection, or critical directions, as the stickers may become worn out or damaged. Stickers may not adhere to every surface, so it's important to conduct your own testing.
How to use with Heat Press
NOTE: Pre-Heat your Heat Press to reach 260+/- degrees. - HOT PEEL
1. Press your blank apparel on the side you will have your design, to give it a nice smooth surface.
2. Place your DTF Transfer in the exact location you want.
3. Cover your DTF Transfer with teflon on or parchment paper
of the same size or larger. This will help avoid your transfer from
lifting.
4. Use your preheated Heat Press at 260 degrees to press down with medium pressure for 12 seconds.
5. Peel off the backing of your DTF transfer immediately (quickly).
6. Optional - Do a final press of 7-10 seconds using teflon or parchment paper
How to use with Home Iron
Using an iron:
1. Set your iron to the highest cotton setting without
steam.
2. Preheat your garment for a few seconds to remove any moisture and wrinkles.
3. Place the transfer face down on the garment, making sure it's centered and
aligned.
4. Apply firm and even pressure while moving the iron in a circular motion for
about 20-30 seconds.
5. Allow the transfer to cool down completely before peeling off the backing
paper.
6. Do a final press of 7-10 seconds using teflon or parchment paper
⭐️ ⭐️ ⭐️ ⭐️ ⭐️ Reviews
-
⭐️ ⭐️ ⭐️ ⭐️ ⭐️
I ordered from another company and they couldn't perform, and I needed my gang sheets printed in 2 days. These guys made it happen and I had my shirts done in time for the event. Thank you! - Gloria S.
-
⭐️ ⭐️ ⭐️ ⭐️ ⭐️
I've ordered several times, very consistent quality, quick turnaround, and great customer service! - Fred G.
-
⭐️ ⭐️ ⭐️ ⭐️ ⭐️
I didn't know what I was doing with the artwork, they helped me convert my design to a high resolution format, and guided me in printing my first shirts. - Robert F.